vCenter server is a critical part of the VMware infrastructure stack, and most components and 3rd-party solutions depend on it. Although downtime of vCenter may not cause a problem with overall infrastructure and will not cause a VMs downtime, it will affect the provision of new resources, management, backups, and so on. So, keeping your vCenter up and running is a priority task in most cases.
In the few articles, we will look at how to backup and restore the vCenter server, if something goes wrong. There are a few strategies for protecting the vCenter server, but all of them depend on the required availability of the service. It can be backup, replication, vCenter HA functionality, or even deploying a new vCenter and connecting hosts manually.
We will look at two options – backup and restore vCenter using the native backup function and backup and restore vCenter using 3rd party backup software.
In this article, we will take a closer look at how to backup vCSA using native backup, available in VAMI.
Before we begin with creating vCenter backup and restoring procedures, two things should be done.
vCSA backup supporting FTP, FTPS, HTTP, HTTPS, SFTP, NFS, or SMB. We need to prepare a share where our backups will be stored.
In my case, I created an NFS share and added vCenter Server IP address to the /etc/exports, like that:
cat /etc/exports
/backups/vcenter 192.168.22.200(rw,sync,no_root_squash)
At this point, the remote directory is available to the vCenter Server.
Next, it is an important and not often considered part of Distributed Switch users. If you are using Standard Switches, you can skip this part.
The default port binging policy, when creating a port group is Static Binding. But there is a caveat. When the vCenter server is crushed and you deploy a new virtual machine, you can’t connect this VM to the network, because vCenter is responsible for port allocation in port groups with Static Binding. So, you may encounter a problem when your vCenter is down and you can’t connect a new one to the network.
The good practice is to have a port group dedicated to management VMs/VMkernels with the port binding policy Ephemeral – no binding. If you don’t have one – create it:
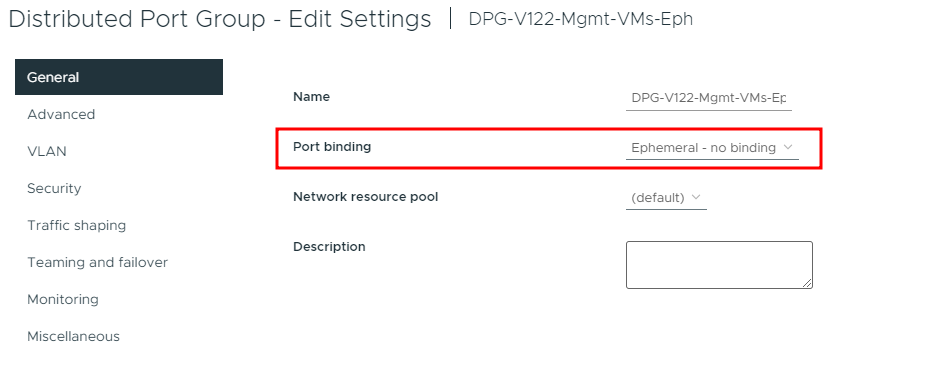
Please check KB 1022312 for more info.
If you face this situation and don’t have a port group, one other option is to remove one uplink interface on the ESXi host from the Distributed Switch and create a Standard switch using this uplink.
When we created an NFS share and an Ephemeral port group, we can begin with the backup.
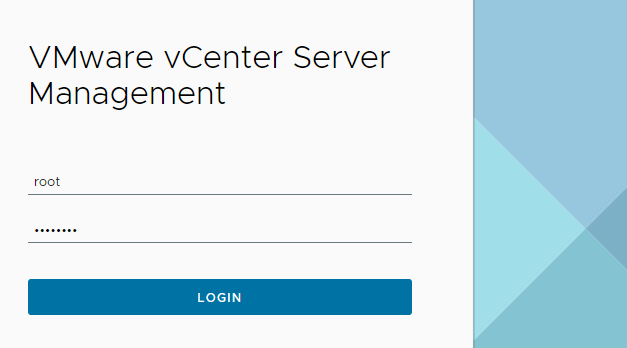
For configuration, you should use VAMI. Connect to the vCenter server using port 5480 and authenticate:
In the list, select “Backup”:
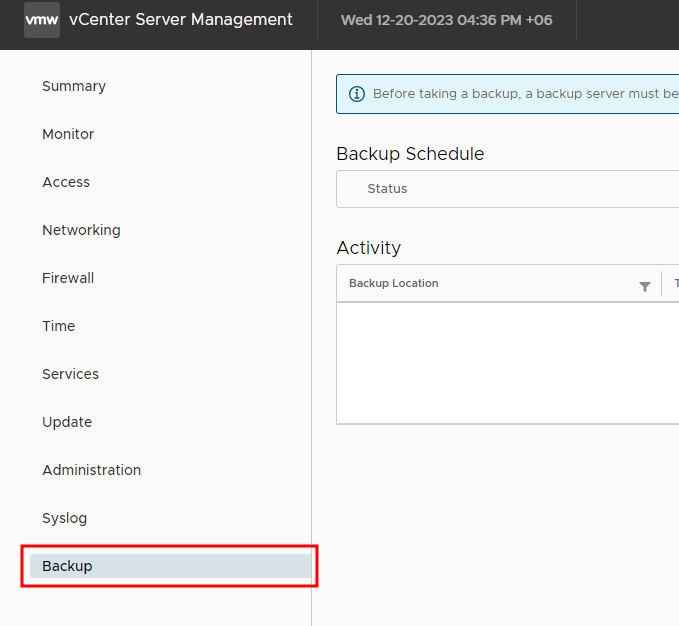
Click on CONFIGURE, to start the backup configuration process:

Now we need to specify a backup location, schedule, and number of backups to retain:
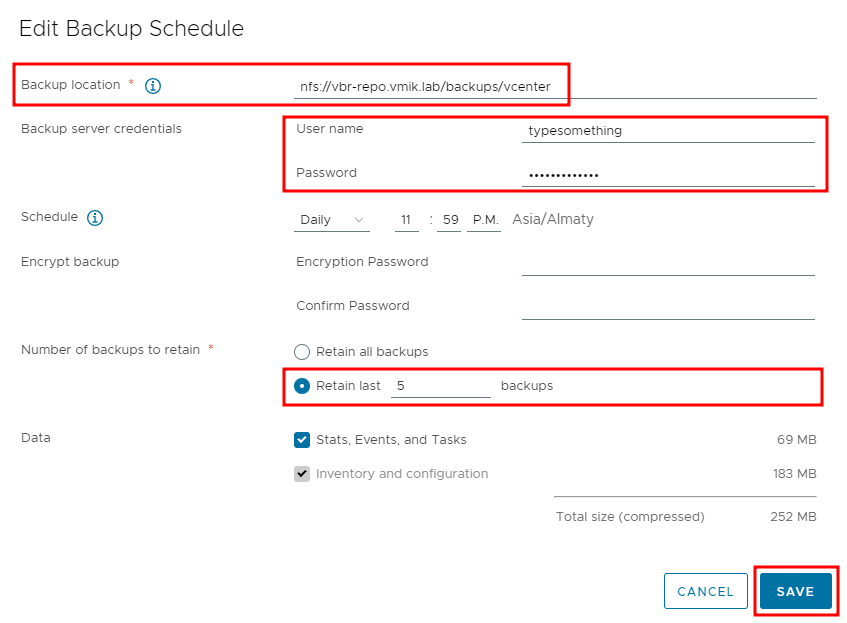
In the case of NFS share, the backup location should look like nfs://nfs-server-address/share (as in the NFS export file).
One other point here: I use the NFS server without authentication, but you can’t click on Save until you type something to the User name and Password fields. If you use FTP, SMB, or something else, you should provide valid credentials.
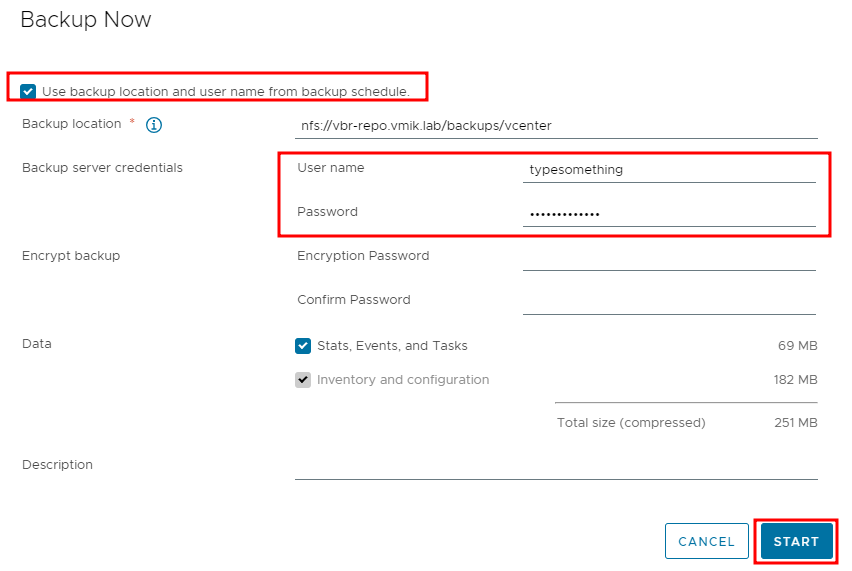
When the backup configuration is done, we can run it manually, or wait for a schedule. Let’s run, using the BACKUP NOW button:

Mark the checkbox, to copy backup destination settings from the schedule and click start:
Now we can observe the process:

Look at the information – The restore process requires that both installer and backup versions are identical. If you need to restore vCenter from backup, you must use the same version of vCenter installation ISO, as a version of your vCenter in a backup.
In my case, I am backing up vCenter Server 8.0.2, and if I need to restore it from this backup, I need to use installation ISO for the vCenter Server 8.0.2.
After the backup is created, you can observe the backup files in the provided share:
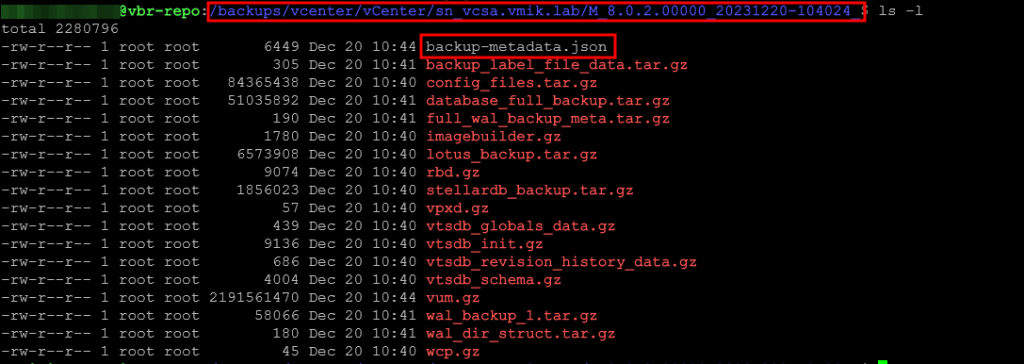
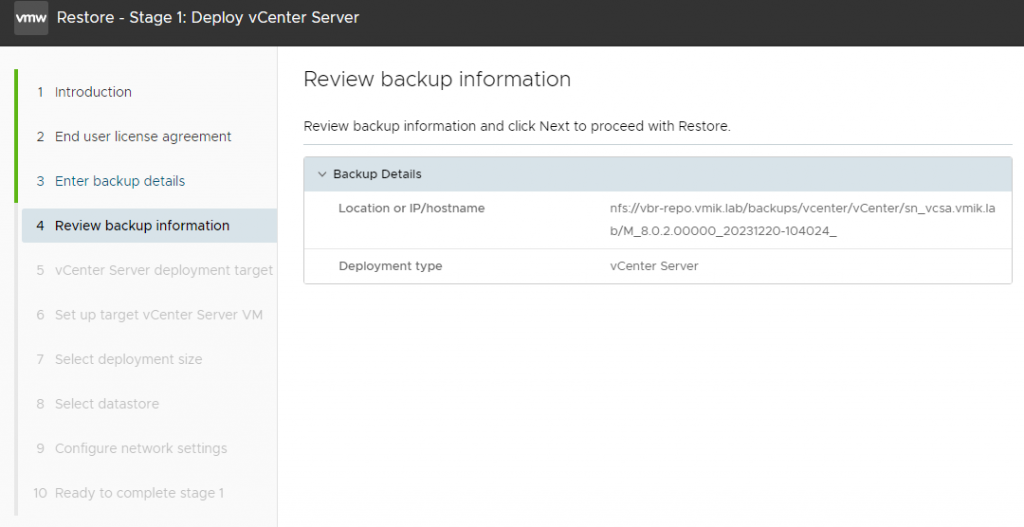
During restoration, it needs to provide the full path to the backup files, where backup-metadata.json is located. You should know how to find your backups in case of an emergency.
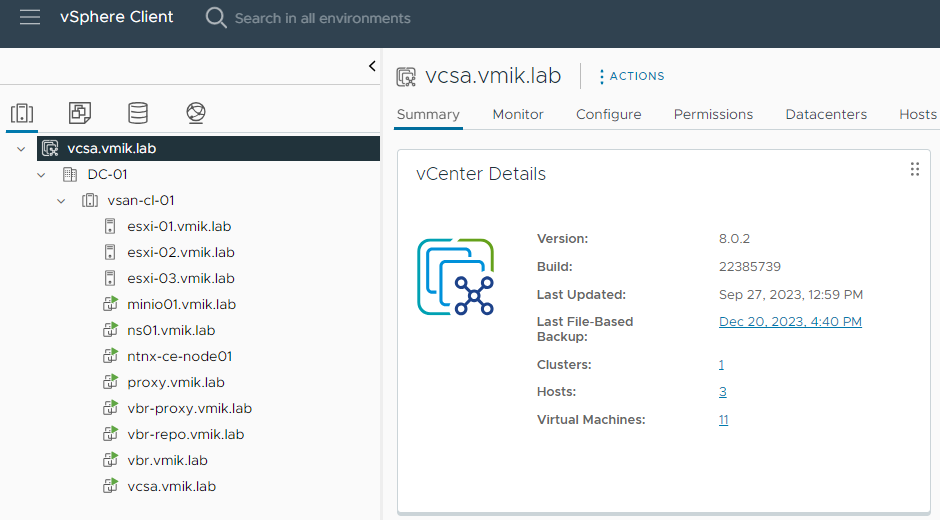
We are finished with the vCenter backup. By the way, you may observe the backup status from the vSphere console:
It’s time to restore vCenter from backups.
What you should consider before restoration:
- Original vCenter should be offline;
- You must know where backup files are located;
- You need to choose an ESXi host to restore;
- You have vCenter installation ISO with the same version as the backup.
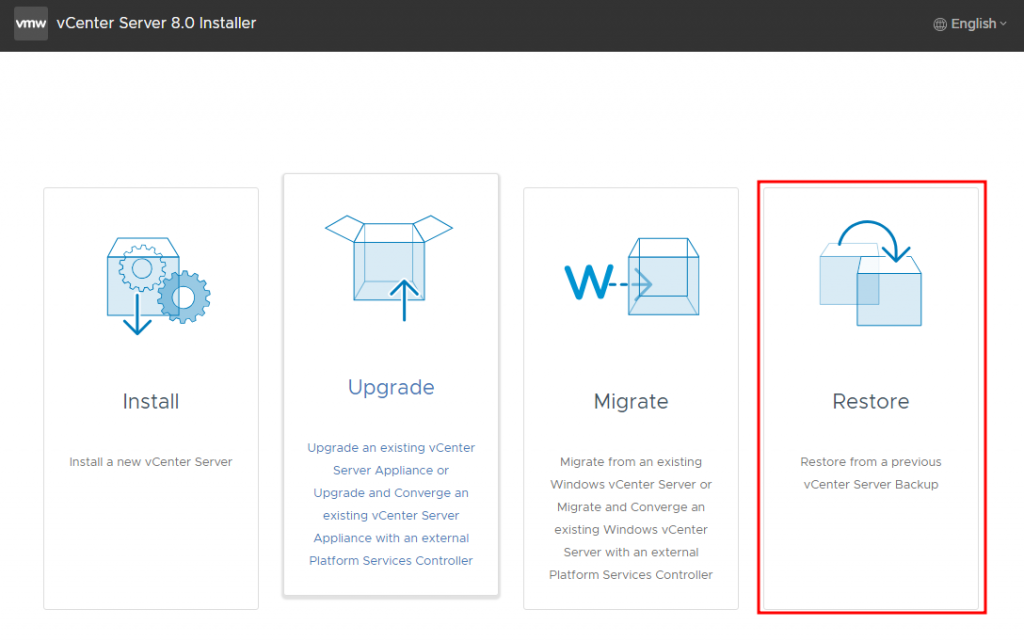
Now, connect the ISO file with vCenter Server Installation and run the installation process:
\vcsa-ui-installer\win32\installer.exeInstead of running an installation, click on Restore:
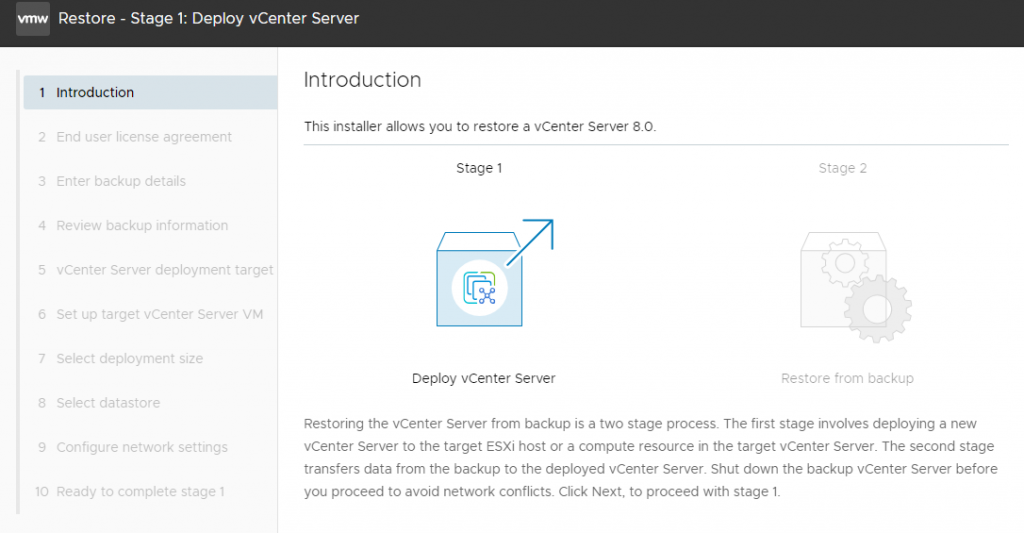
Check on with the Introduction:
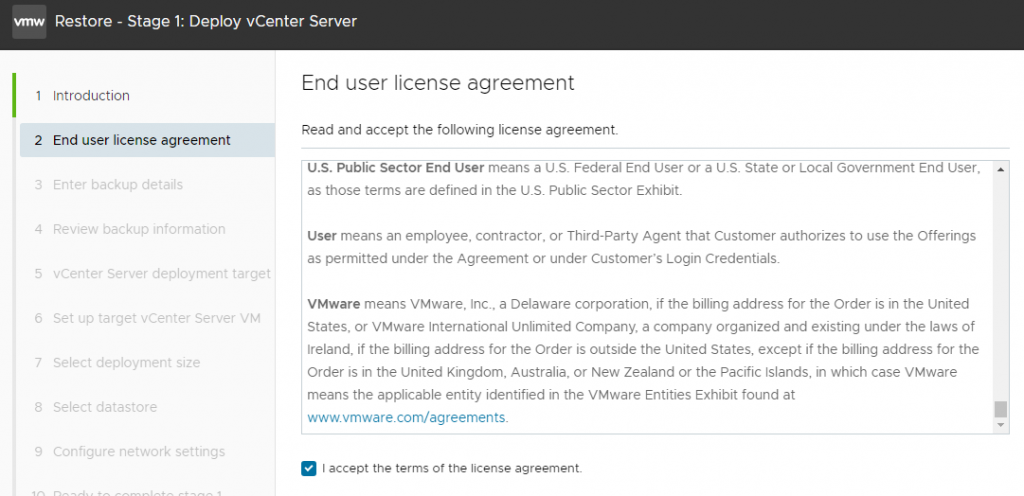
Accept EULA:
Next, specify the backup files location:
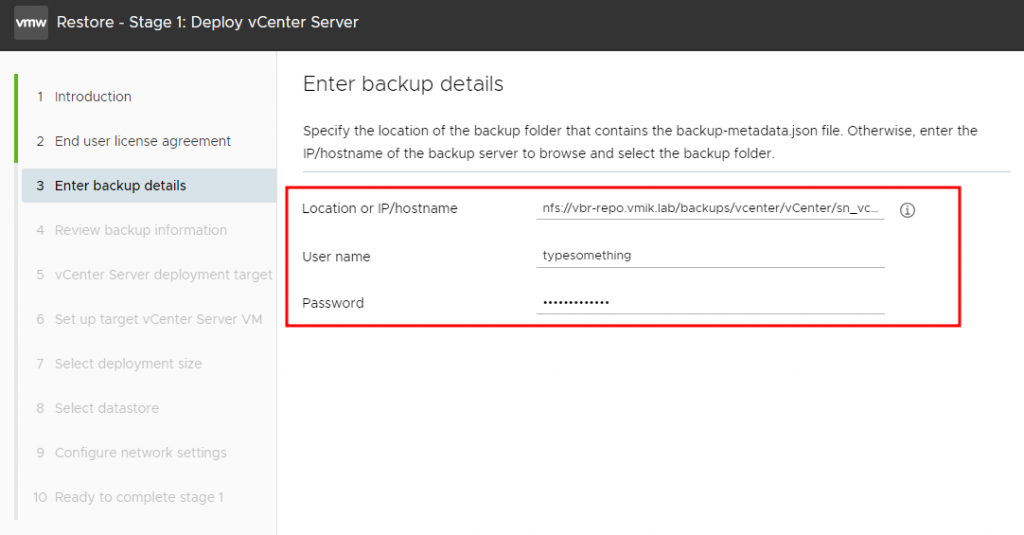
It should be the full path, including the protocol, to the folder with backup-metadata.json. Also, specify the password, if required, or type something if the password is not required.
Review backup information:
Further steps will be similar, to a new vCenter deployment.
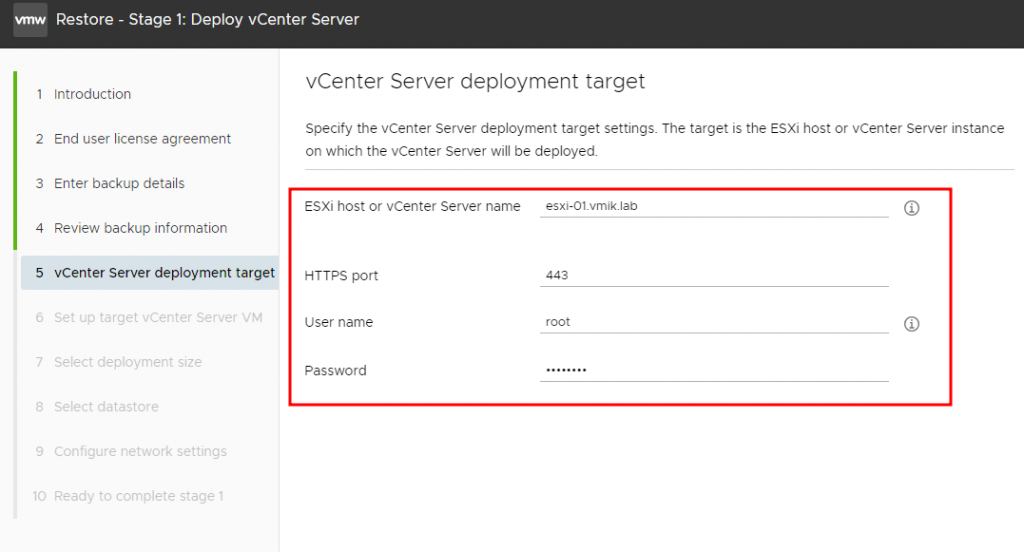
Next, specify the ESXi host and the credentials, where the vCenter VM will be deployed:
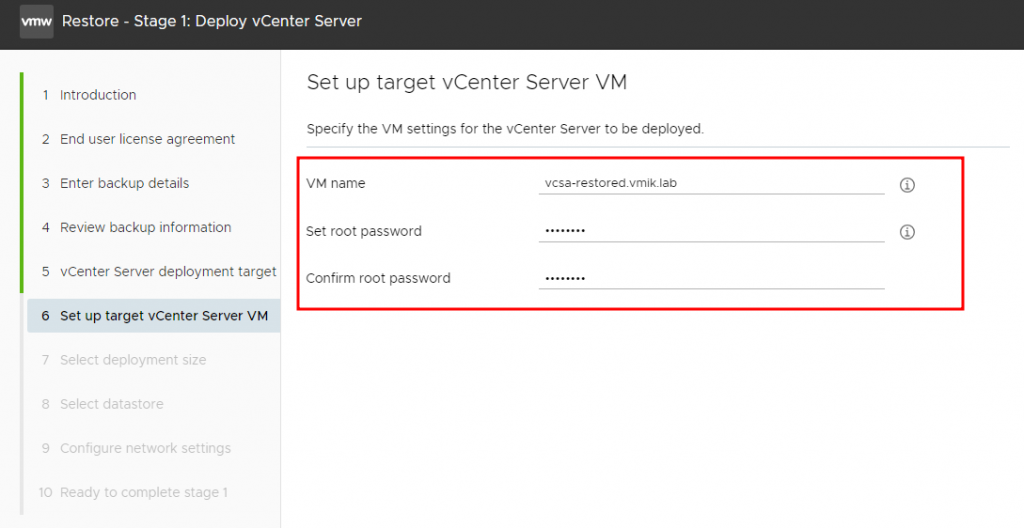
Give the name to the vCenter VM and specify login and password:
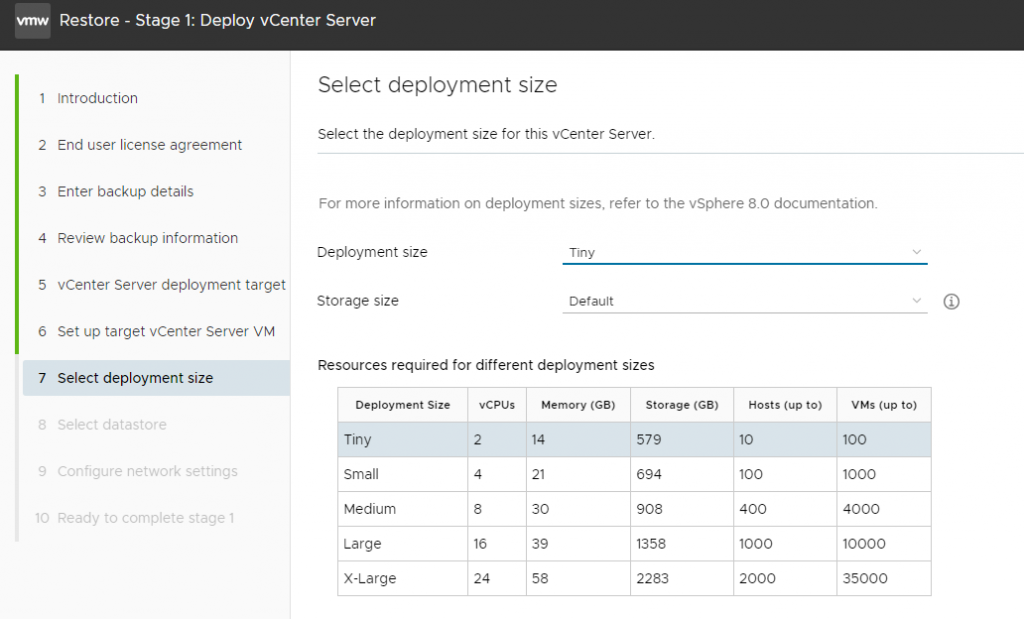
Select deployment size:
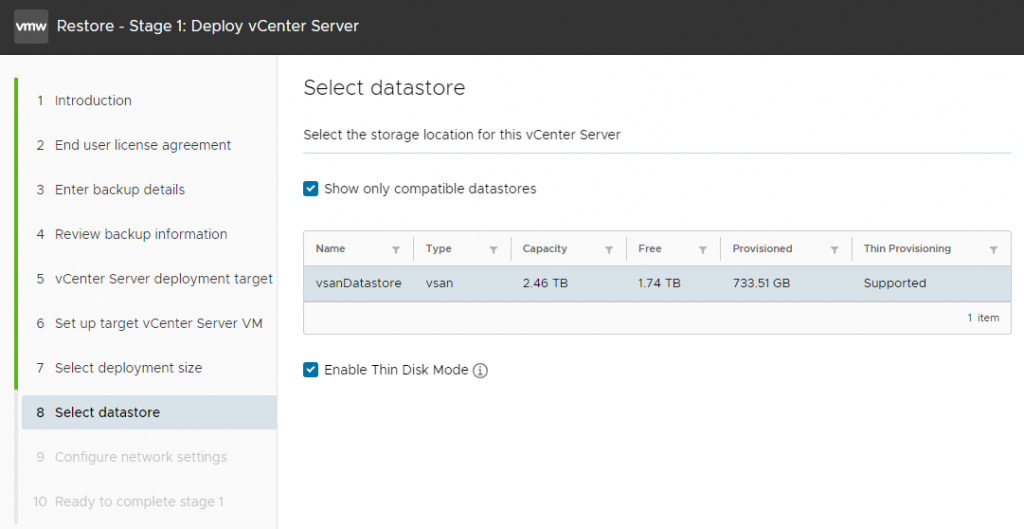
Select datastore:
Configure network settings:
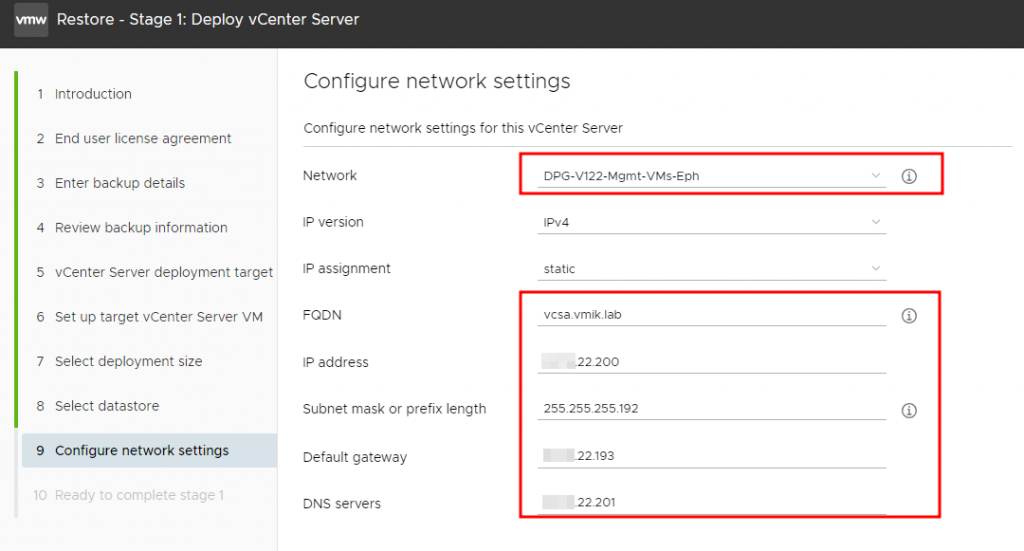
Please notice that you can select the Network only if it is created on Standard vSwitch, or uses Ephemeral – no port binding on Distributed Switch. Otherwise, you won’t see any networks here.
Check the provided settings and click finish to begin deployment of the new vCenter machine:
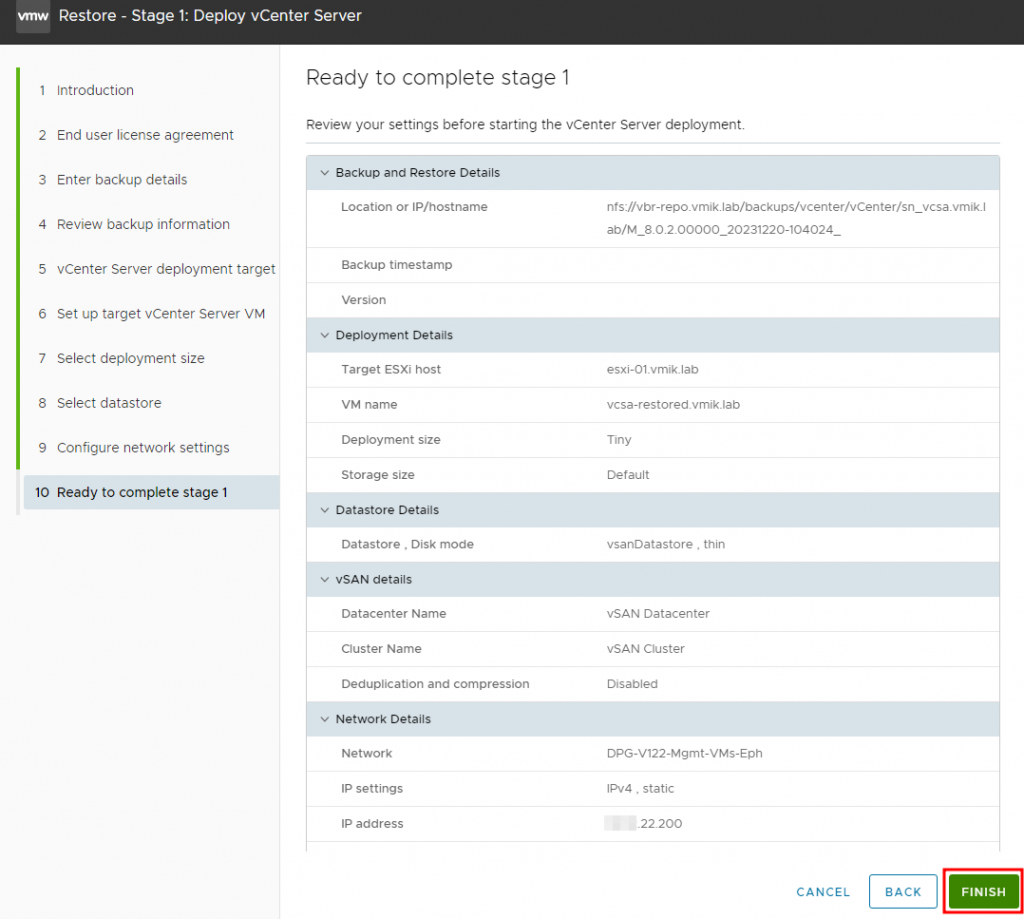
Stage one is similar to the stage one of deployment of the new vCenter:
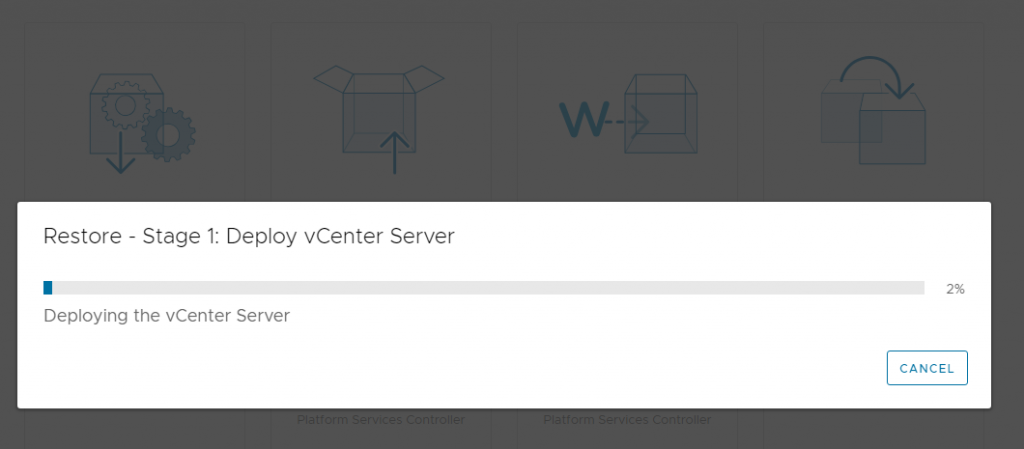
After deployment is finished, click CONTINUE to begin a restoration process:
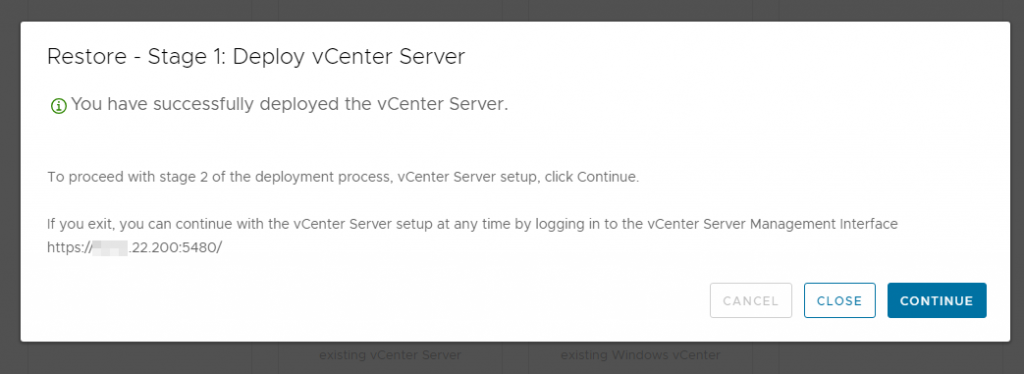
Skip the introduction by clicking next:
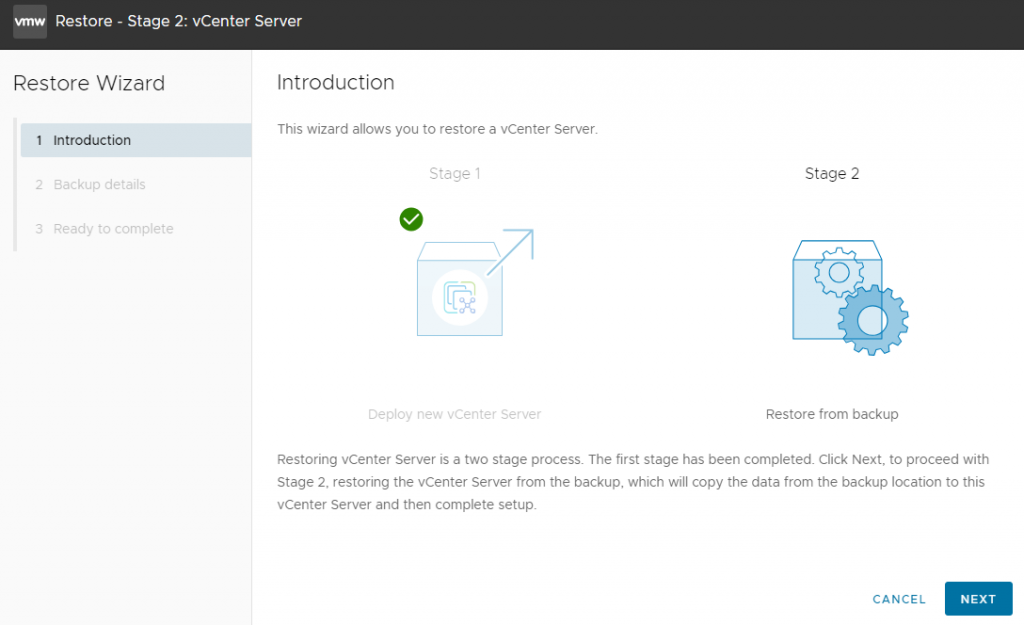
If your backup files were encrypted, it’s time to provide an encryption password:
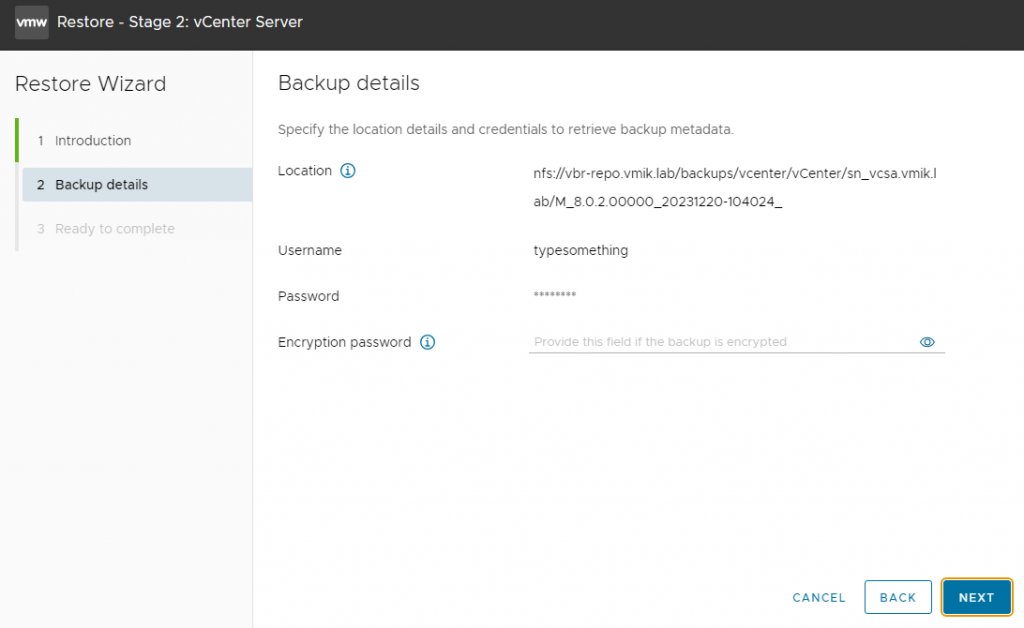
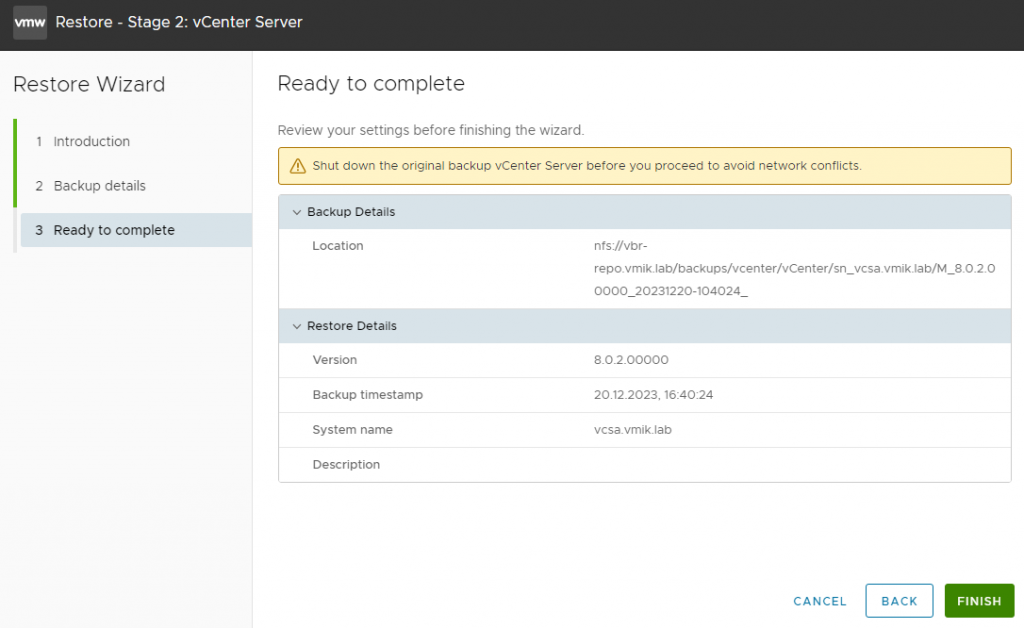
Shut down the original vCenter if it’s running. And click FINISH to begin a restore:
Check the warning message:
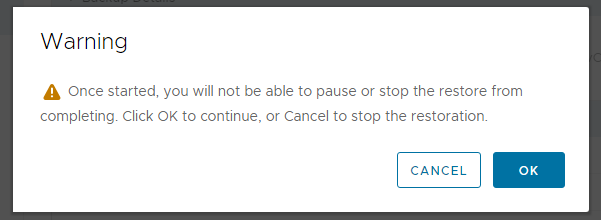
After that, the restoration process will begin:

Once the process is completed, you will get a message:

Now we can connect to the vCenter Server:
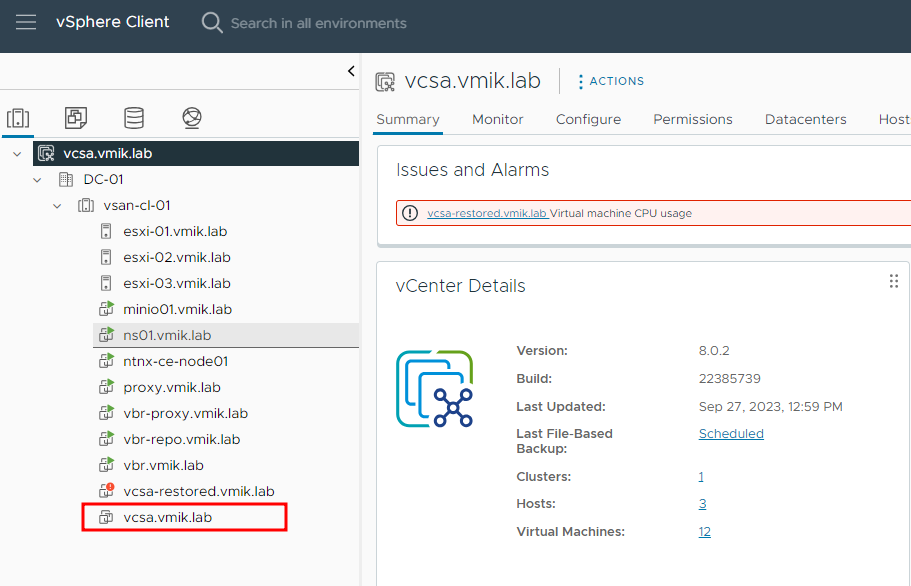
You may see two vCenters. First – old, that “crushed” and new – deployed from backup.
After this procedure, all hosts are connected, and no failures are observed in the vSAN cluster:
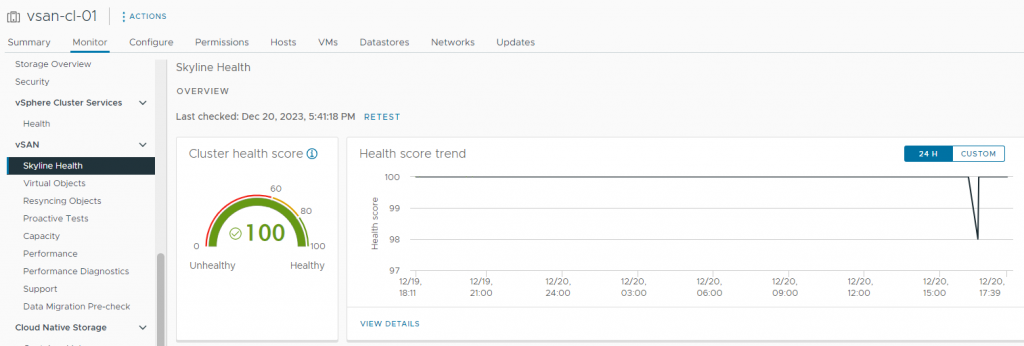
That’s how native backup and restore works for vCenter Server.
In conclusion:
The procedure of configuring native vCenter Server backup is simple and can be described in three steps:
- Configure a remote share, where backups will be stored. The remote share can be FTP, FTPS, HTTP, HTTPS, SFTP, NFS, or SMB;
- Configure an Ephemeral port group if you use Distributed Switch;
- Configure backup and schedule in the vCenter Server Appliance Management Interface (VAMI).
The restore procedure is also simple and can be described in a few steps:
- Run vCenter installation on the local machine. You must have the same installer version, as a version of vCenter Server that should be restored;
- Follow the restoration steps.
In my opinion, this type of backup has its pros and cons.
Pros:
- Native backup doesn’t require any additional software;
- It doesn’t require additional licensing.
Cons:
- The restoration procedure can be slower than restoring on the VM level;
- Necessity of installation ISO, which may be hard to find on occasion.
Anyway, it’s a great solution to protect your vCenter Server. Don’t forget to configure a backup, even if you are using another protection method.
In the next article, we will talk about the protection of the vCenter server using 3rd party backup software.
![]()