
Sometimes deploying Prism Central using an Internet connection is not an option, or a specific version may not be available. In this case, we can download PC deployment files from the Support Portal and deploy it using the Prism Central 1-click deploy from Prism Element method.
In this article, we will look at how to deploy a PC using an offline bundle.
For those who don’t know, Prism Central provides the ability to manage multiple Nutanix clusters from a single pane of glass, as well as additional features for managing, monitoring, reporting, and access control that are not available from the Prism Element interface. Also, Prism Central is required to deploy services like Nutanix Kubernetes Engine, Objects, Flow, and so on.
First, we need to download Prism Central binaries from the Support Portal download section.
Navigate to Downloads – Prism Central and find the desired version:
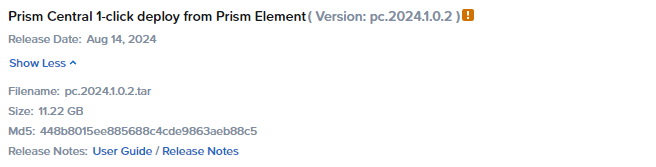
In my case, it’s pc.2024.1.0.2 which is recommended to use with AOS 6.8, which is the foundation of Community Edition 2.1.
From the right, you will see a Download button. Click it to start downloading. Also, under the Download button, you should see a metadata link. Click to download a metadata file.
As a result, you should download two files: pc.2024.1.0.2.tar – a larger one, and a metadata file – generated-pc.2024.1.0.2-metadata.json.
File names in your case may be different, and they depend on the downloaded version.
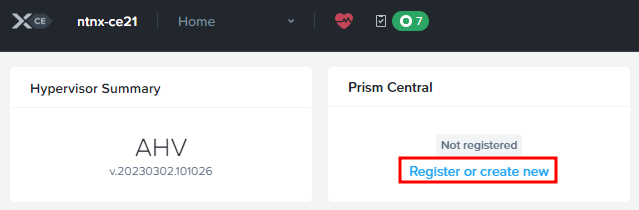
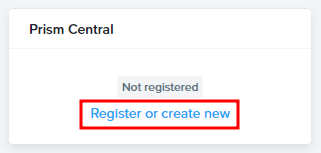
Now connect to the Prism Element and, from the main page, click on the “Register or create new” link to begin the process:
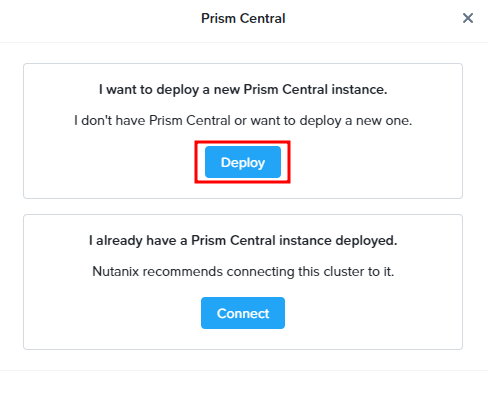
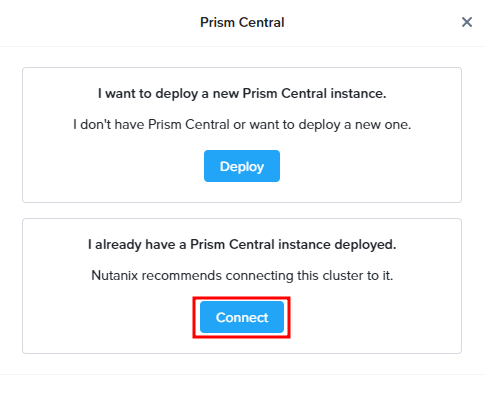
Select the first option – Deploy:
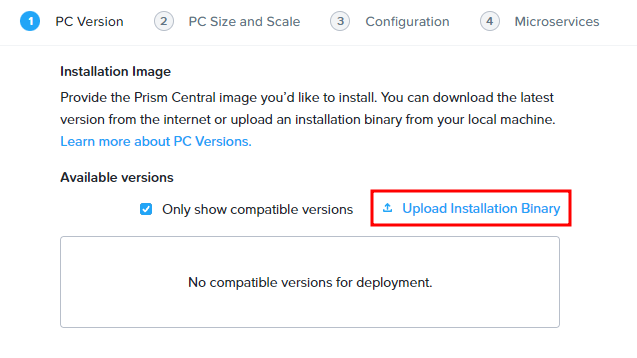
Next, if you have an Internet connection, you may see a list of available versions. In my case, there are no versions compatible with CE 2.1. So, let’s upload the Installation Binary of the compatible version:
Select two previously downloaded files and click upload:
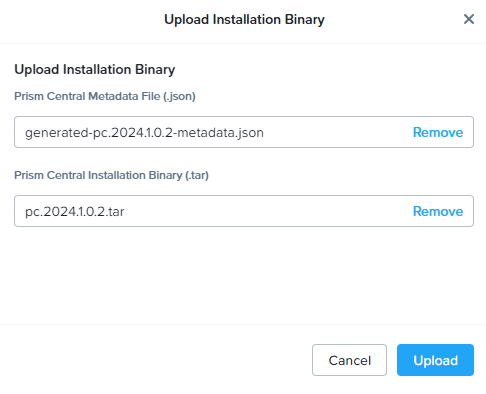
You will see that uploading has started:
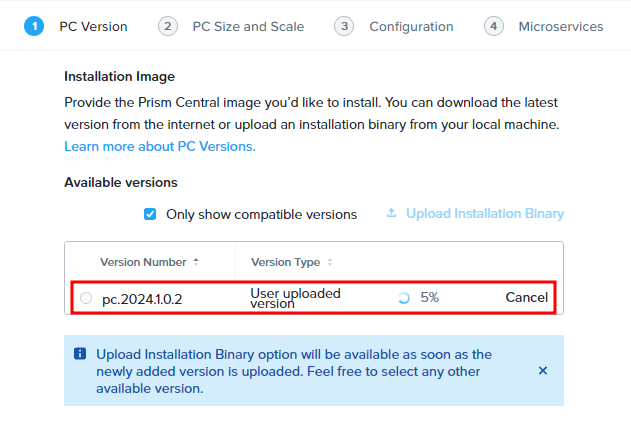
After uploading, we can choose a Prism Central version to deploy:
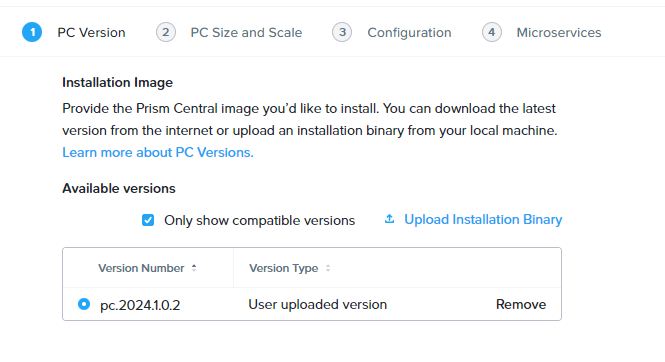
Select the version and proceed forward. There we need to choose the Prism Central size, based on the infrastructure:
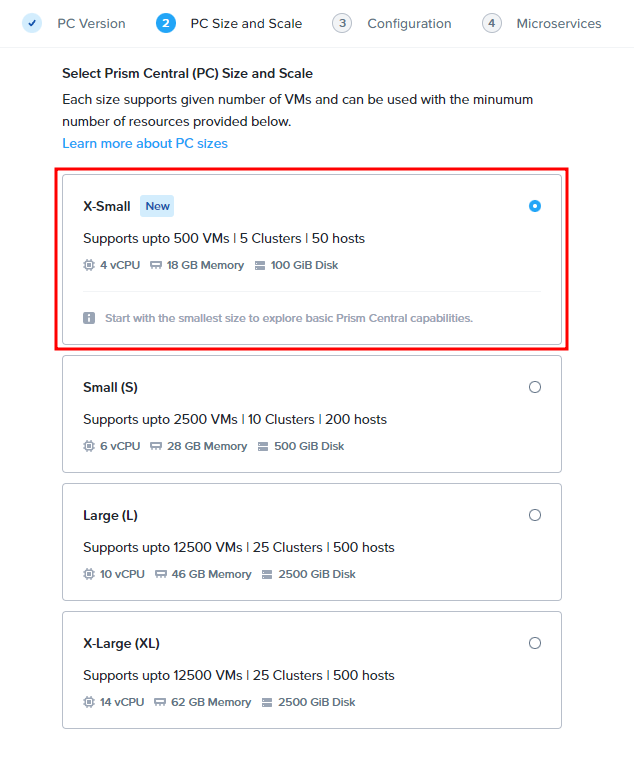
You may notice that a new option X-Small is available with Prism Central 2024. I will go with it for my Lab environment.
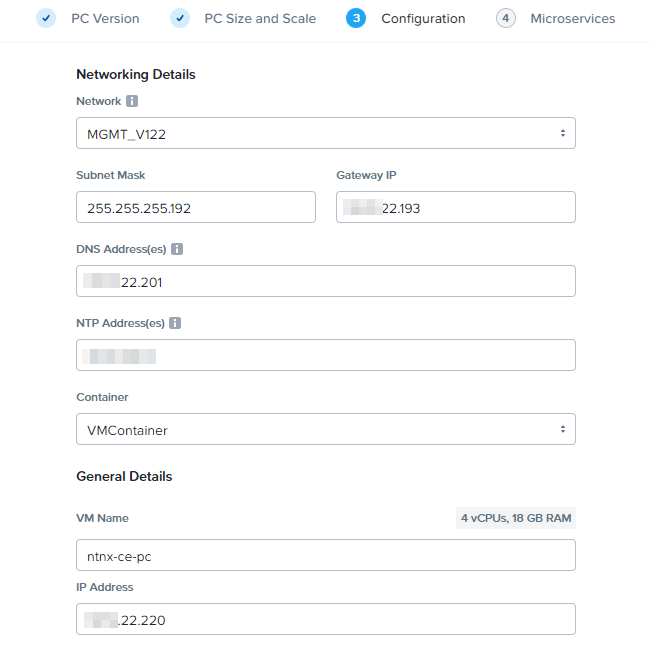
Next, we need to provide network information and select a storage container, where the PC VM will be located:
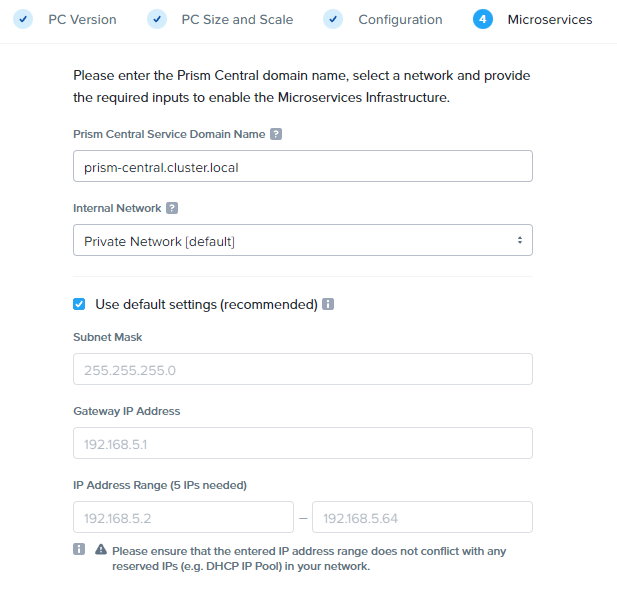
And the last step – Microservices. It’s a new option for PC 2024. You can leave everything by default or adjust the settings if you know what you are doing:
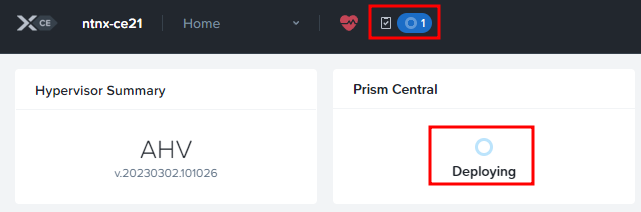
Proceed further. Review the summary and click Deploy to begin Prism Central deployment:
After deploying, connect to the Prism Central web interface using https://pc-ip:9440 address:
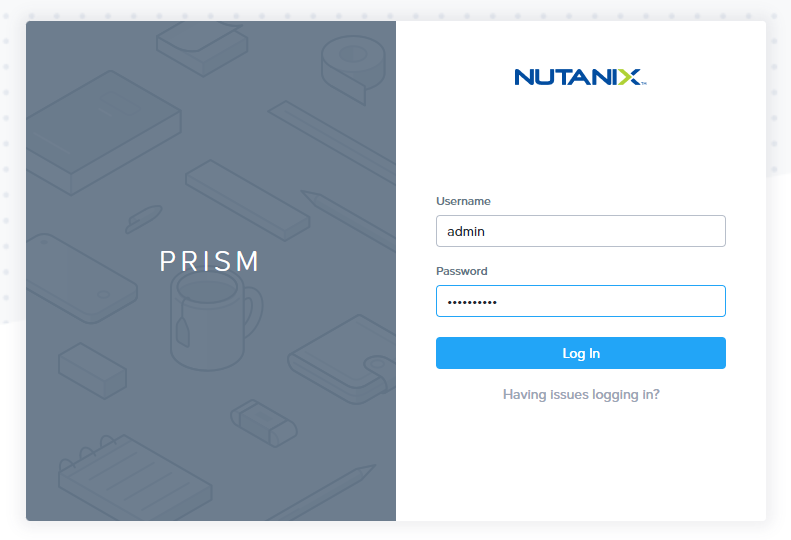
Authenticate with the admin login and password Nutanix/4u. You will be asked to change the password:
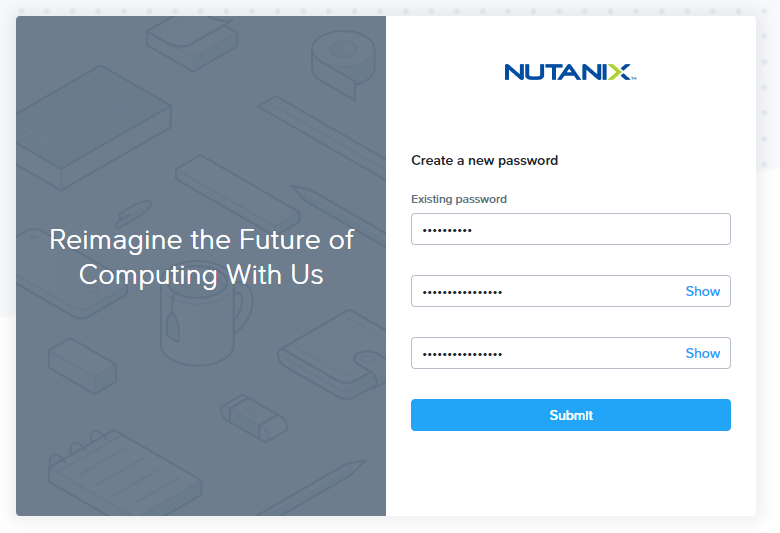
Now authenticate with the new password. Proceed a few steps forward, including accepting EULA and enabling or disabling Nutanix Pulse.
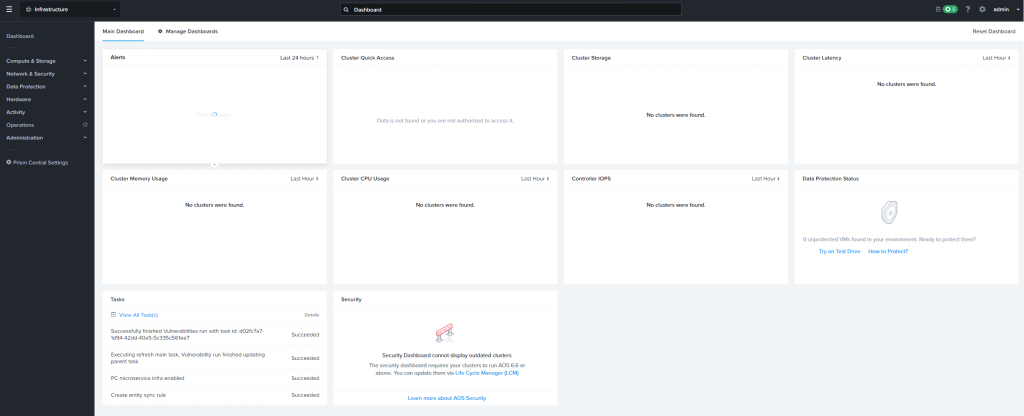
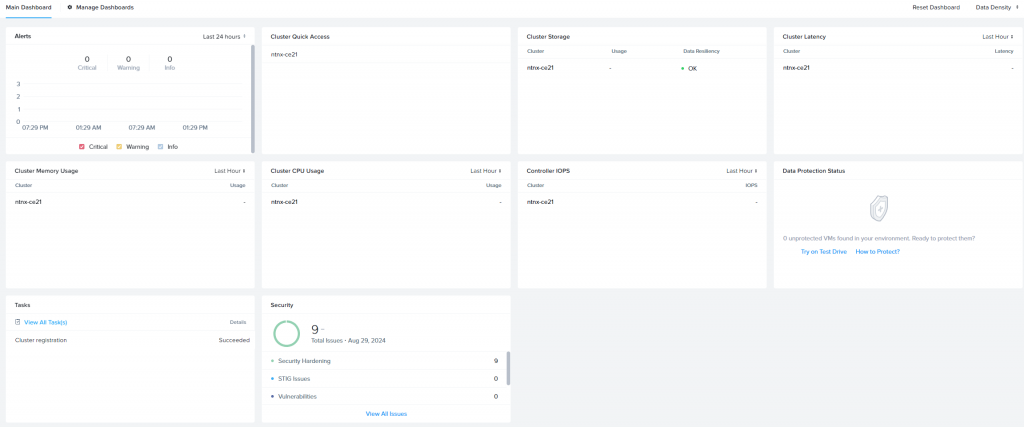
And here is the Prism Central:
Let’s connect our cluster to the Prism Central instance. Return to the Prism Element interface and click “Register or create new” again:
Instead of Deploy, select Connect:
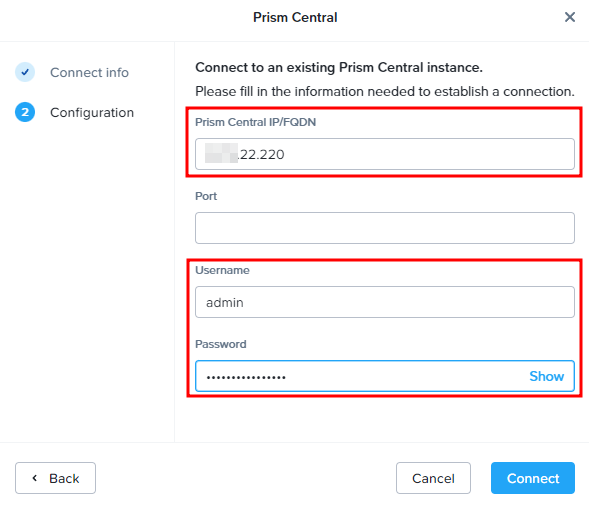
Provide Prism Central IP address, authentication data, and click Connect:
Now the cluster should connect to the Prism Central:
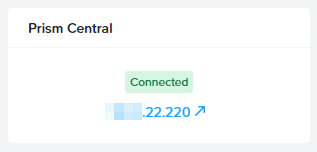
And you will see the cluster in the Prism Central:
In conclusion:
As you can see, deploying Prism Central using an offline bundle is not a hard task. The process is similar to deploying using an Internet connection.
![]()