For those who do not know, Veeam Software Appliance (VSA) is a new feature of VBR v13, and this product is a pre-built, pre-hardened appliance based on the Veeam-managed Linux-based “Just Enough OS” (JeOS), including all the software you need to run the Veeam Backup & Replication server.
Using software appliance, you do not need to install Windows Server and backup software; just deploy the appliance, and you are ready to go.
In this walkthrough, we will look at how to install VSA and what the Web UI looks like. We will examine VSA features in greater detail in future articles.
First, let’s look at what JeOS is according to the documentation:
Veeam JeOS (Just Enough Operating System) is a purpose-built, minimalistic Linux distribution developed and maintained by Veeam to streamline the deployment and management of Veeam infrastructure components. Delivered as a bootable ISO, JeOS is pre-hardened following industry security best practices and contains only the essential services and components required to operate specific Veeam roles, such as a Hardened Repository or Proxy Server.
As it was covered before, Veeam Software Appliance is based on the JeOS, with all necessary components needed to run a backup server. You can download VSA as an OVA file or as an ISO. In this example, I will use the ISO file.
Required hardware:
- CPU: 8 cores recommended;
- Memory: 16GB plus 500 MB RAM for each concurrent job;
- Two hard disks with 240GB or more, for OS and Product installation;
- If you are deploying an appliance using an OVA file, you need ESXi 7.0U2 or later.
Installation
After creating a virtual machine with the minimum recommended settings, attach the downloaded VSA ISO file to it and boot from CD-ROM. We will see two options – Install VBR, or EM:
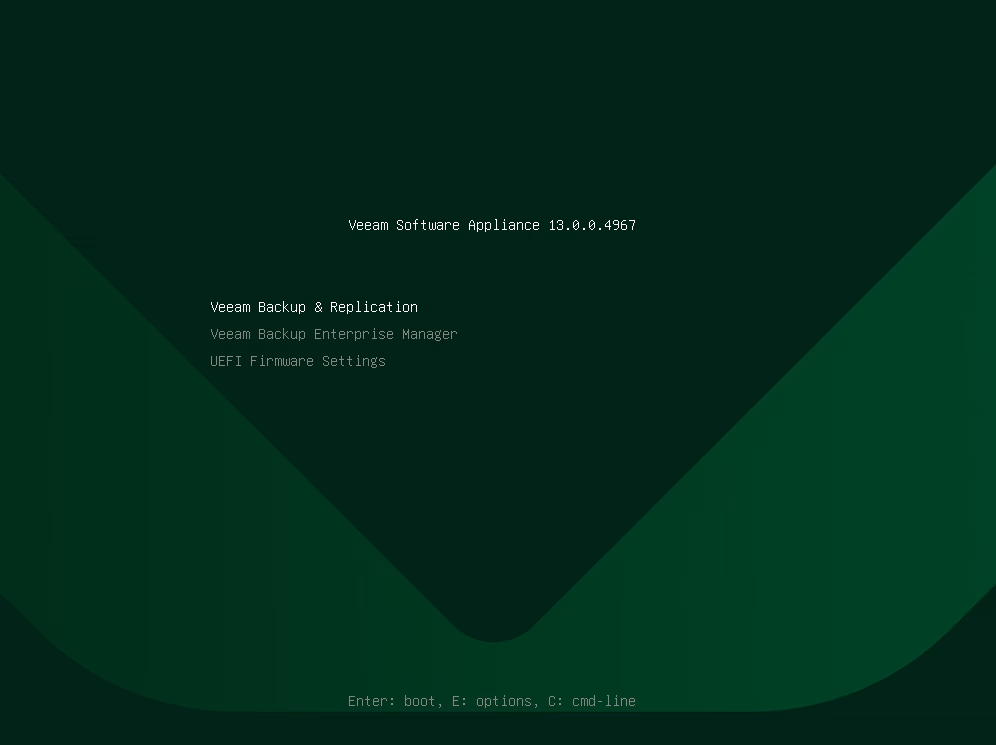
In this walkthrough, I will install Veeam Backup & Replication.
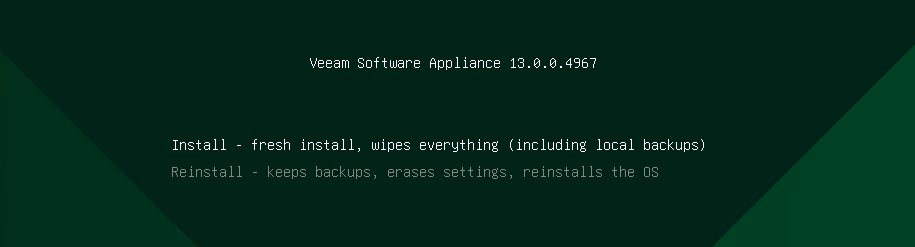
Next, we will have two options: install or reinstall:
If we select install, the installation will check the necessary configurations, and setup may fail. In this example my disks are smaller than the requested minimum:

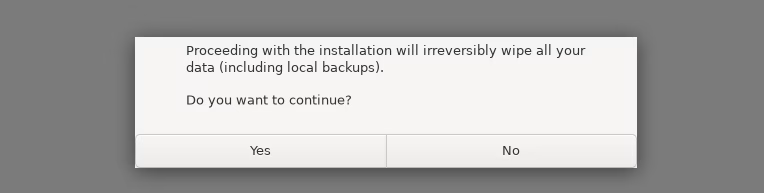
If everything is ok, a GUI, similar to any RHEL-like installation, will boot. First, it will warn you that all the data will be wiped:
After that, no further action is required. The system will install everything that it needs and will be rebooted:
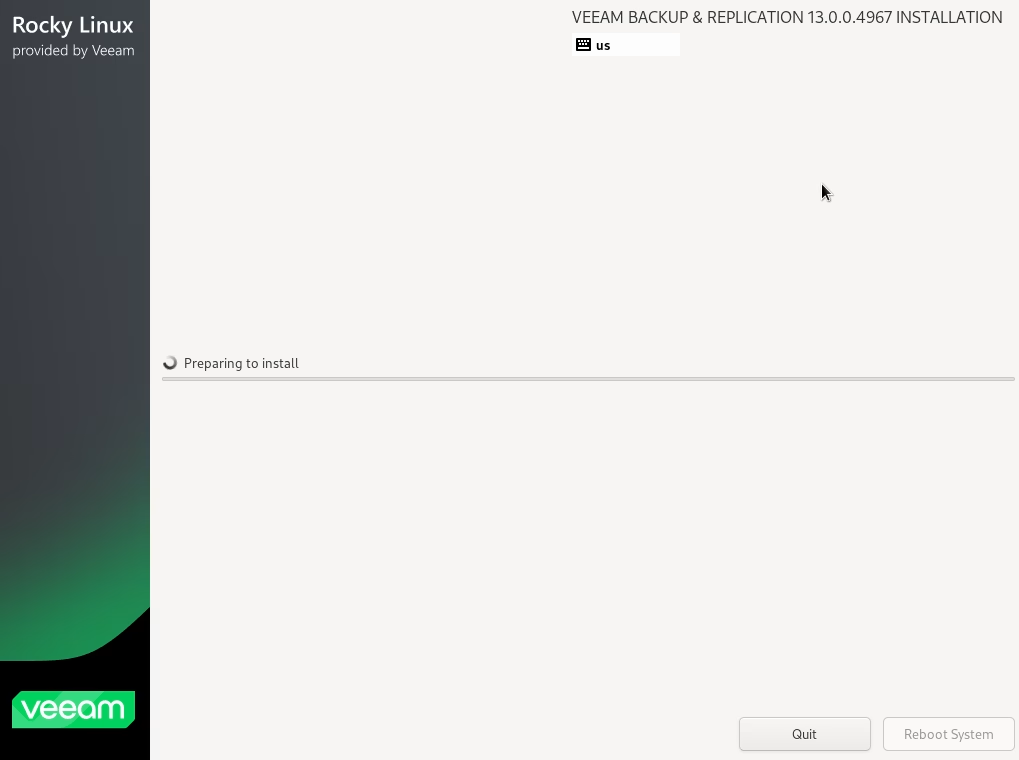
At this point installation is completed, and we can start configuring the appliance.
Configuration
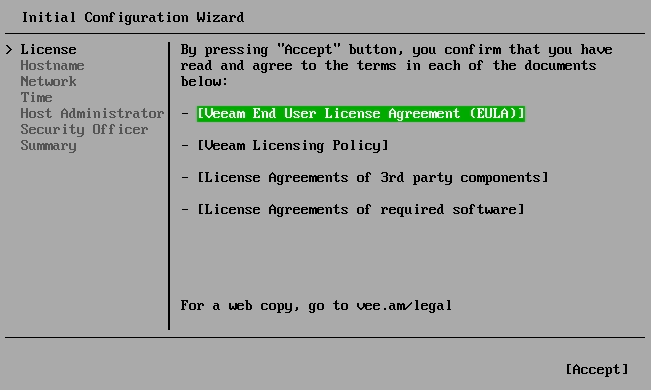
Right after reboot, first we need to read and accept the EULA:
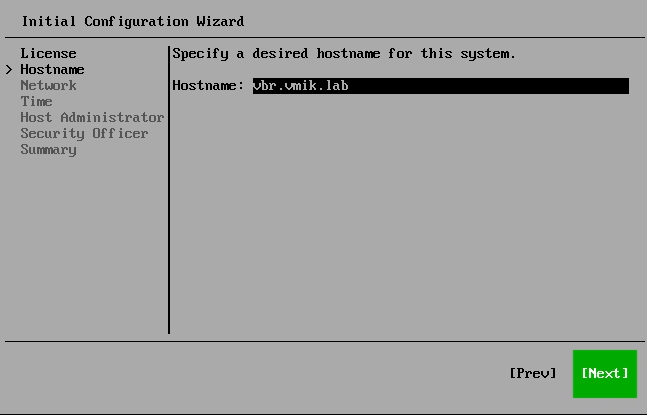
Next, provide the hostname of the appliance:
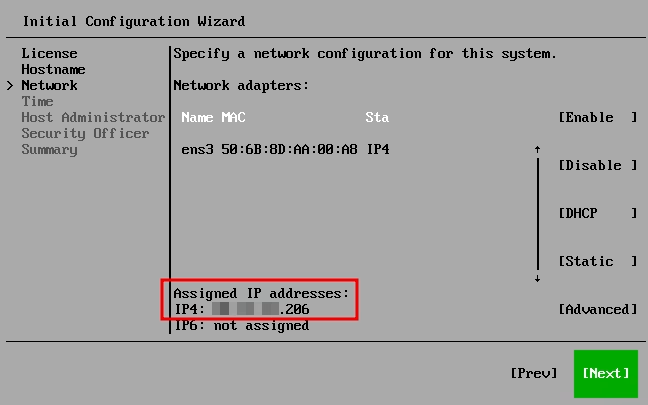
In the network settings, I decided to configure a static IP, using the corresponding menu:
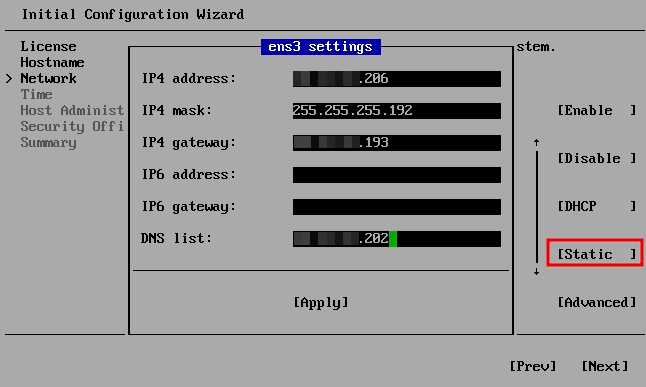
After applying IP settings, the appliance should be “pingable”:
On the next screen, configure the desired NTP server and time zone:
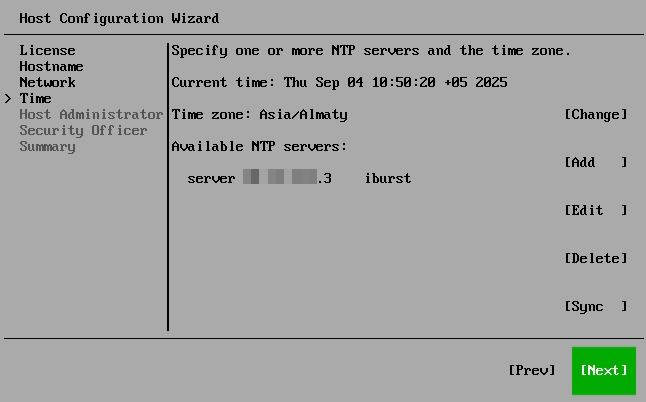
I use only one NTP server, but you can add more using the “Add” button.
In the host administration section, provide a password for the veeamadmin user:
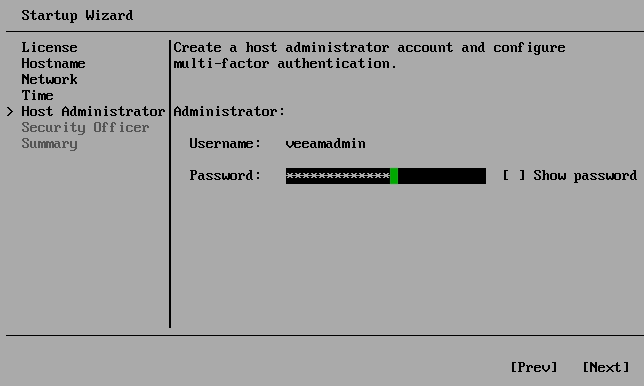
Your password should be DISA STIG compliant; otherwise, you will receive an error:

After setting the password, we need to configure multi-factor authentication:
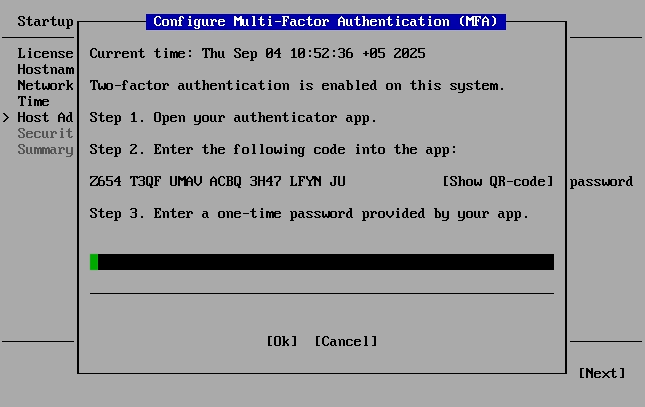
You can use any OTP application you like. I use Google Authenticator.
- In the menu above, click Show QR code;
- Open Google authenticator and scan the code;
- Thereafter, the authenticator provides you a 6-digit number:
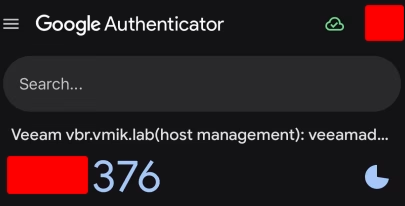
Enter the number in the VSA MFA configuration field.
MFA will be used if you want to configure appliance settings using the server’s console or using a host-management web interface (more about it later).
After configuring the password and MFA, next we need to configure the security officer account:
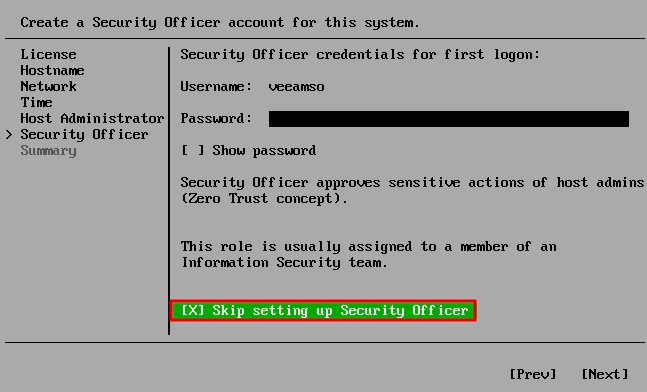
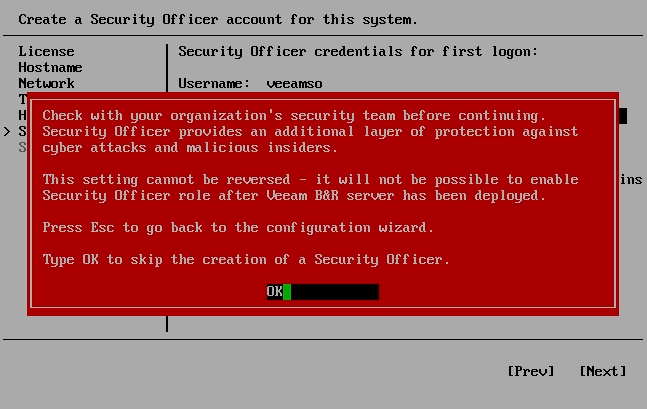
We can skip this step, but it requires confirmation:
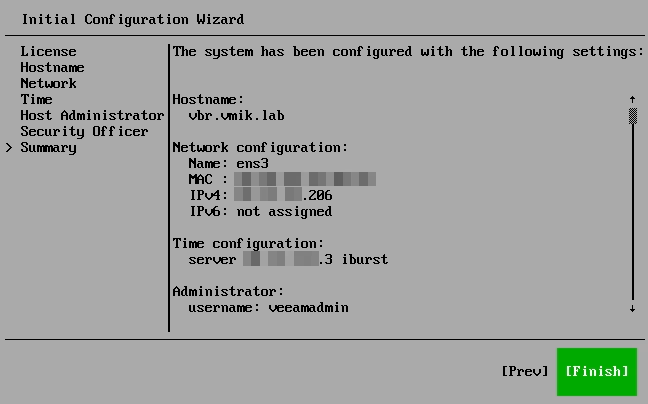
The last step is to review the settings. After clicking “Finish,” the appliance will be configured:
After reboot, we will see that VSA is configured, and we will see two URLs, one for VBR Web UI and one for host management:
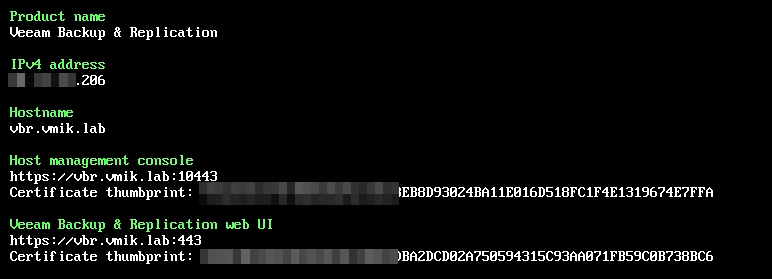
Web UI is an interface to interact with the VBR server, as you are interacting using the VBR console, but with lesser functionality at this moment.
The host management console is used to configure the appliance (it requires two-factor authentication).
Using Web UI
Before we begin, please note that not all the features were added to the Web UI at the moment of writing. For everything we need, we can use the Windows console, as we have done for years.
Connect to the VBR address/hostname using a browser. We will see a login screen, where we can use the veeamadmin user with a password specified during configuration. The Web UI does not require a one-time password:
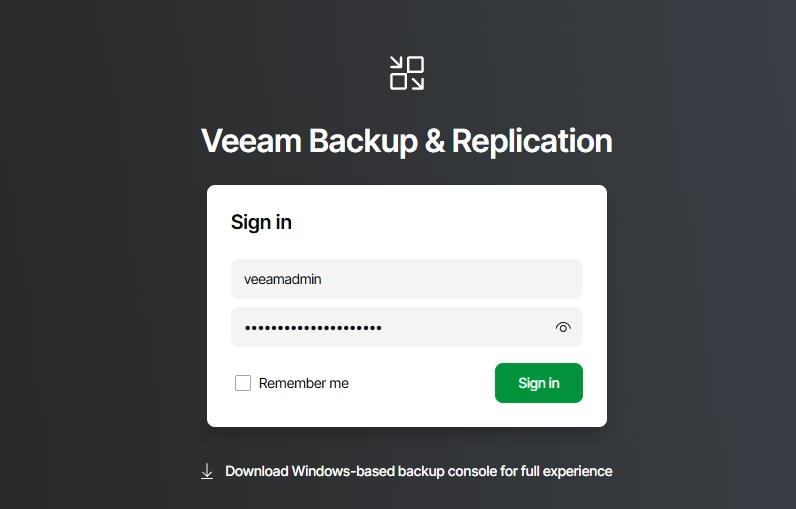
Note that you can download the “thick” client from this page.
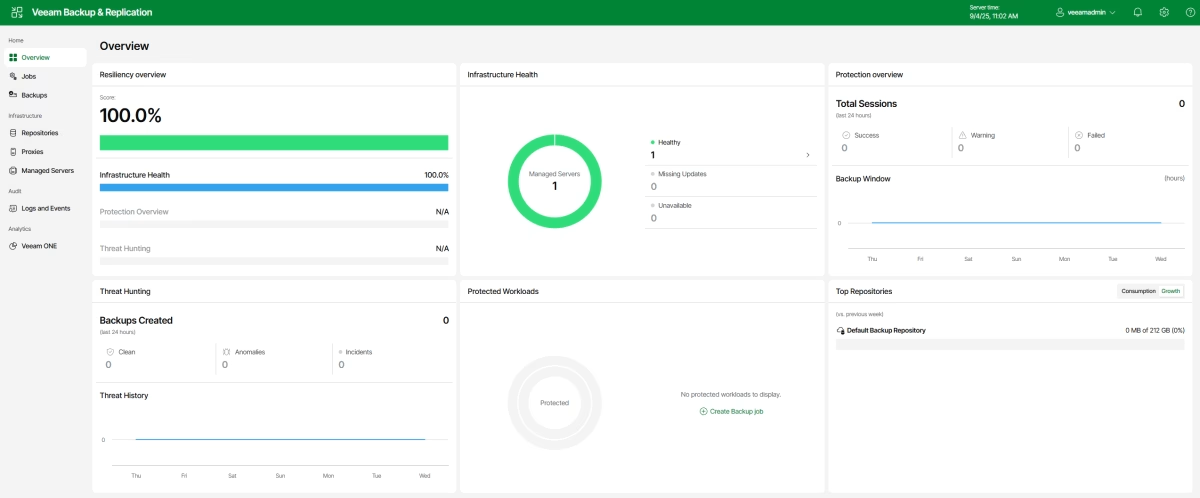
This is how the VSA main page looks:

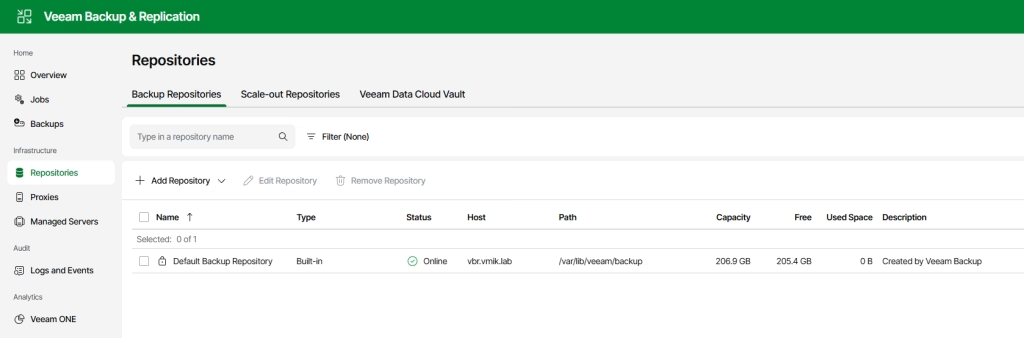
In the repositories section we can see only the default repository:
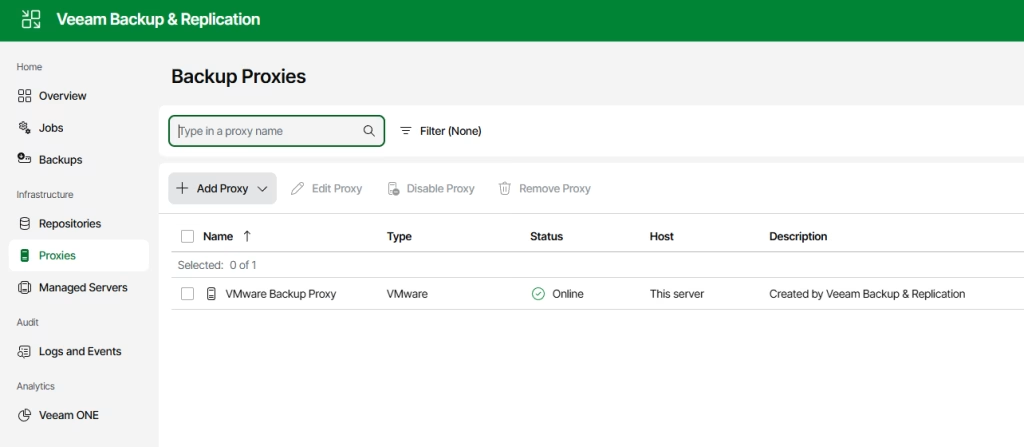
As well as the default VMware proxy:
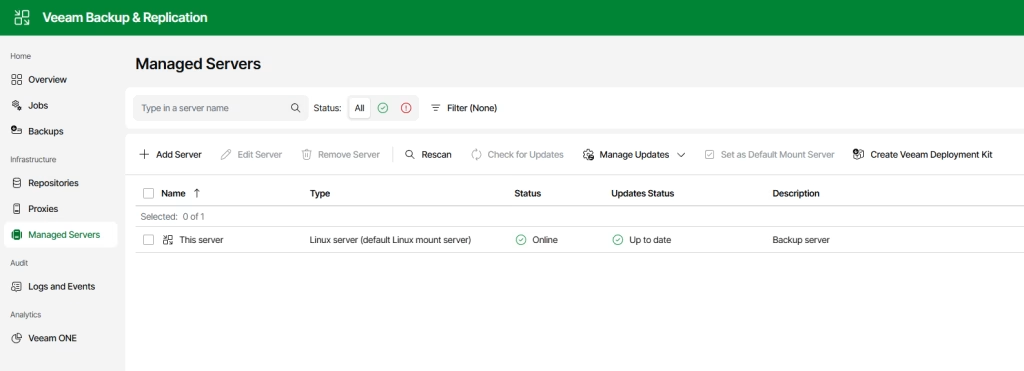
This section displays a single managed server:
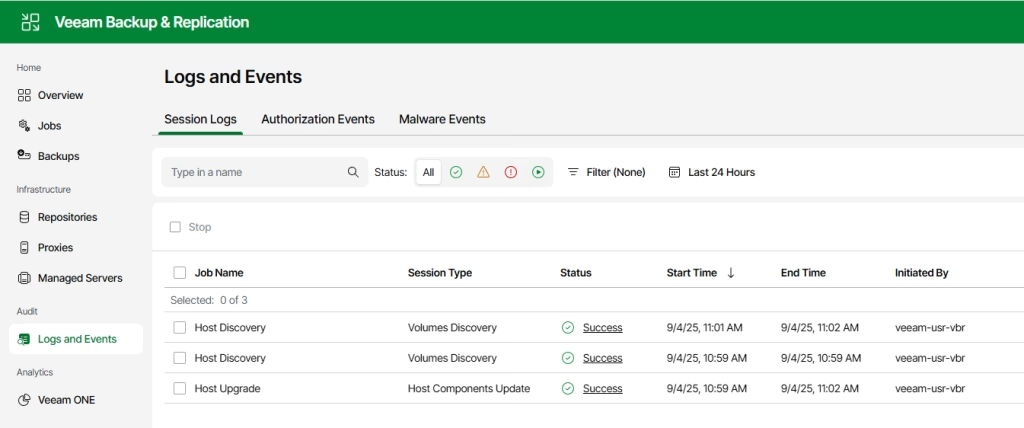
The log section displays session logs, authorization, and malware events:
While there are no jobs, I will not demonstrate this section. I will keep this one for the next articles.
Now let’s walk through the settings (gear icon on the top right):
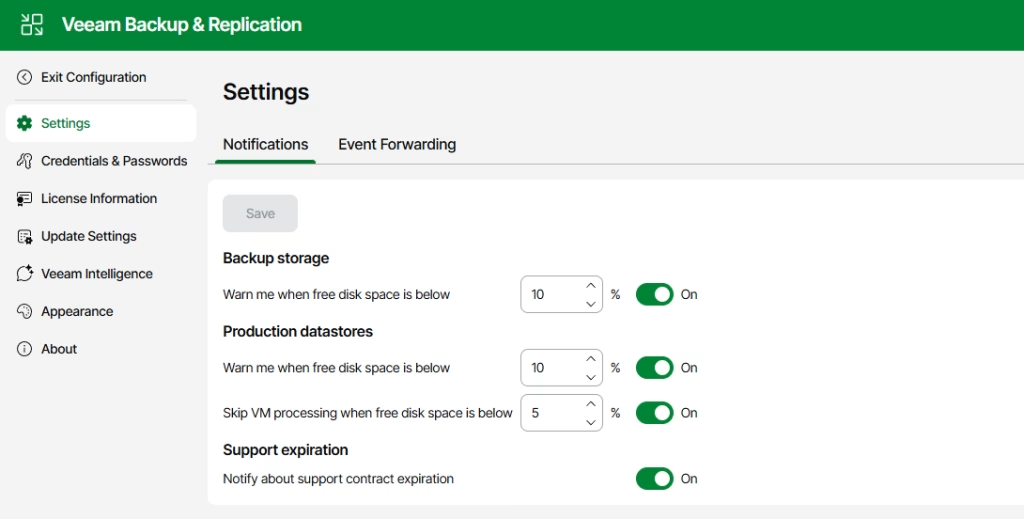
First is the notification settings.
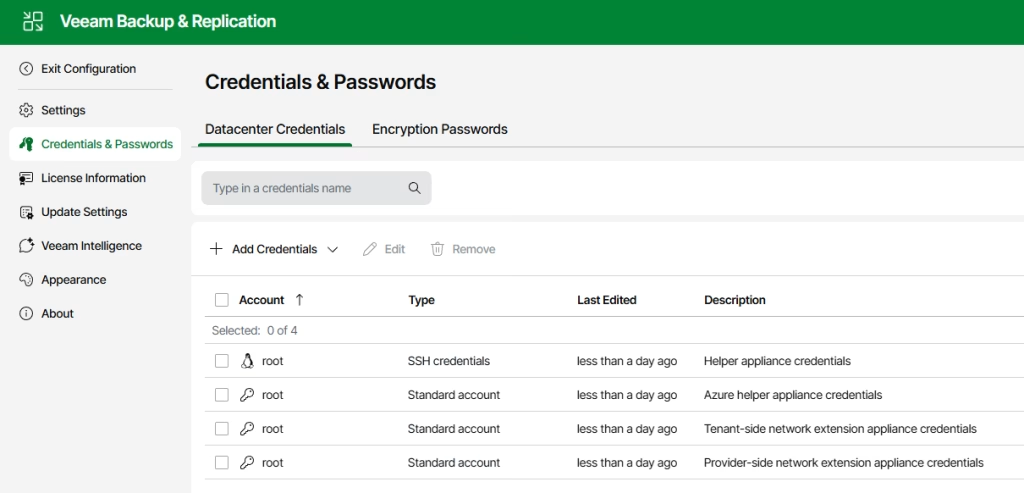
Next, we can observe the credentials section, where we can manage accounts:
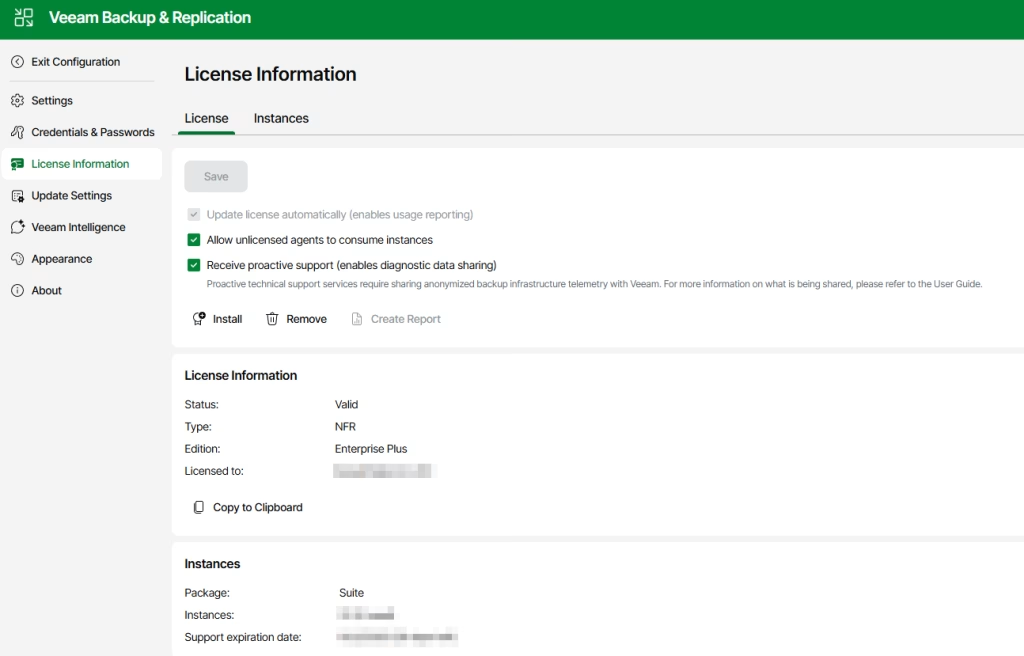
In the license settings, we can manage our licenses. In my example I’ve already installed an NFR license:
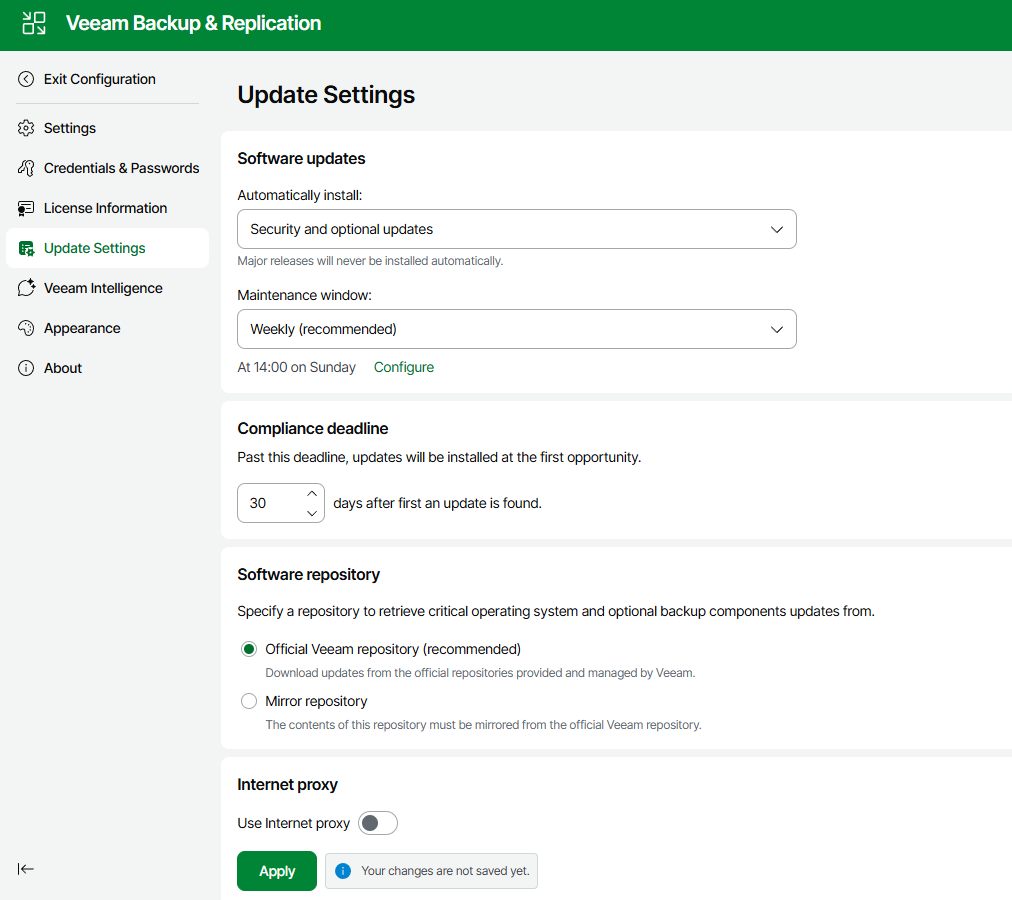
The update settings feature is new for VBR 13, allowing us to manage updates for our Veeam infrastructure:
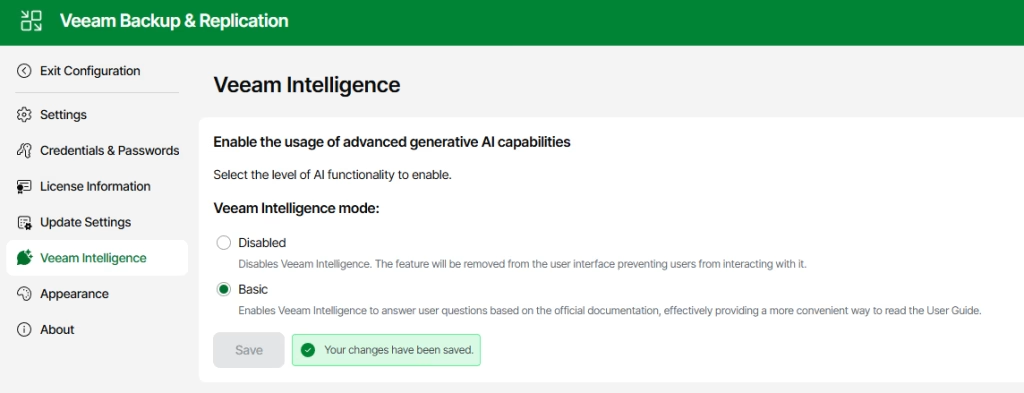
Veeam Intelligence is a little AI, helping you to answer questions based on the documentation. It is turned off by default, but I’ve enabled it:
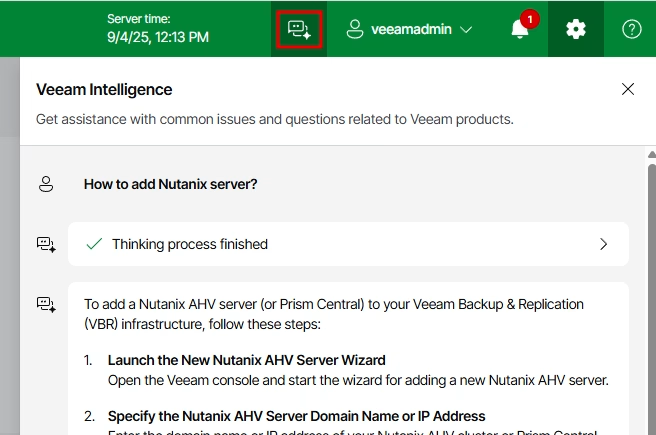
And this is how it looks like in action (useful feature, by the way):
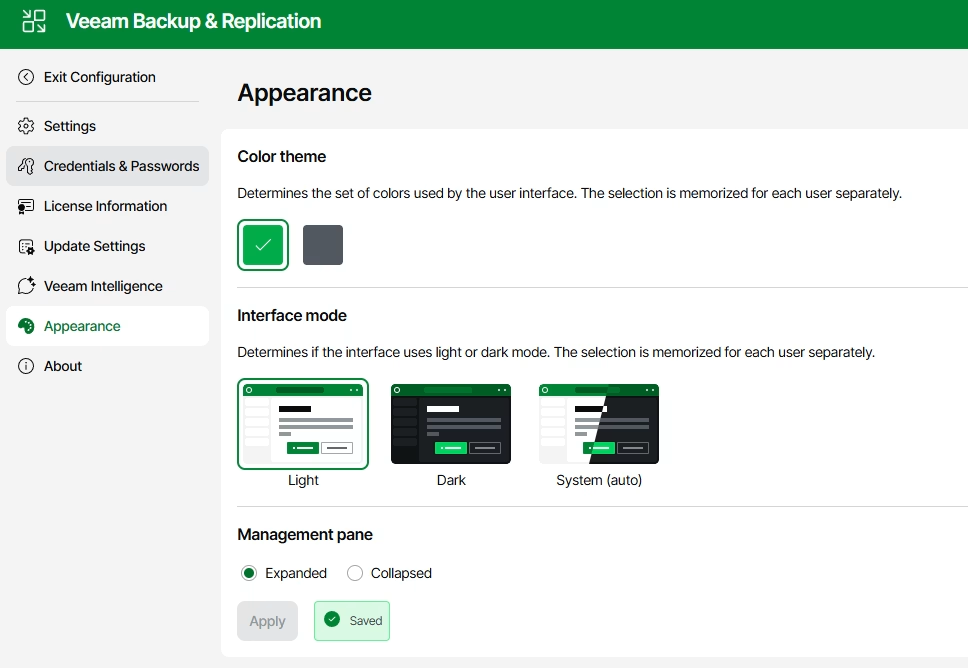
The Appearance section allows you to turn on “Dark Theme”:
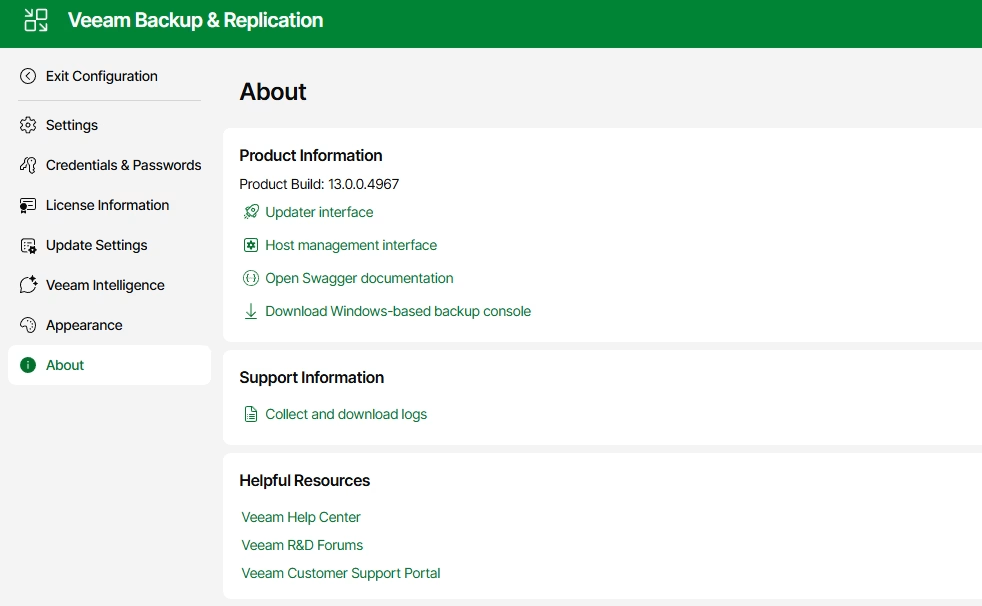
And the last is “About”, where we can collect and download logs. Some useful links are placed here as well:
This is a quick walkthrough around the VSA 13 Web UI. Now let us move to the VSA Host Management UI.
Host Management UI
This interface can be accessed using the VSA hostname, including port 10443.
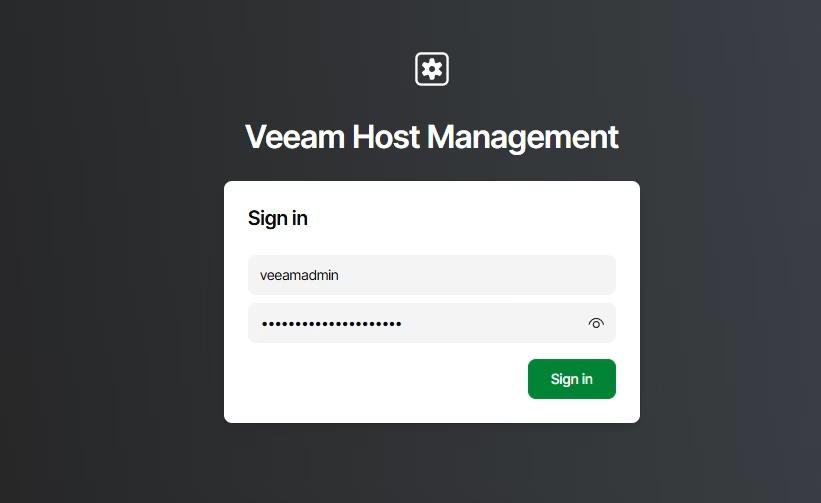
We can authenticate by using the veeamadmin user account:
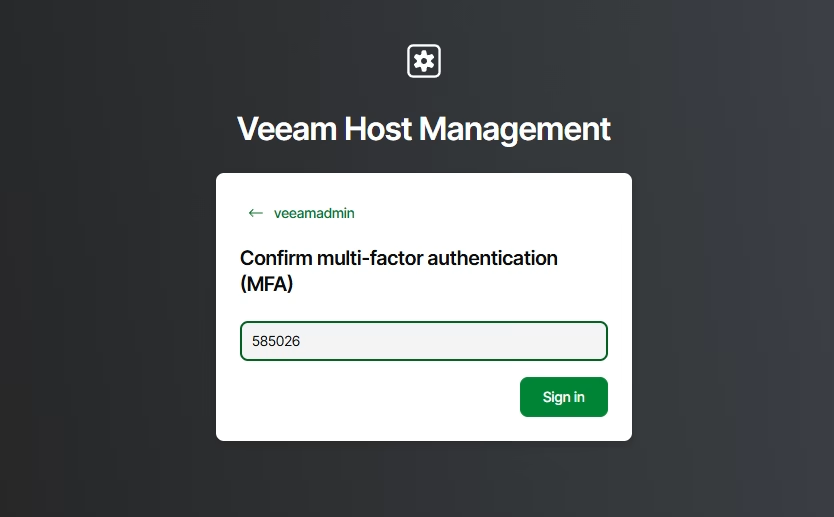
Now a one-time password is required:
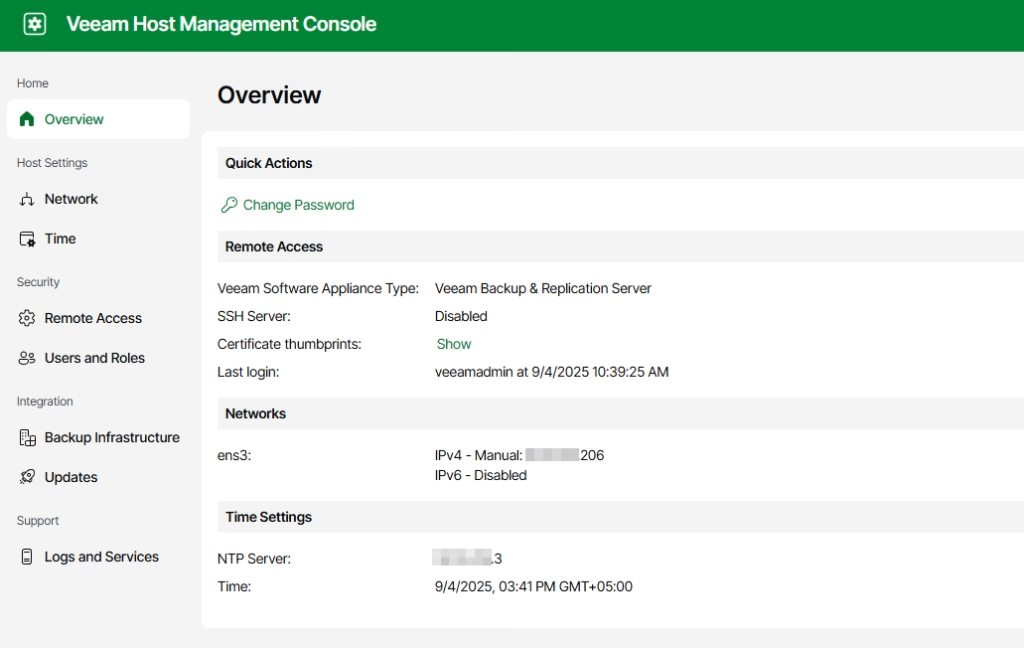
This is how the host management console looks:
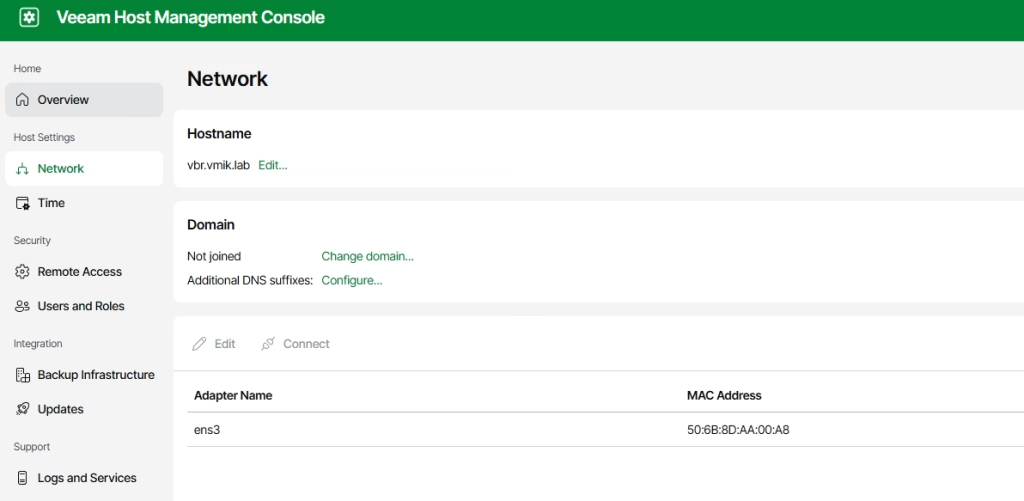
We can configure or edit networking in the network section:
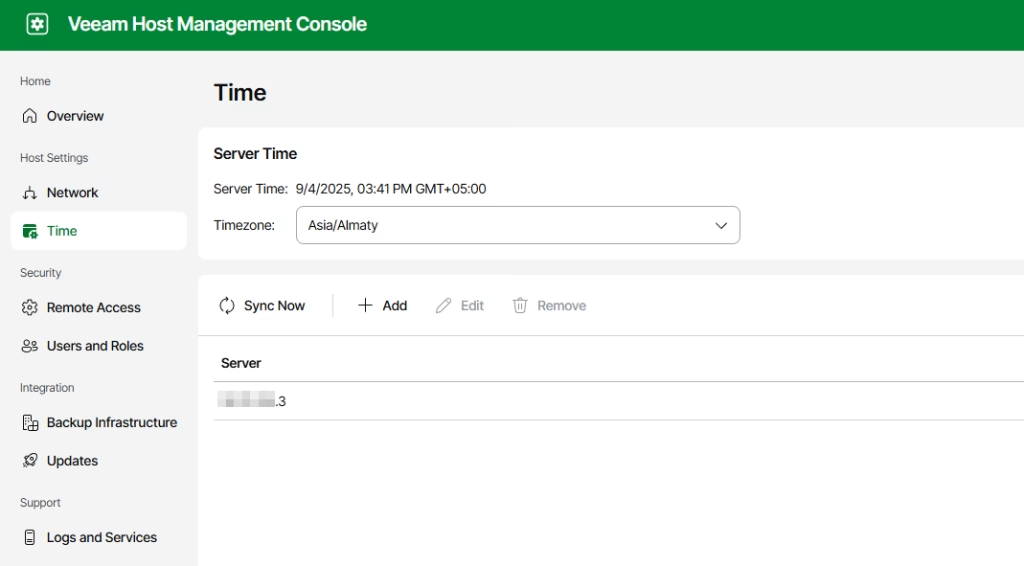
We can also configure NTP in the Time section:
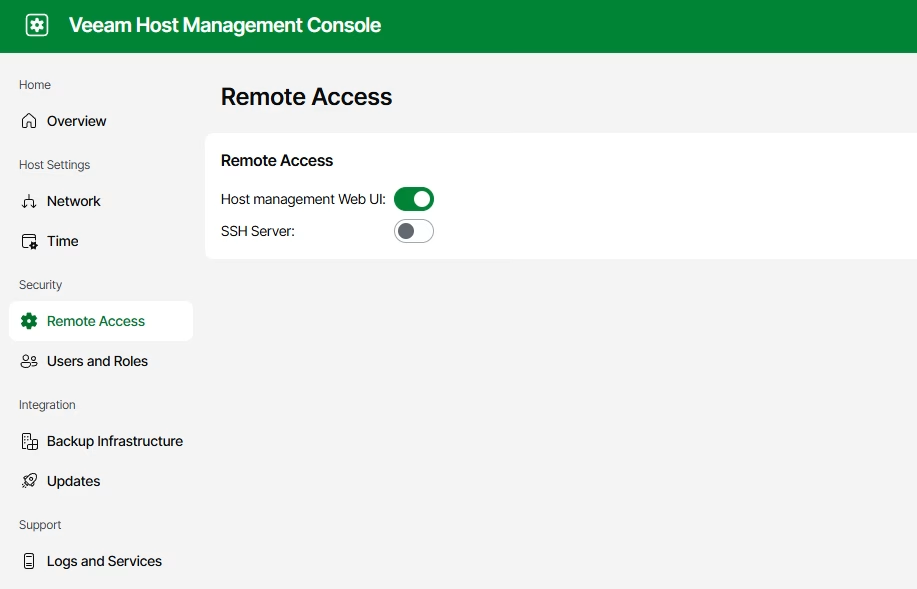
By default, SSH is disabled, and this is a best practice. If we need to, we can enable it (but for troubleshooting purposes only):
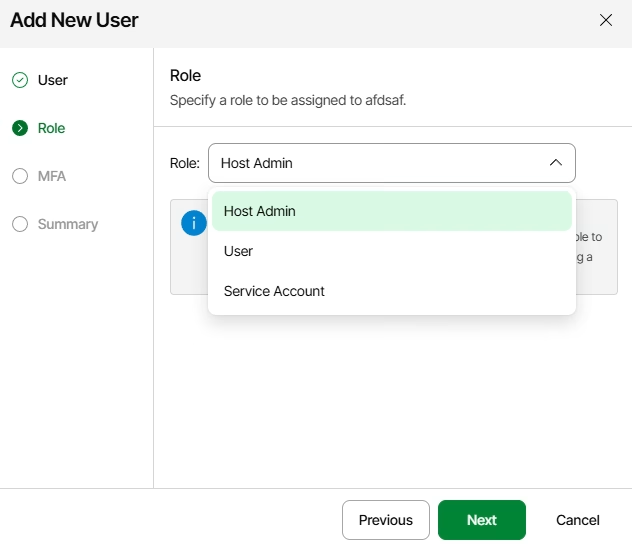
We can manage users in the Users and Roles section:
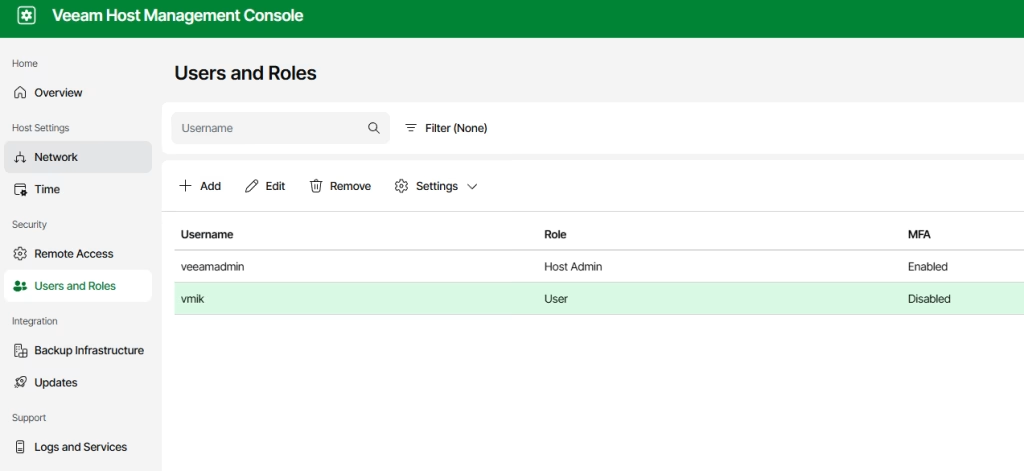
I have already added a new user. There are three types of roles:
Host admin:
Manages Veeam Software Appliance settings using the Veeam Host Management console. You can additionally assign a backup server role to this account; however, for day-to-day operations, we recommend using a separate, standard user account.
User:
Manages backup and restore operations according to the assigned backup server role. Use this role to create backup console users when your Veeam Software Appliance is not domain joined. Password reset will be required at the first sign-in attempt.
Service Account
Provides accounts to be used by standalone backup agents and plug-ins for authenticating with the backup server. These accounts cannot be used for interactive logons to any management console and don’t require their passwords to be rotated.
Only the host admin role requires enabling of multi-factor authentication.
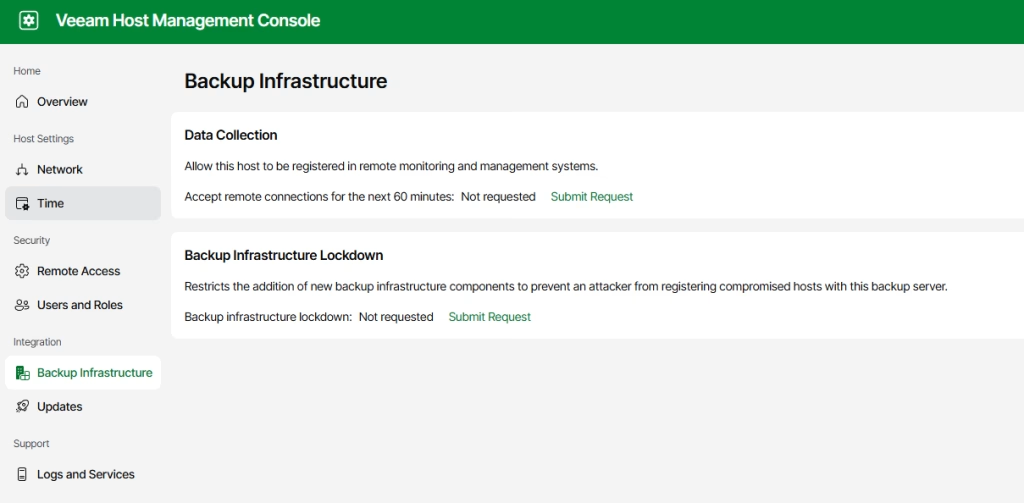
The next section is about backup infrastructure. I found interesting a backup infrastructure lockdown feature, which restricts the adding of new backup infrastructure components:
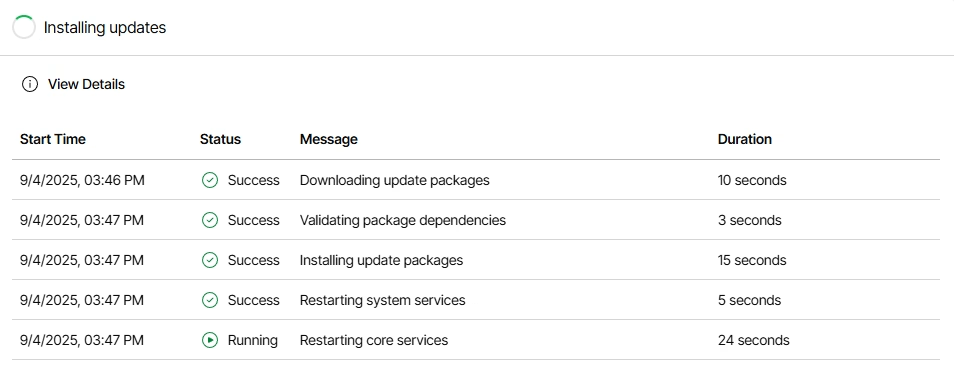
In the updated section, we can manage VSA updates. You can see that one update is available. Let’s install it:
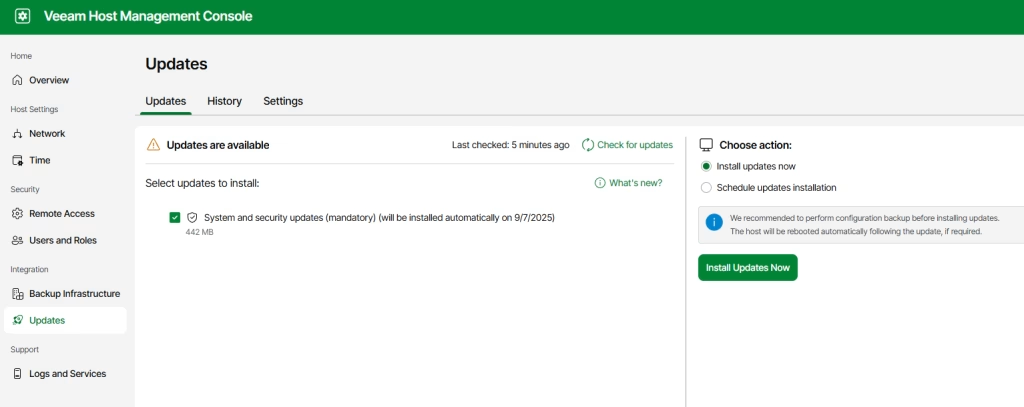
You can observe the process during updating. Keep in mind that some VSA services may be restarted during the update:
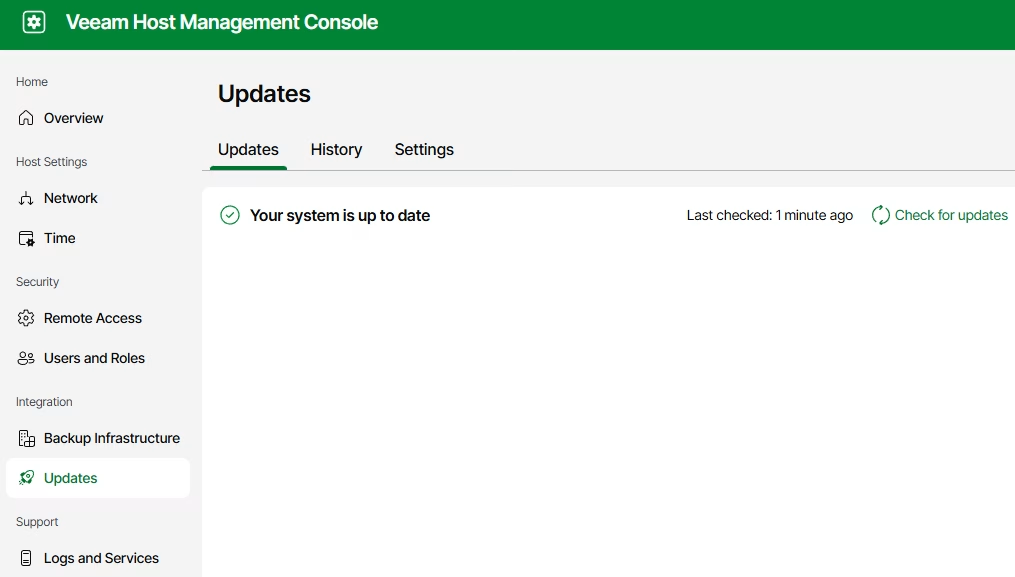
When no updates are available, you may see that the system is up to date:
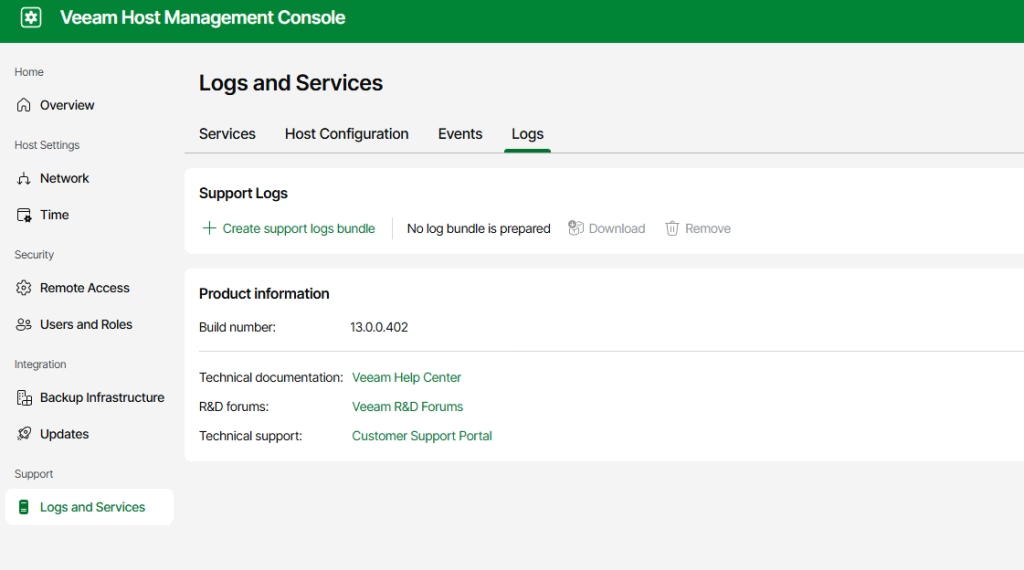
The last section contains logs and services. First, you can identify all running and stopped services:
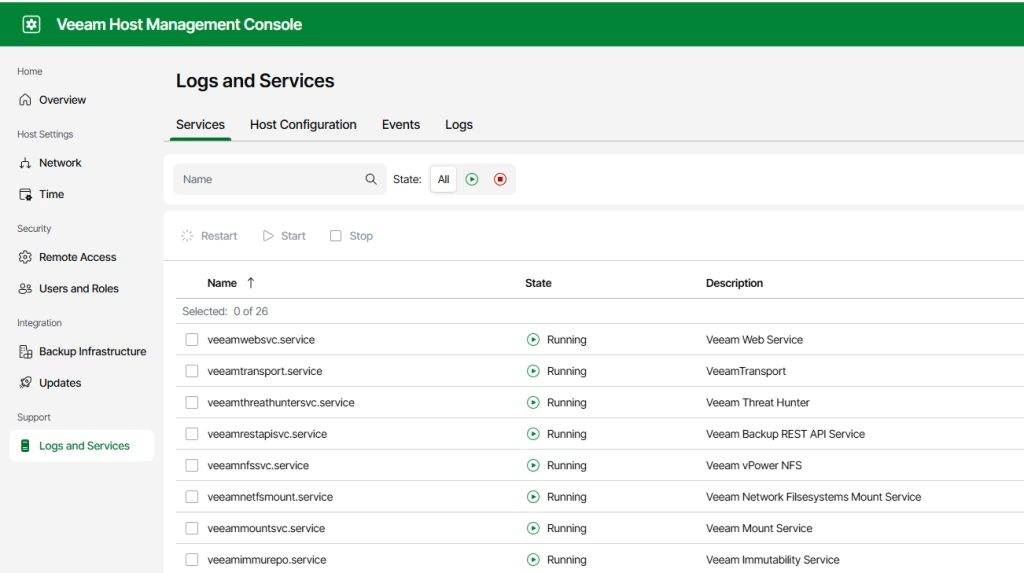
From there, services can be started/restarted/stopped.
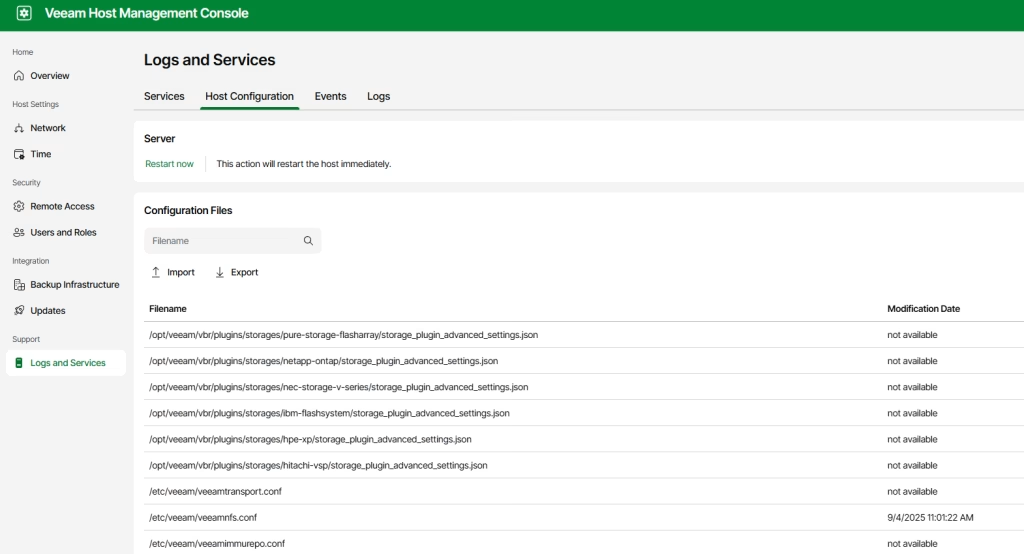
Next is host configuration. If needed, you can download and upload configuration files:
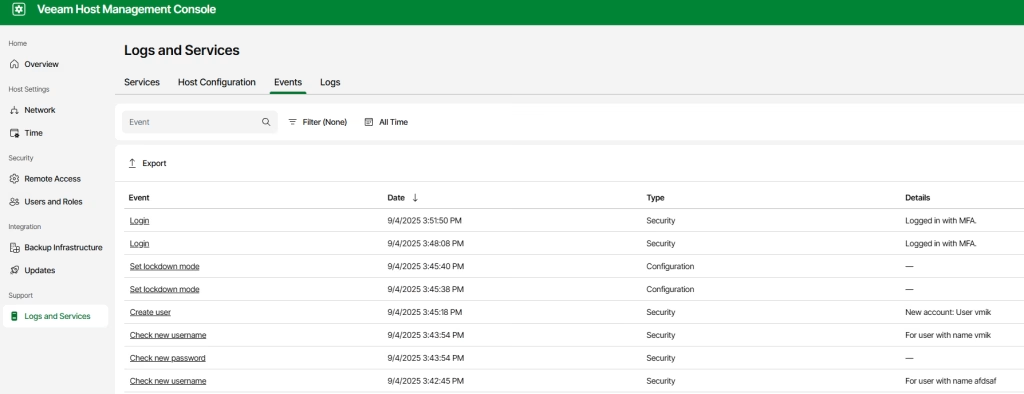
Events displaying all that you expected:
And the last is logs, where we can generate a support logs bundle and provide it to the support:
This was an observation of the host management UI. Some of the tasks can be done from the server console, using the text user interface (TUI), similar to what we used during initial configuration.
In conclusion
Veeam Software Appliance is a good feature, and I like that Veeam is moving this way. I am 100% sure that I will use VSA as my next VBR server.
Currently, there are no options to migrate from a Windows-based backup server to VSA, but I believe that this functionality will be added in the future.
Keep in mind that not all the features have been added to the Web UI yet, so if you can’t find something, for example, SureBackup or Nutanix backups, install the Windows console, and you will find everything you need:
In the next few articles, you may expect more about VSA and how to use Web UI, so stay tuned.
![]()