With the announcement of vSphere 8.0 Update 2 a new interesting feature called vCenter Reduced Downtime Update (RDU) was introduced.
This feature can reduce overall vCenter Server downtime during updates and upgrades.
In a nutshell, RDU is a vLCM feature that creates a new already updated vCenter Server virtual machine and copies all data from running vCenter to the new copy. After data is copied, all we need to do is to switch over to the updated copy of vCenter. Switchover takes less time than the full upgrade procedure and minimizes the downtime of vCenter.
In this article, we will look at how to update the vCenter server from version 8.0 Update 1 to version 8.0 Update 2 using RDU.
Before we dive into the upgrade procedure, please check with the main RDU KB 92659. It also shows the update process example. I recommend to read the last section of the article, called “Unsupported Topologies” to make sure, that this type of upgrade is suitable for your infrastructure.
Let’s begin with an upgrade.
Select vCenter Server, click on the Updates tab, and Update under the vCenter Server section:
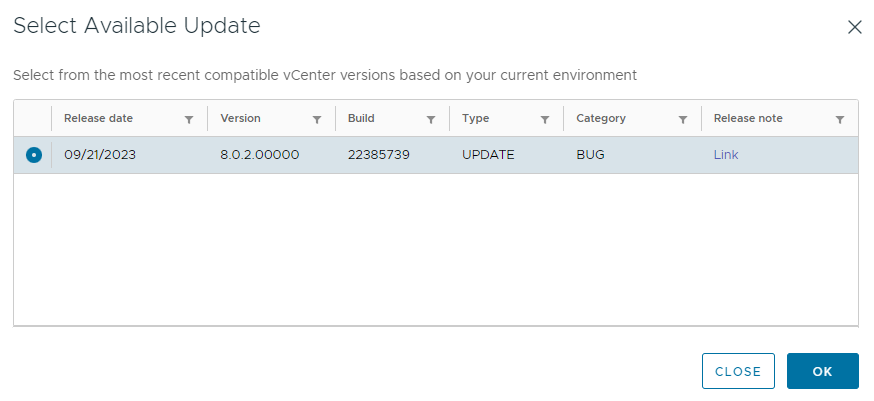
Here we need to choose the target version. In our case, it will be 8.0.2:
The next step is to ensure that we have a backup of your vCenter Server before the update:
After we click next, it’s require to update the vCenter Server Life-cycle Manager plugin to the latest version:
In this case, the version is 8.0.2. Just click on Update Plugin.
During the plugin update, we can face an issue described in KB 94779:
Update 8.0.2.00000 for component vlcm is not found.Let’s fix it. Just follow the provided KB article, and the problem will be solved. In short:
Download fix_rdu.sh file from the KB and copy it to the vCenter Server /tmp directory, or create a new file. The script is not too large;
Run script:
root@vcsa [ /tmp ]# /bin/bash /tmp/fix_rdu.sh
Starting to fix the vCenter Server Reduced Downtime feature
Backing up the file where changes will go in
Patching the file
Restarting Appliance Management Service
Successfully restarted service applmgmt
Fixed the vCenter Server Reduced downtime upgrade
Update the plugin again. It should be fine now:
After the update, you may see another error. It’s fine:
Click on the Discard button to cancel the update process. After the update of the LCM plugin, the overall update process will change.
Now download VMware-VCSA-all-8.0.2-22385739.iso (or the latest version of VCSA installer ISO) and upload it to the datastore or to the content library, where a VM with vCenter can access it.
Connect downloaded ISO to the vCenter Server virtual machine:
Return to the Update section of vCenter Server. You may notice, that the first step is checking of ISO file, instead of the target version:
If you see “Recheck” next to the ISO File Version, make sure, that ISO file is connected to the vCenter Server VM. If it’s not, connect the VCSA Installer ISO to the VM and click on Recheck.
After we click next, it’s time to check backups again:
Step 3 is to check that the plugin is updated:
In Step 4 we need to configure the target appliance – a new instance (VM) of the vCenter Server that will work on the target version (8.0u2 in this case).
After deployment, we will switch over from the current vCenter instance (8.0u1) to the new instance (8.0u2).
Click on Configure Target Appliance:

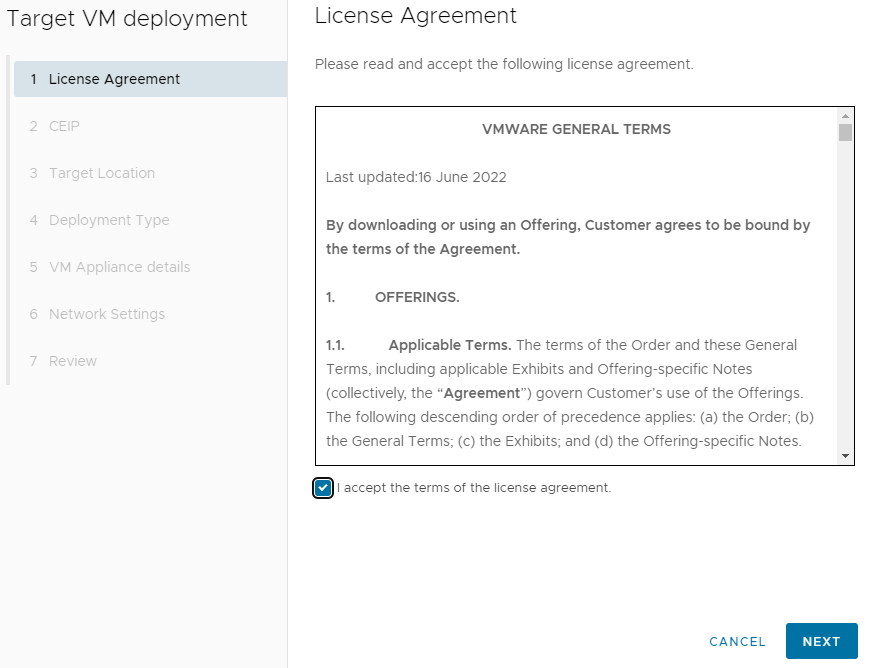
Accept License Agreement:
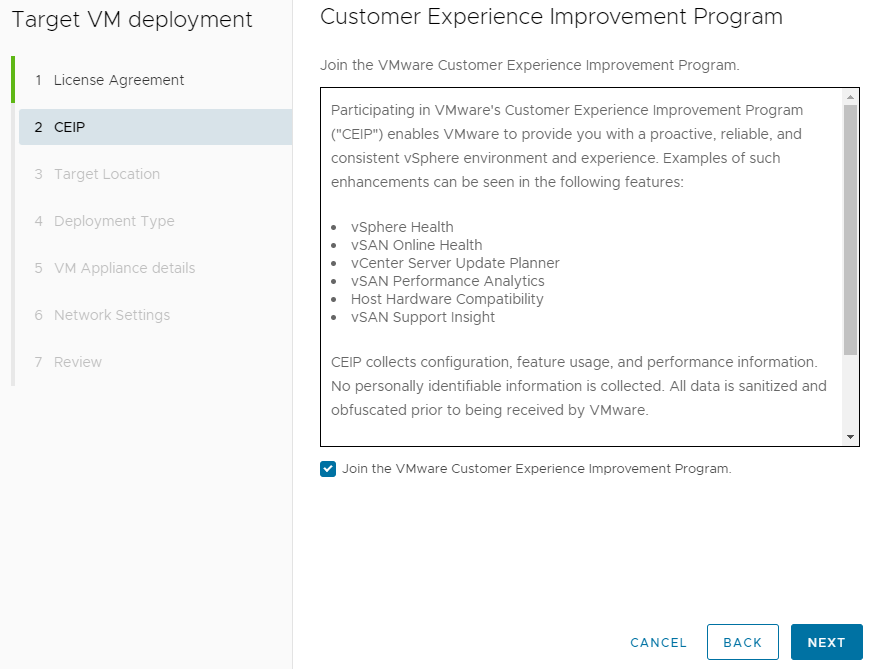
Join CEIP if you want:
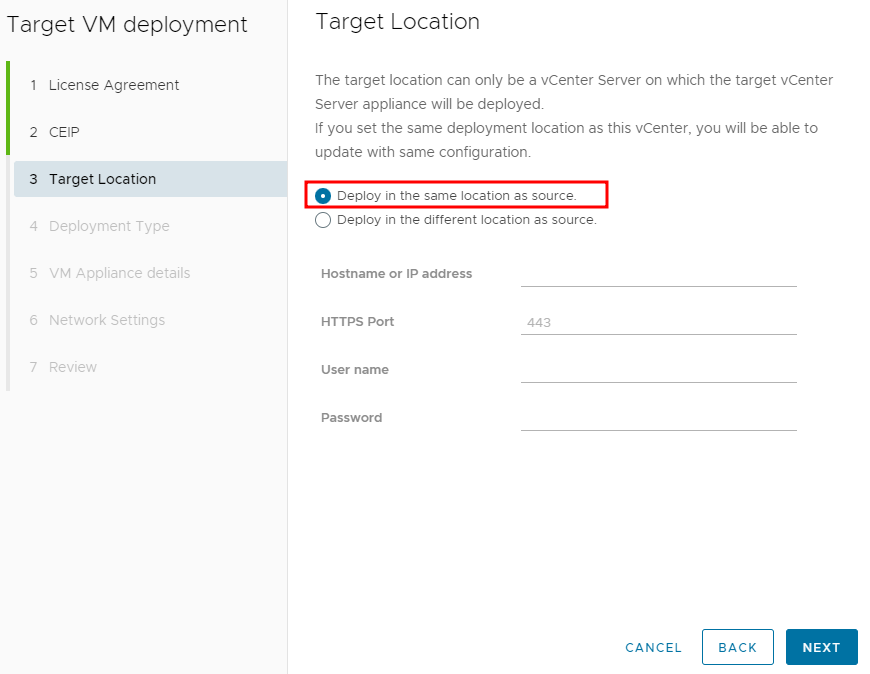
Select the target location, where VM will be deployed. In this case, VM will be deployed in the same cluster as the source vCenter Server:
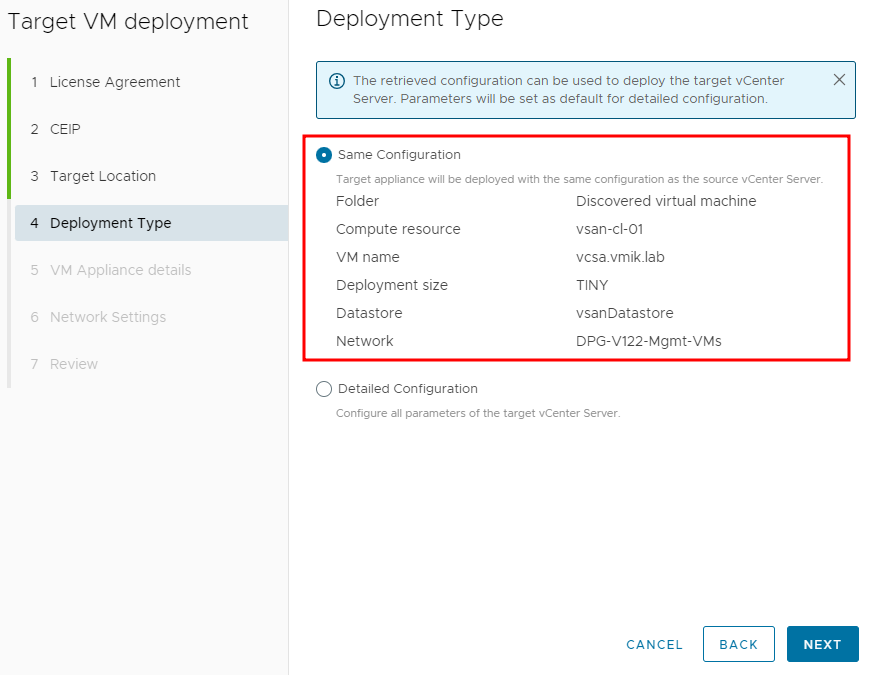
Next, you may change the VM configuration, but I prefer to go with the original vCenter Server settings:
In Step 5 you need to set the VM name and temporary root password:
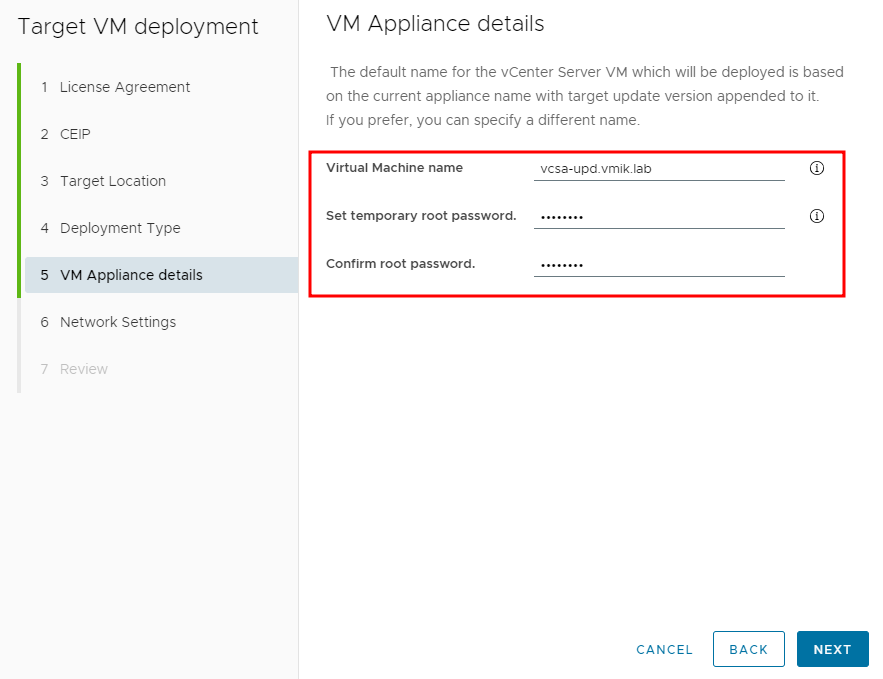
After the switchover process, the root password will change to be the same as on the original vCSA.
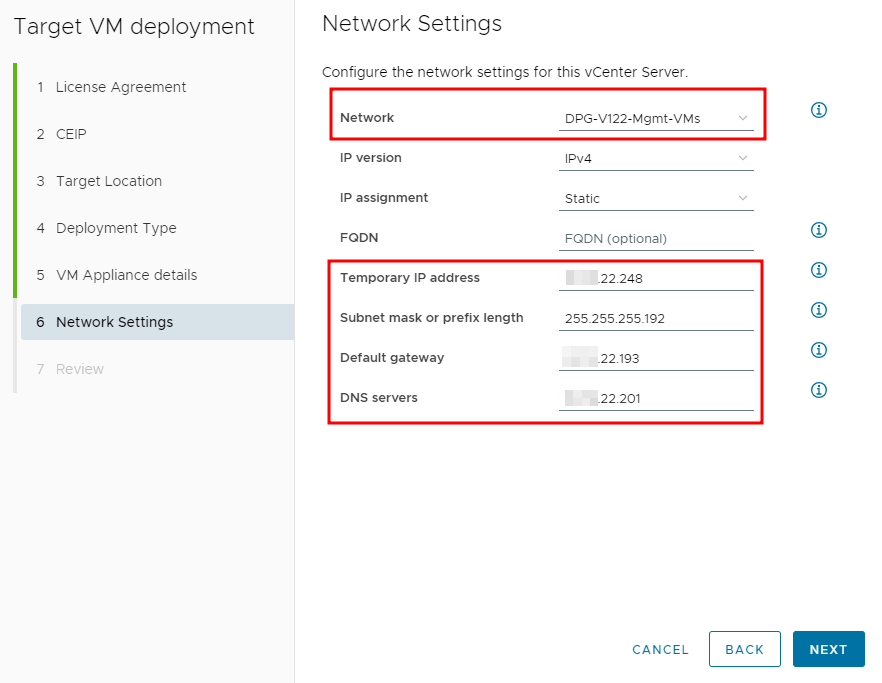
In Step 6 we need to select a network and set up a temporary IP address for a new vCenter instance:
After the switchover process, IP will change to be the same as on the original vCSA.
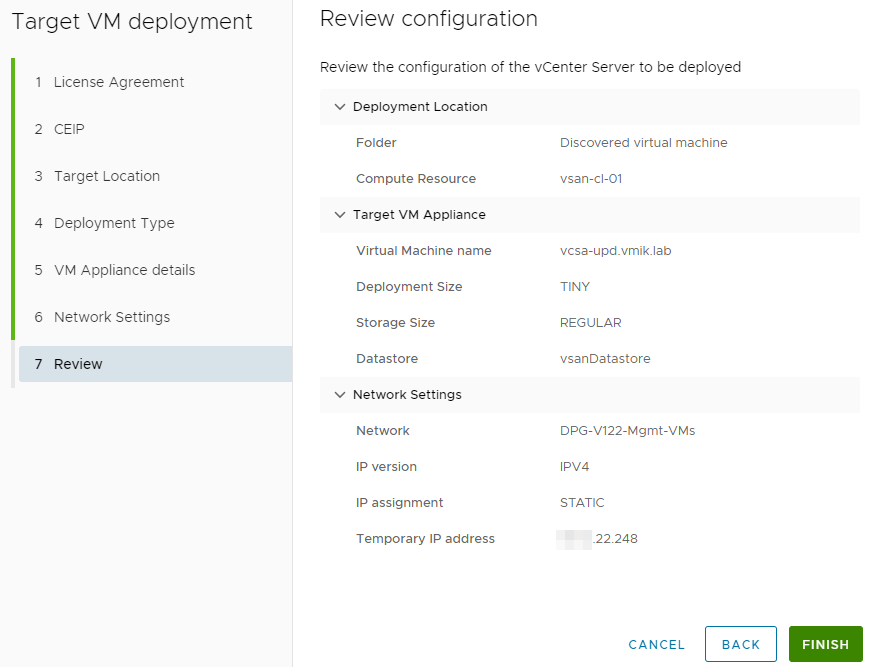
The last step – review the configuration of the target appliance:
After we configured the target appliance, click next to move to step 5:
It is the last step, where we can start deploying of new vCenter appliance:

Just click on Start Upgrade:
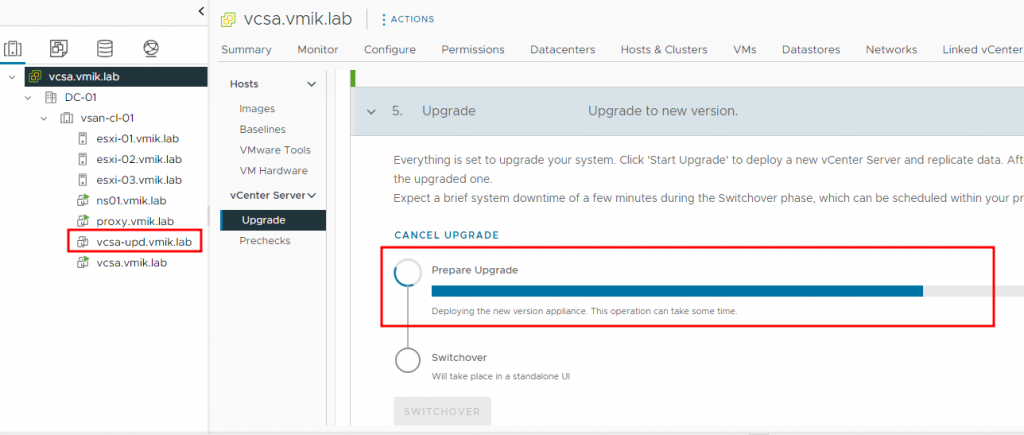
During this phase, a new VM will deployed, and some data from the original vCenter will be copied to the new instance. It can take a while.
After the new instance is up and running, you will see that two vCenter VMs are operating in parallel and the Switchover button is active:
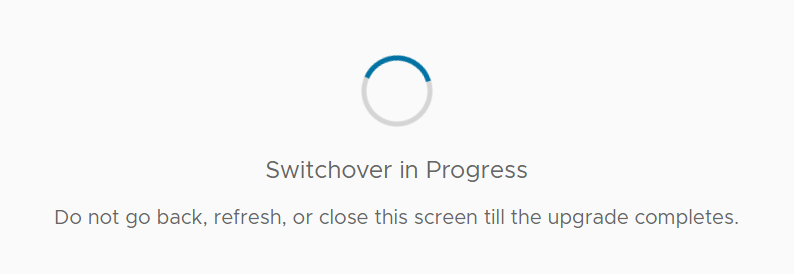
Let’s switch over to the new version of the vCenter server by clicking on the button. From now you would expect a downtime of vCenter. We will be redirected to the status page:
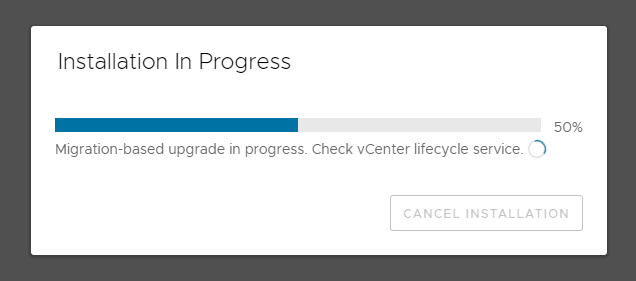
Nothing interesting here. You may try (but it may not work) to connect to the vCSA VAMI and see some sort of status:
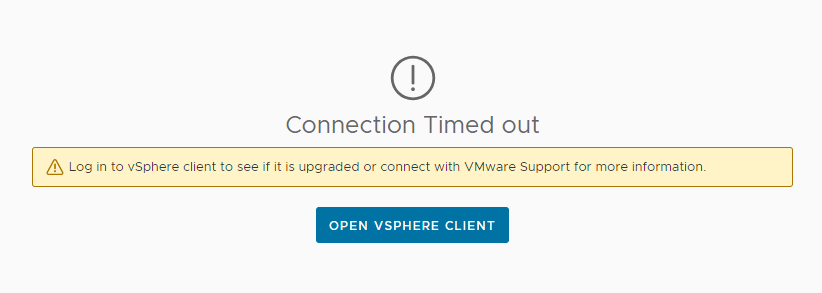
After waiting about 15 minutes, I got a timeout message:
By clicking “Open vSphere Client” we’ll be forwarded to it. And you can see a new version:
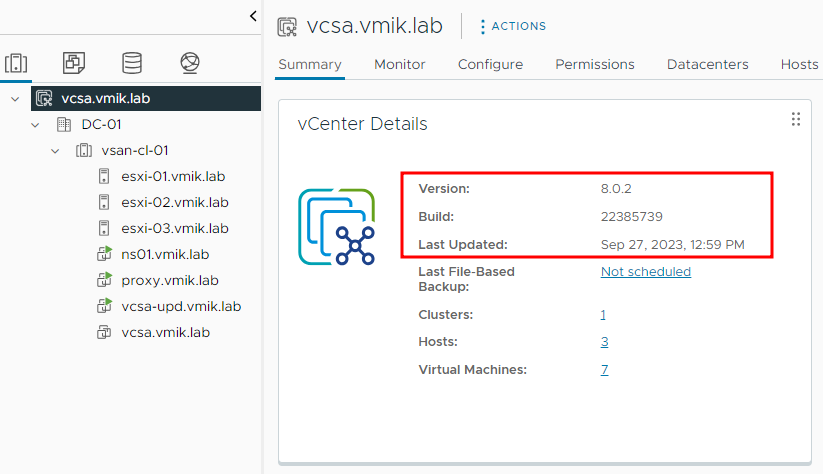
The update was successful. Please notice that the old VM with vCenter Server 8.0 Update 1 is powered off, and only the new VM (target appliance) is up and running.
One good point: It’s highly recommended to disconnect the network adapter on the source vCenter because after powering it on, it will delete the target vCenter VM even if an update was successful. I didn’t test it.
Please read more in the KB provided at the beginning of this article.
In conclusion:
Reduced Downtime Upgrade procedure looks like an interesting feature, and may be useful in some cases. I advise you to test how it works, before using it, especially, because it has some limitations at the moment.
![]()

