
Did you hear about Proxmox Datacenter Manager? – The new project aims to offer a centralized overview and basic management of multiple nodes and clusters.
It was a most anticipated solution for many Proxmox users, and I believe it has a great future. For now, Proxmox Datacenter Manager is in the alpha phase, and I do not recommend using it in a production environment, but the stable version is planned for 2025, so stay tuned! You can check the project roadmap here.
Next, we will look at how to deploy Proxmox Datacenter Manager and how to connect our first cluster.
Disclaimer: Consider this post as news, not as a guide or documentation. Remember, this article is based on version 0.1-ALPHA-1, and future releases may change and add many things.
At this moment the main limitation is that we can connect only PVE nodes version 8.3 and later (by the way, in this example I am using PVE hosts version 8.2.2 and it works, but partitially).
The minimum system requirements are:
1. 2 or more vCPUs;
2. 2 or more GB RAM;
3. 8 or more GB of storage space.
The larger the environment is, the more resources are required.
Let’s begin with the installation.
First, we need to download an installation ISO file.
In the provided repository, find proxmox-datacenter-manager for the desired version and download it.
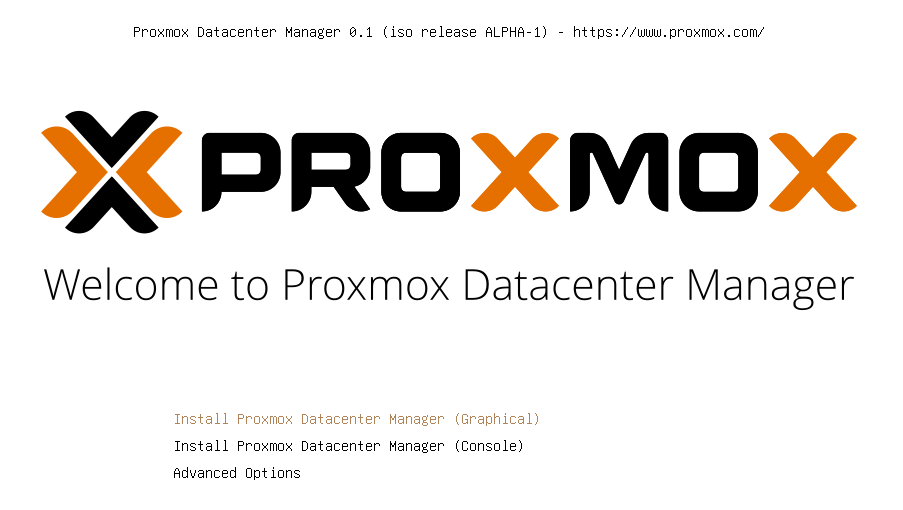
Create a VM with the required resources and attach the downloaded ISO file. We can see a familiar installation window:
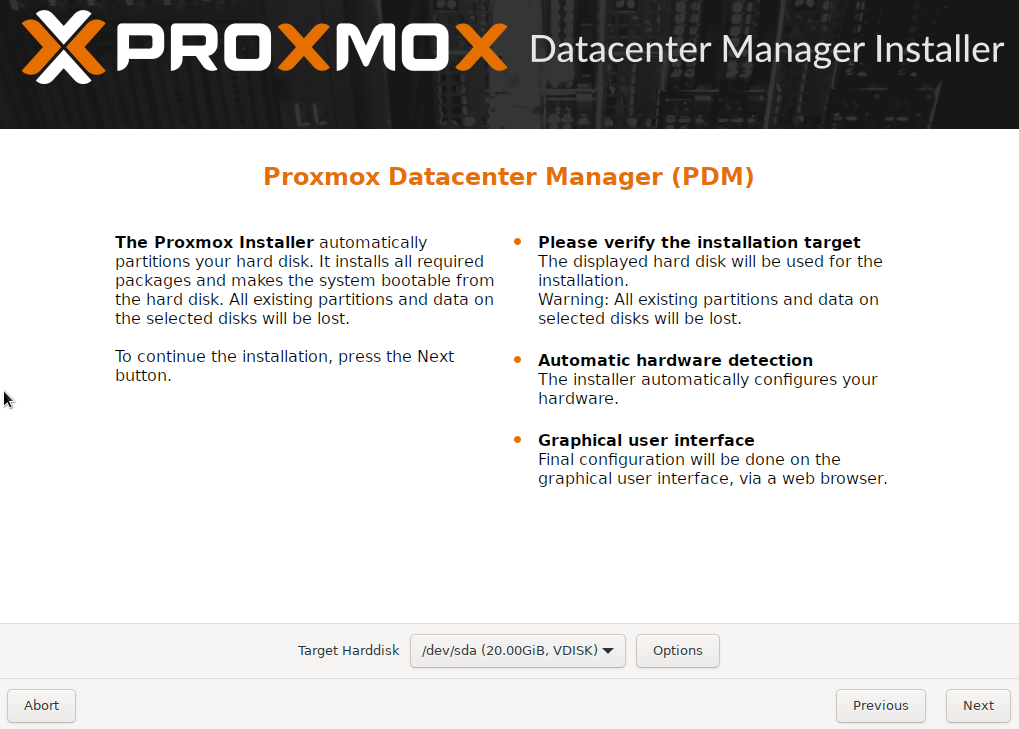
The overall procedure looks the same as installing a PVE node. Select a disk to install:
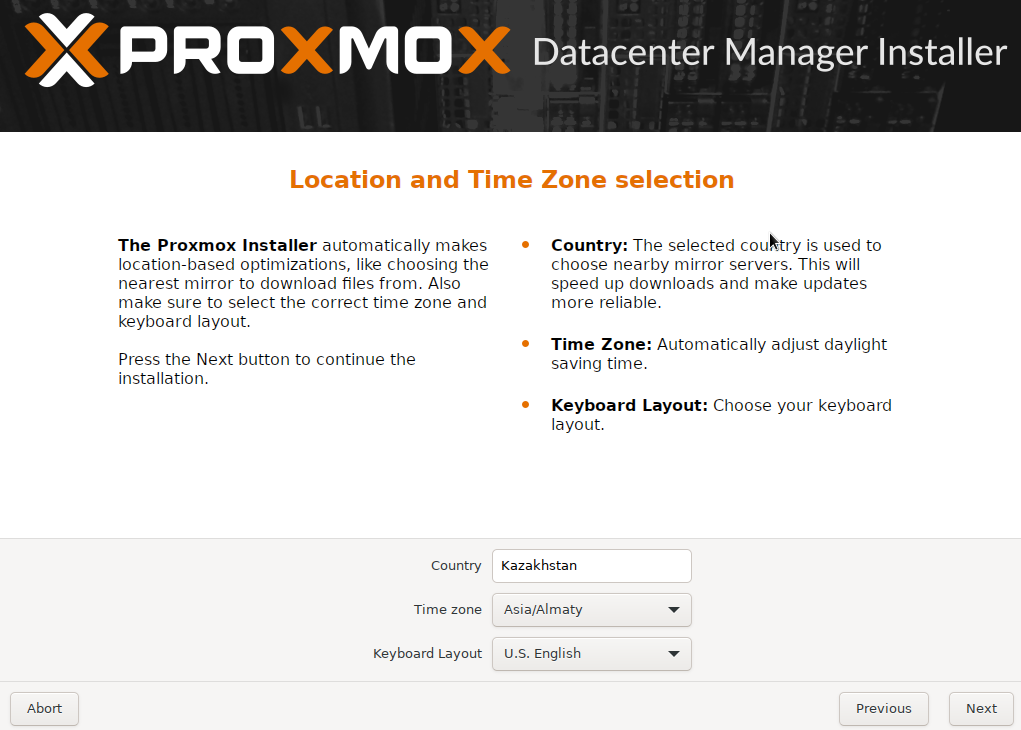
Select your country and timezone:
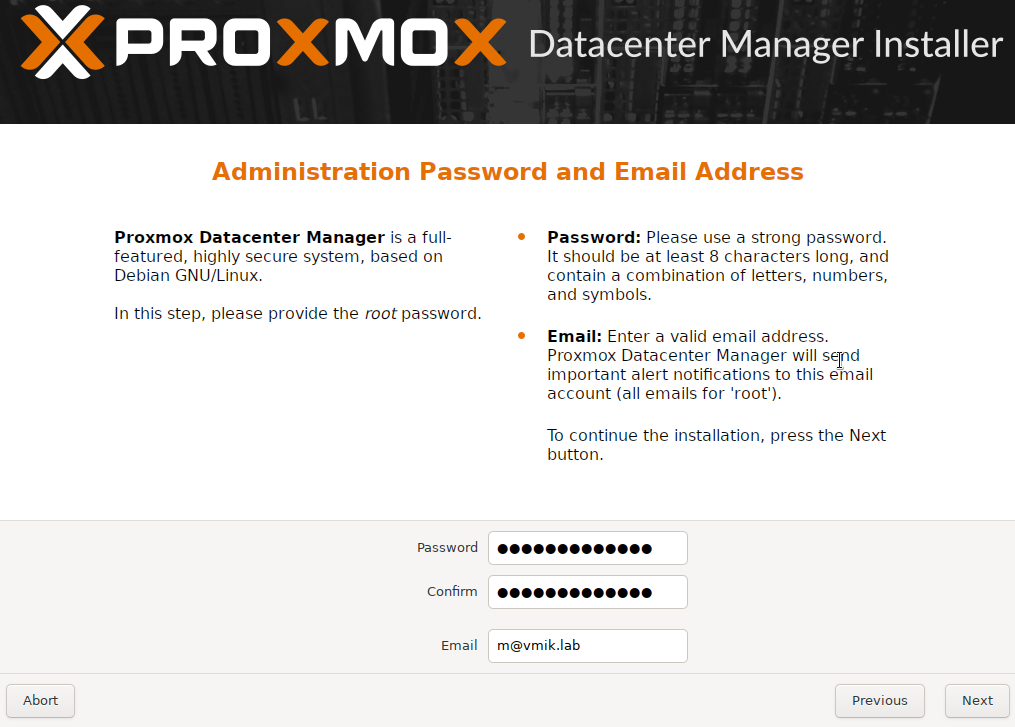
Provide the root password and email:
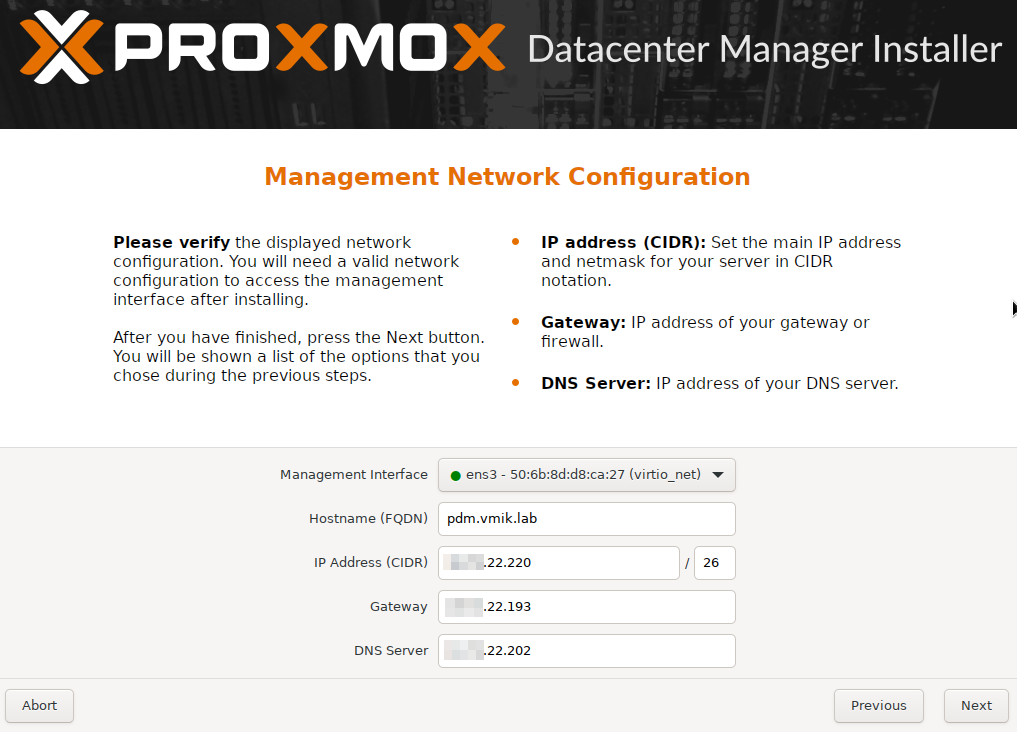
Set up PDM IP address, netmask, gateway, and DNS:
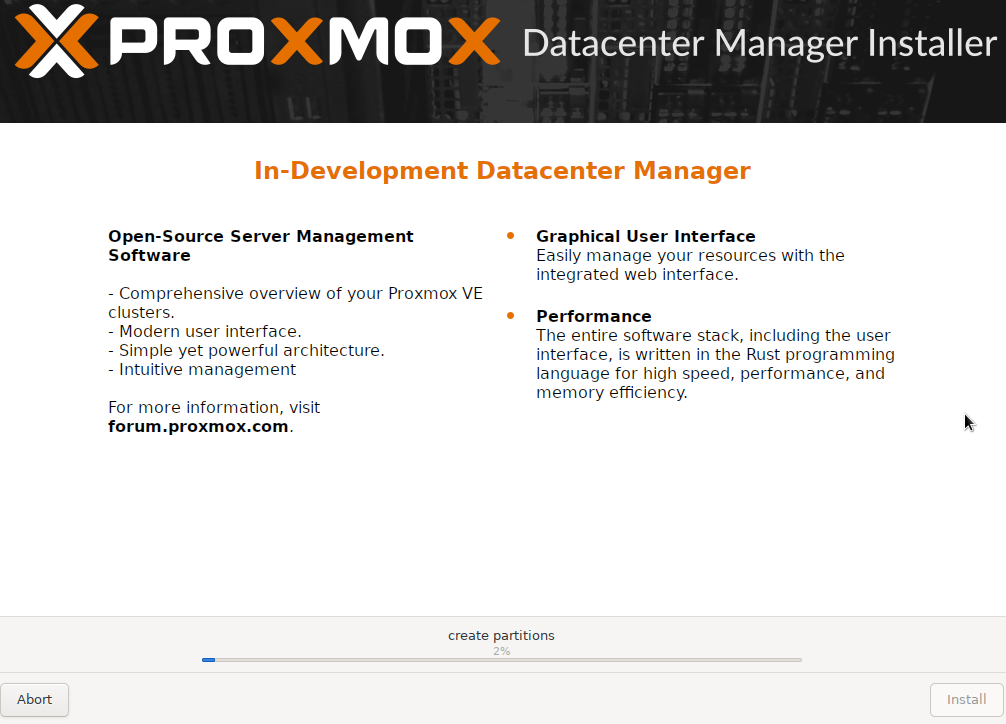
Review the settings and start the installation:
After the installation, we can observe that PDM has booted up and is displaying the address we can connect to:

Let’s connect using the browser and authenticate:

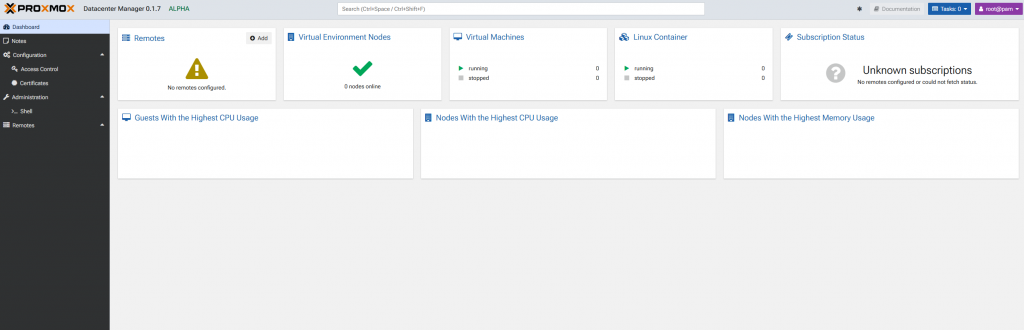
Welcome to the PDM:
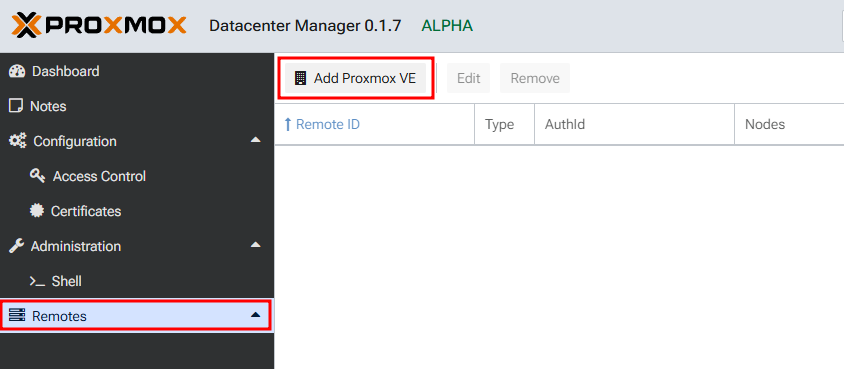
Now we can add our first cluster or node. We can manage and observe our clusters using the “Remotes” section. This is right where we need to start.
To add the cluster, click on “Remotes” and then “Add Proxmox VE”:
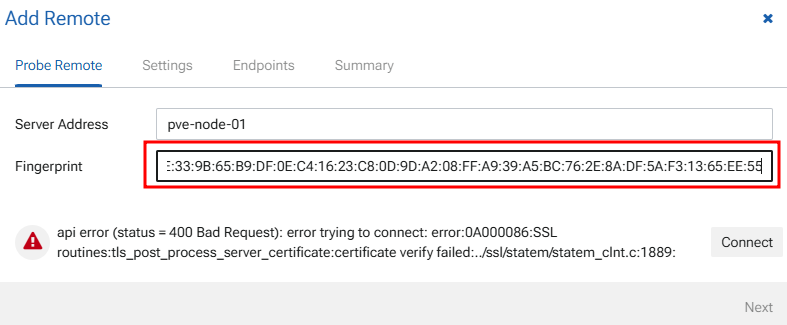
In the opened window, provide the node’s address, and click Connect:
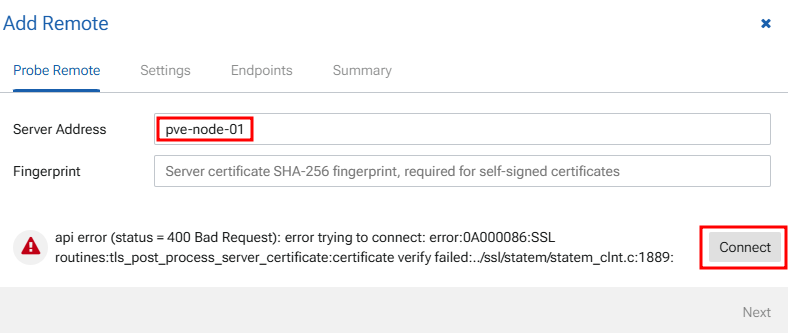
Using self-signed certificates, we can face an error:
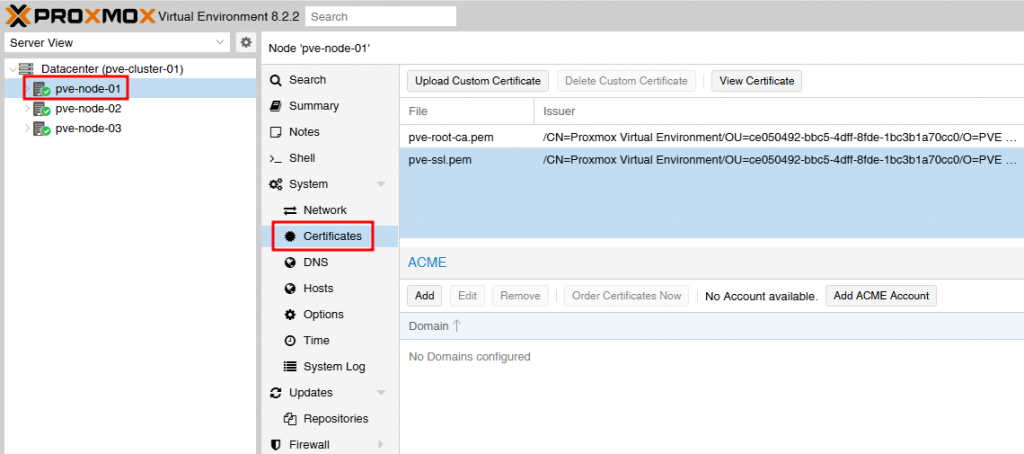
api error (status = 400 Bad Request): error trying to connect: error:0A000086:SSL routines:tls_post_process_server_certificate:certificate verify failed:../ssl/statem/statem_clnt.c:1889:In this case, we also need to provide a node’s certificate fingerprint. To get the fingerprint, we need to connect to the PVE node and locate the certificates section:
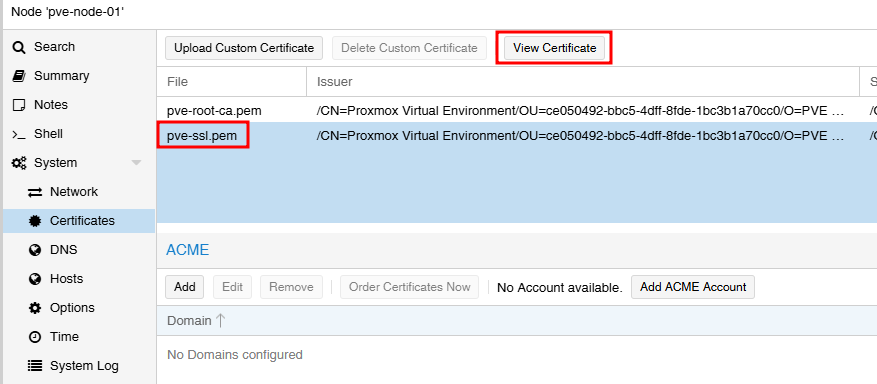
Select “pve-ssl.pem” and click “View Certificate” on the top:
Copy the fingerprint from the opened window:
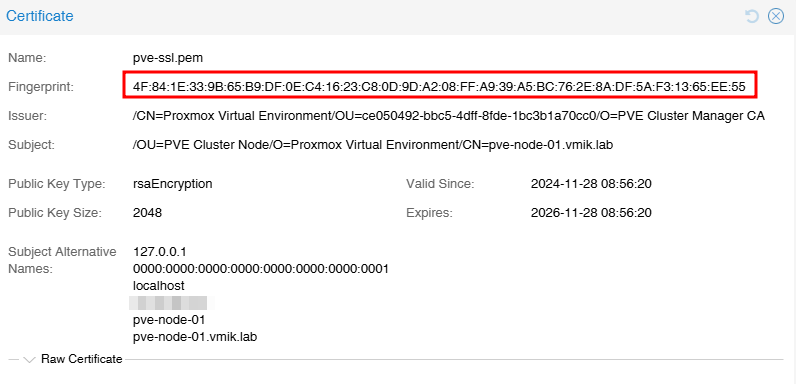
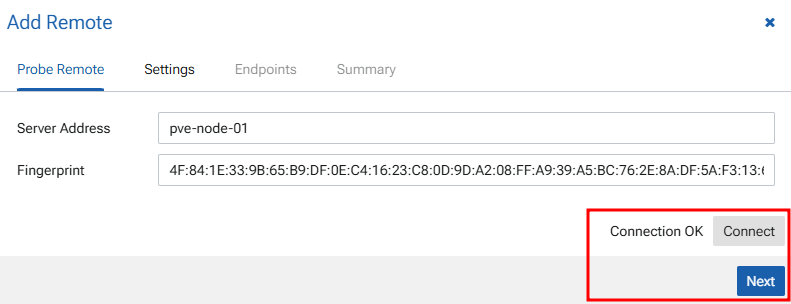
Paste this fingerprint to the PDM “Add Remote” window and click Connect again:
You will see that the connection is now OK and the Next button is active:
In the next step, we need to provide the remote’s name (how it will be named in the PDM) and node’s authentication data:
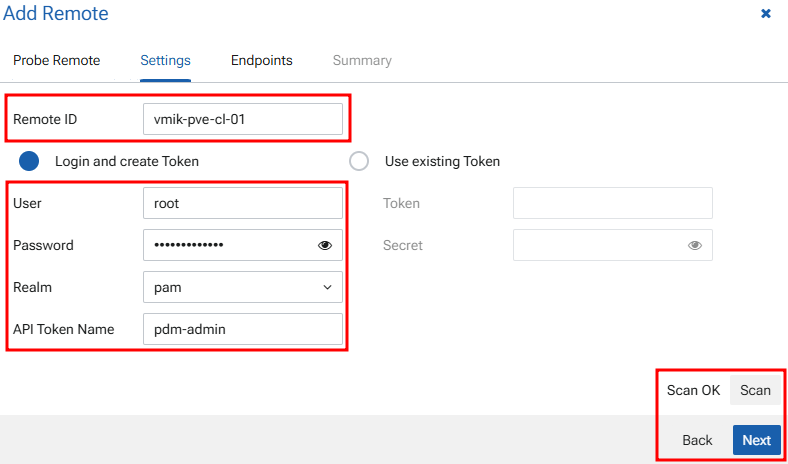
Click scan, and then click Next.
All nodes in the cluster should be discovered:
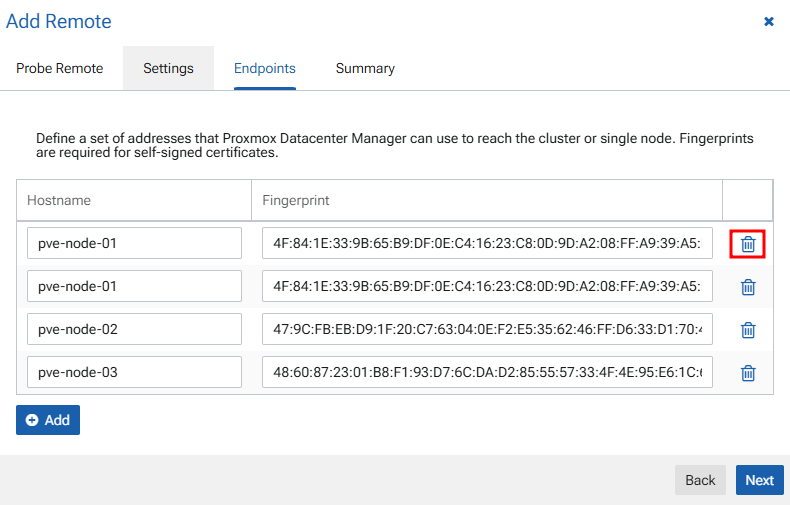
We can see that our first node was discovered twice, and we can delete it using the trash icon. Also, we see that PDM automatically gathered all other nodes and their certificate fingerprints.
Next, review the settings and click Finish:
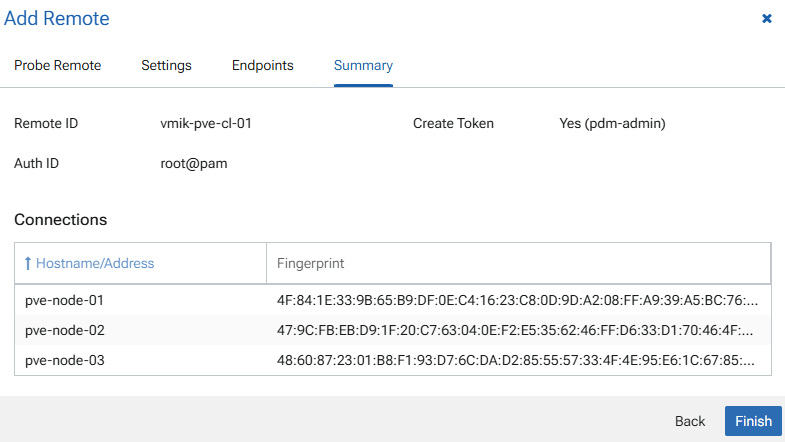
Congratulations! We have added our first cluster. On the main dashboard, we can see that three nodes are online:

On the left pane, we can see our new cluster. If we click on it, we can see detailed information:
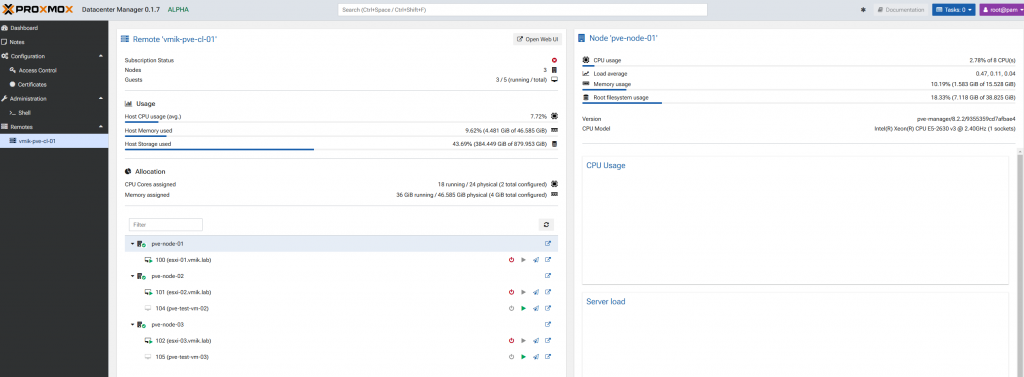
We see all nodes and VMs in the cluster. What can we do with that?
For now, we can:
1. Power on VMs;
2. Power off VMs;
3. Migrate VMs;
4. Open Console;
5. Observe basic performance graphs.
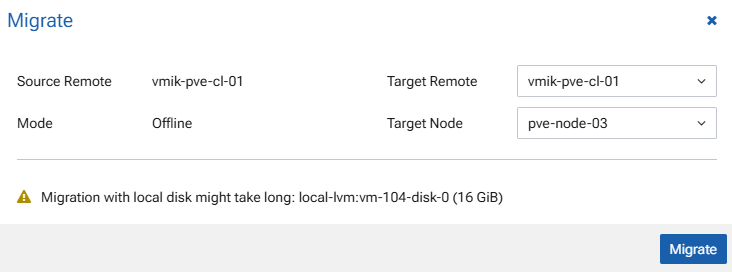
Not too bad for the first alpha version. For example, if we want to migrate the VM, we will see the familiar window:
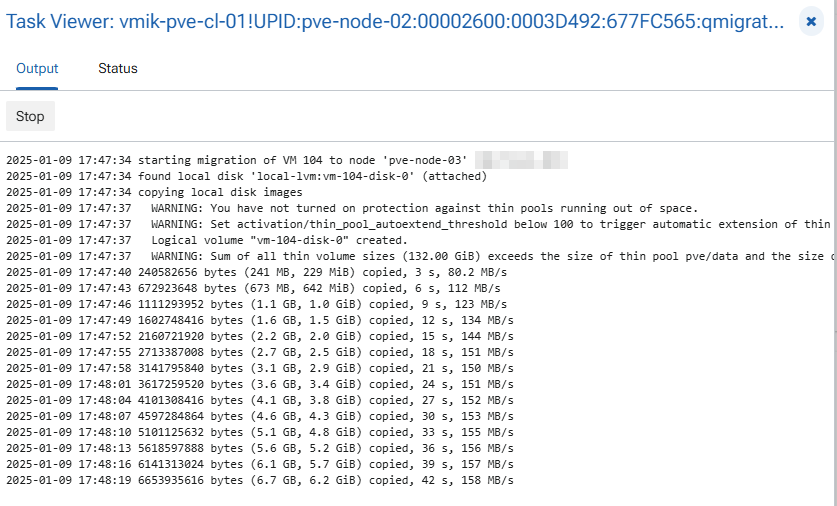
In addition, the status window with details:
By the way, we can migrate even between remotes.
In conclusion:
This is how the first version of Proxmox Datacenter Manager (PDM) works. I like this project and believe that it will have more features in the first stable release.
I recommend testing it, but do not use it in production until the stable release.
If you are interested, check out the roadmap and PDM news.
![]()