With the release of version 9.0.1 (this is a minor update, not a major one like Update 1) of VCF components, it is good to cover the update procedure of the key VCF component – VMware Cloud Foundation Operations.
In this short article we will walk though this process.
The update procedure is simple and straightforward.
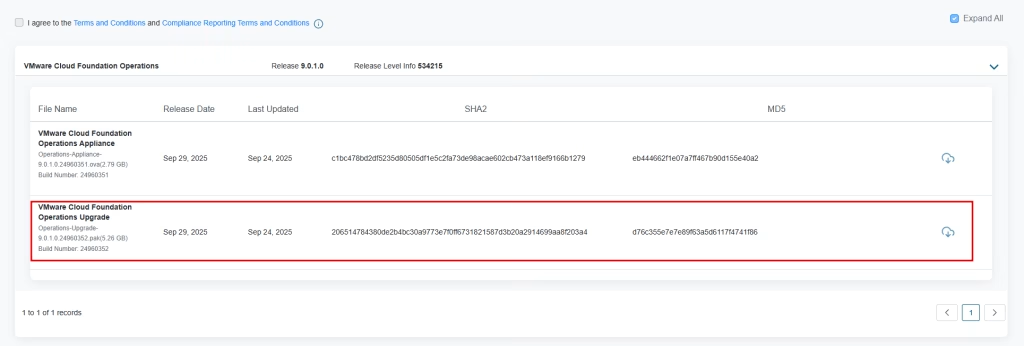
First, we need to download an update file from the support portal in the VCF/VVF download section.
We need to download the .pak file, which is used to update an existing instance. If you want to deploy a new instance, download .ova instead:
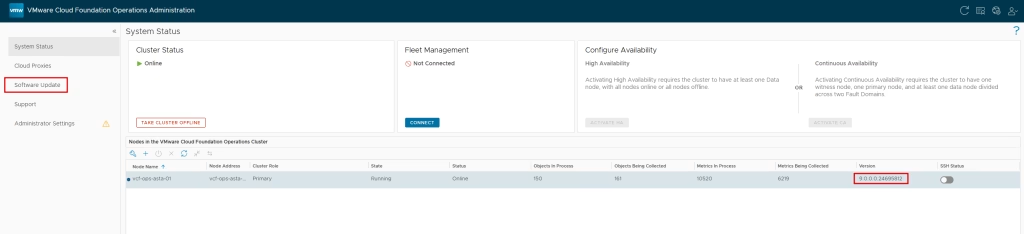
After downloading, log in to your VMware Cloud Foundation Administration panel, using /admin in the address bar.
For example: https://vcf-ops-asta-01.vmik.lab/admin
From the admin panel, select “Software Update”:
Next, “Install a software update”:

Using the browse button, select the previously downloaded .pak file, and click upload. We should get the update description after uploading:
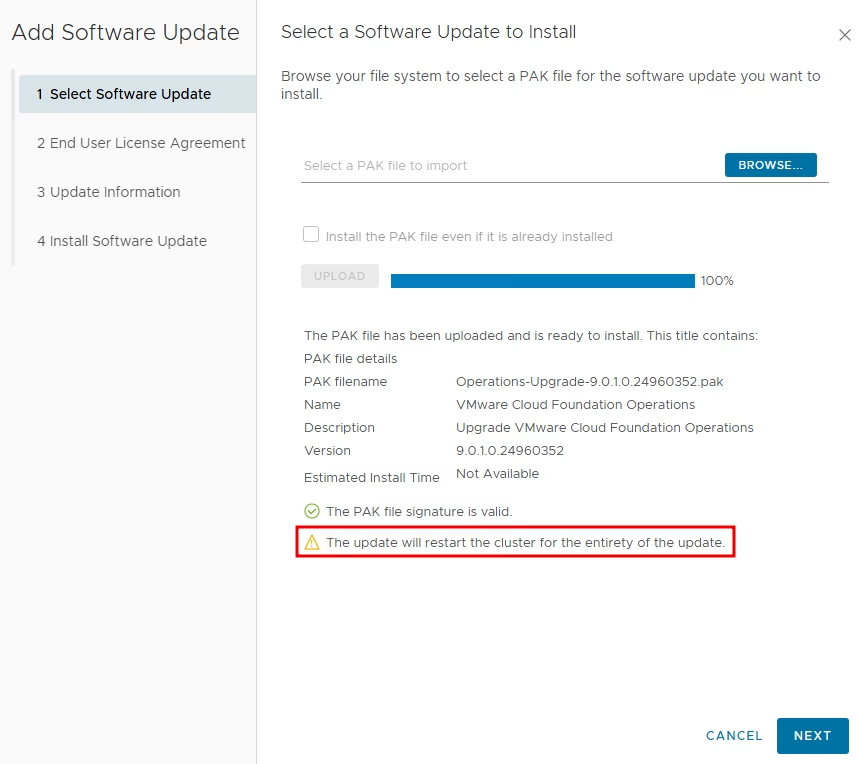
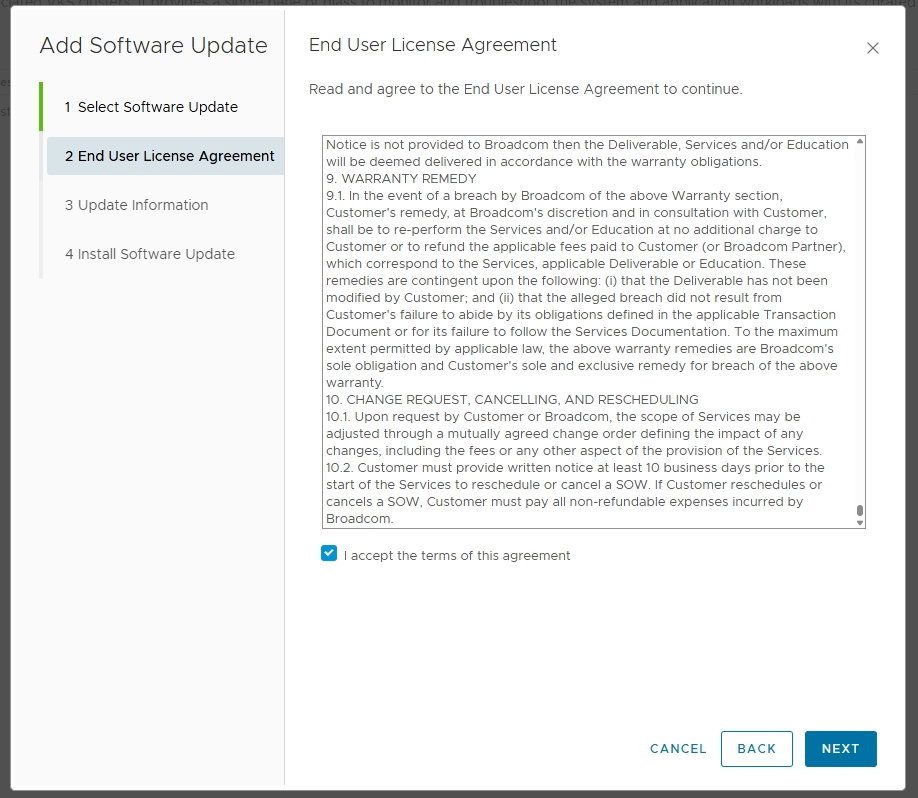
Click next, read and accept the EULA:
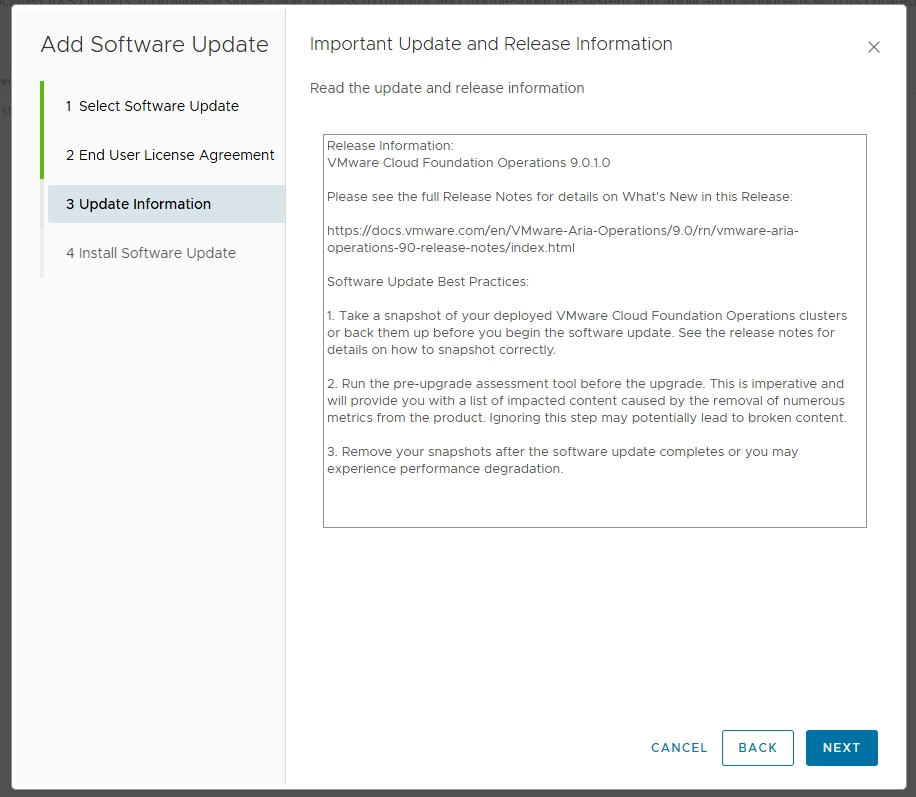
Please proceed and review the update release information. As a best practice, it is recommended to take a snapshot of the VM. I recommend you do so:
The last step is to click “Install”:
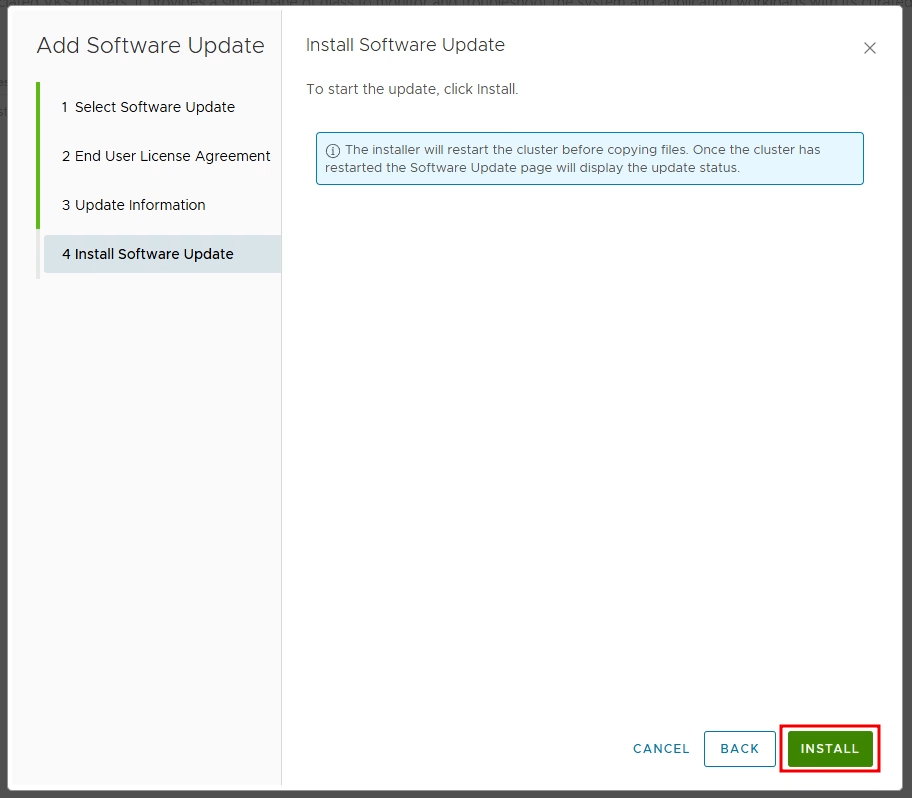
Immediately you will receive a message:

After a few minutes, log in to the admin panel again. We can see that the update is installing:
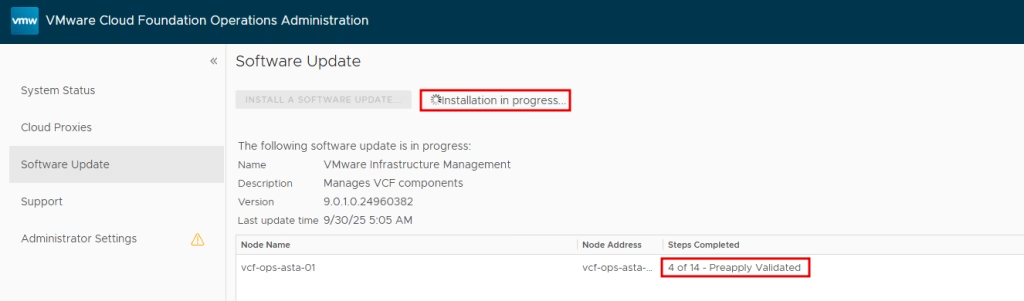
We can notice that the version was updated to 9.0.1.
Move to the system status and wait while the cluster status is online:
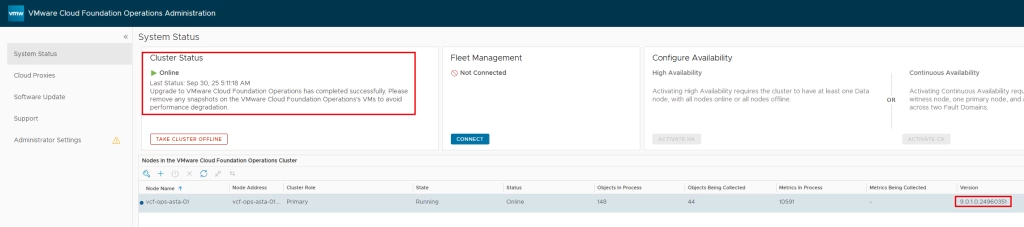
The update is complete; we can remove the previously created snapshot.
![]()