In the previous article, we updated VMware Cloud Foundation Operations to version 9.0.1 and now it is time to update vCenter Server.
Although the overall procedure for updating is the same and simple, as you may have heard, or even experienced, there is a new token-based authentication to download updates from the Broadcom repositories, and in this article, I will cover this moment too.
After connecting to the vCenter Server Management interface and moving to the update section, you may see an error: “Network failure. Check the network settings and try again”:
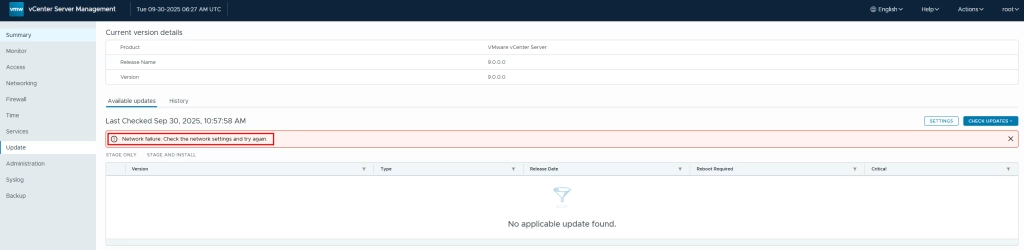
This may be a real network error, but nowadays, the first thing you need to do is to add a download token to the software repository link.
The overall procedure is perfectly described in the following KB.
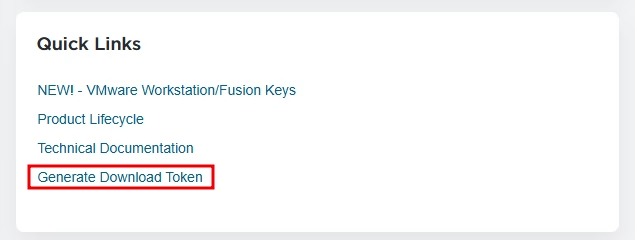
However, in short. To generate a download token, first log in to the Broadcom support portal.
On the right pane, you can see a quick links section; select “Generate download token”:
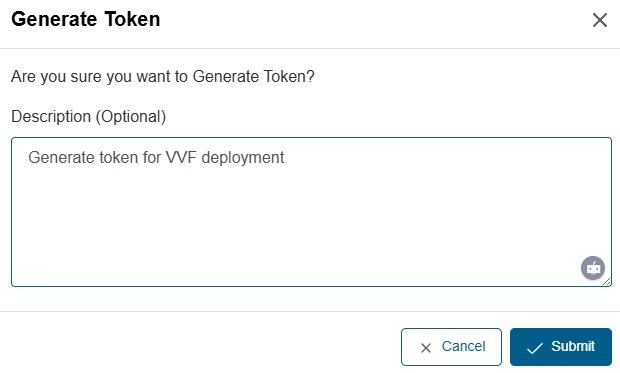
In the opened form, select your organization’s ID, and click “Generate Token”:

Provide a short description:
After that, the token will be generated. Copy it:

Move back to the vCenter Update section and click settings:
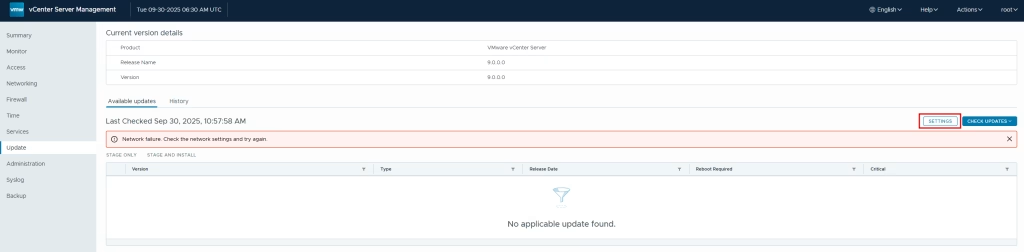
In the repository settings, click specified to provide a new repository link, including your token:
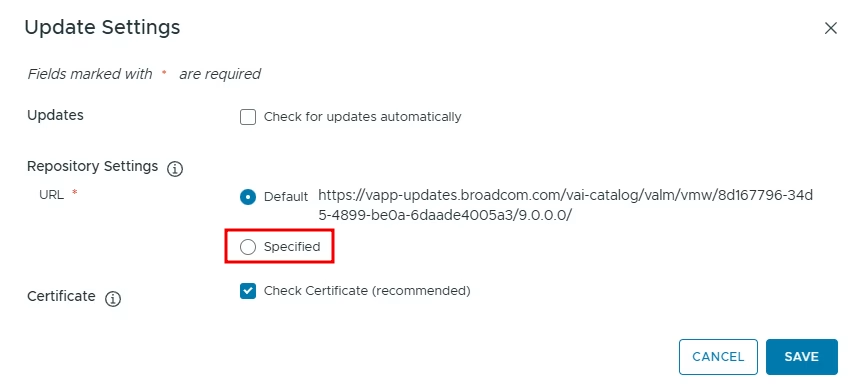
For version 9, replace the default URL with the specified:
Default:
https://vapp-updates.broadcom.com/vai-catalog/valm/vmw/8d167796-34d5-4899-be0a-6daade4005a3/9.0.0.0/Specified:
https://dl.broadcom.com/<downloadToken>/PROD/COMP/VCENTER/vmw/8d167796-34d5-4899-be0a-6daade4005a3/9.0.0.0/Do not forget to use your token in the specified URL.
To find a link for your specific vCenter version, please consider using the KB provided above.
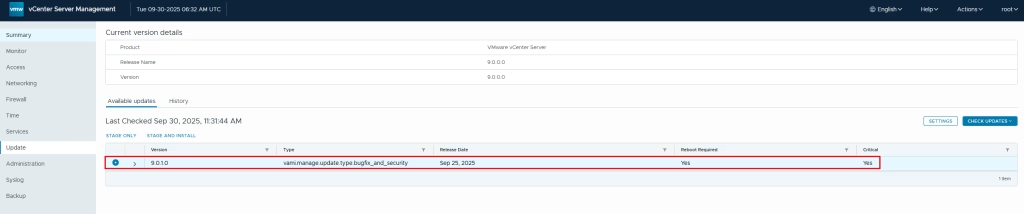
After that, check for updates. vCenter should find them:
I believe that all of you are familiar with the next steps, but to make this article complete, I will walk through the process.
Click “Stage and Install” to download an update and begin the installation.
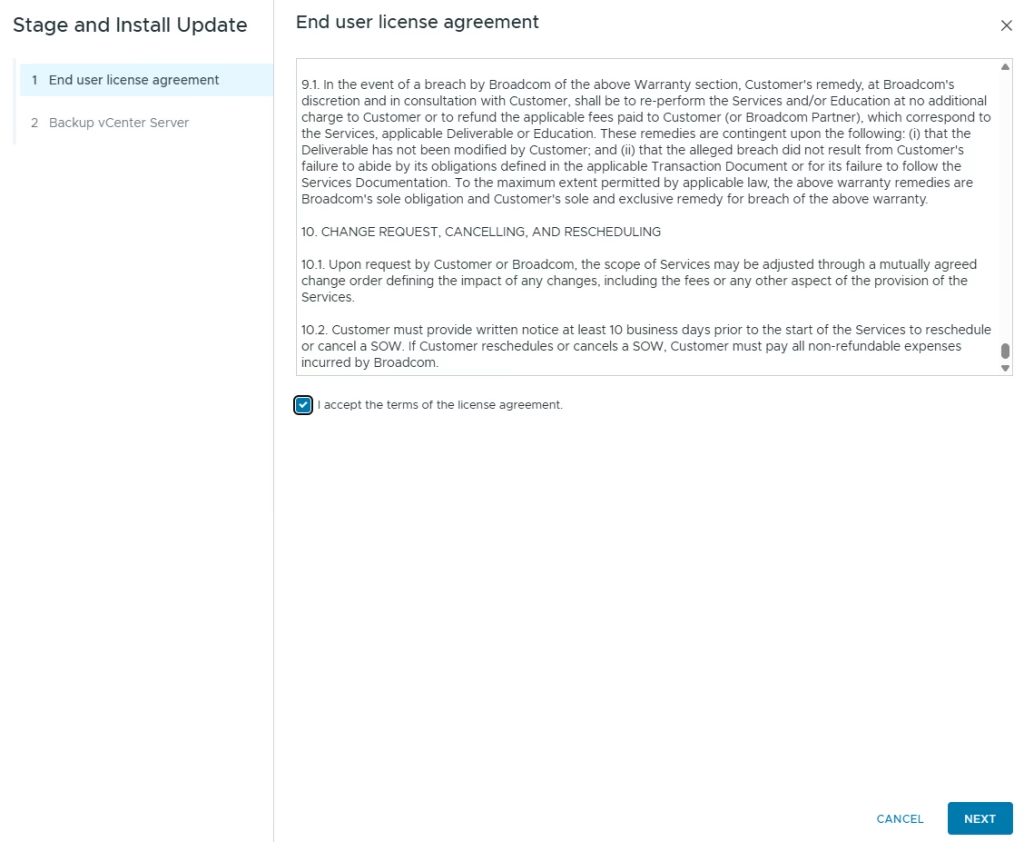
First, read and accept the EULA:
Next, you can receive warnings and recommended resolutions:
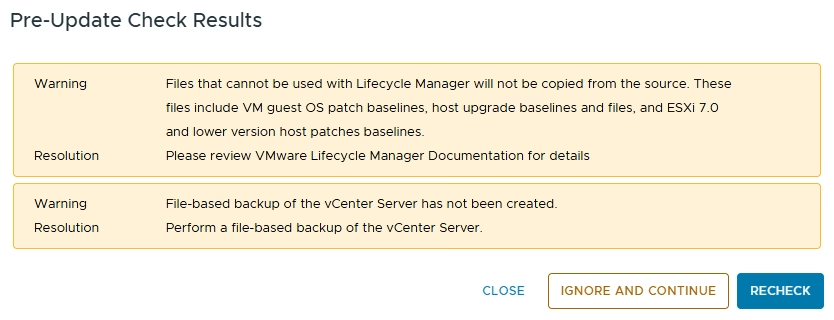
In my case I don’t have a backup of my vCenter in the lab, but you must have one in a production environment. Do not ignore it, and configure a backup; it can save you a lot of time in case of emergency.
Next, make sure you have a backup, and mark a corresponding checkbox:
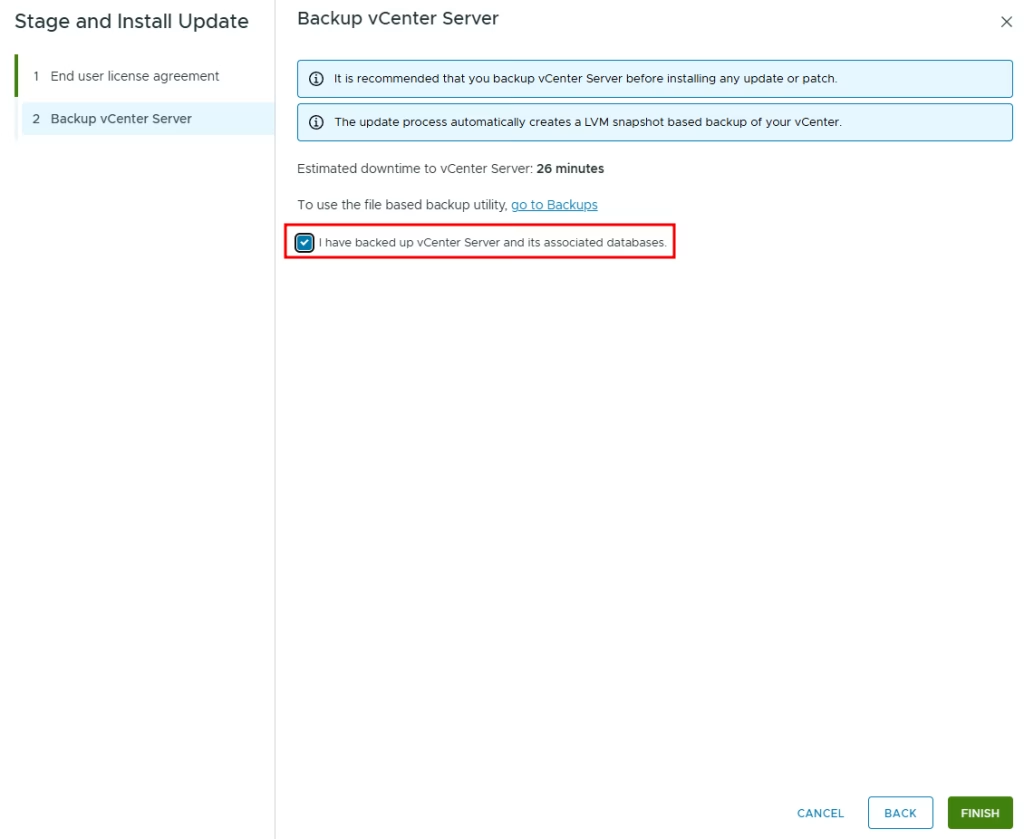
Click finish, and the update procedure will start:
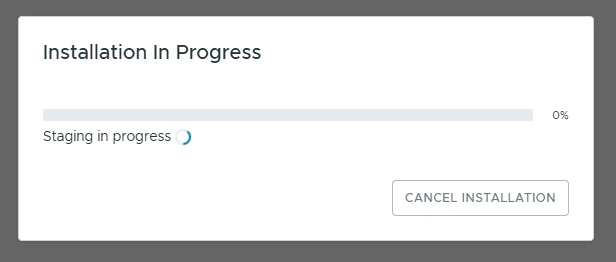
The procedure will take a while. To minimize the overall vCenter downtime procedure, you can use “Reduced downtime upgrade”. I covered the process in the article. Keep in mind, this article is for version 8 and may be a bit different for your version.
After the update is finished, you can refresh the page and confirm that the new version has been installed:
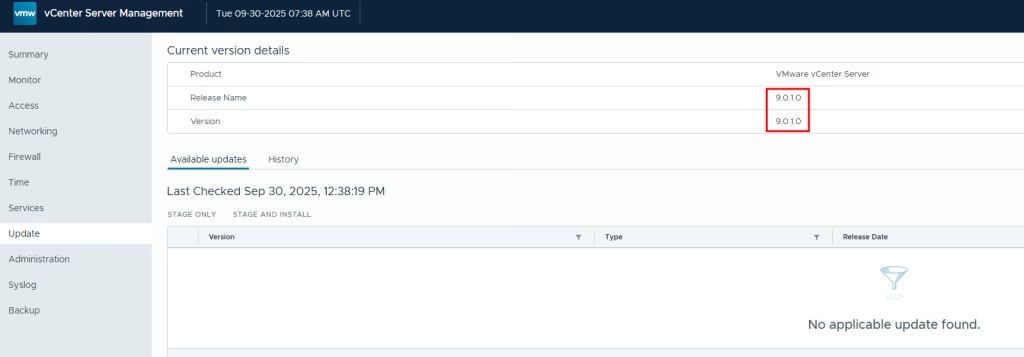
And that’s all. The vCenter server has been updated.
![]()