With the release of 12.2, Veeam introduced a new long-awaited feature: Nutanix Prism Central integration, which simplifies the management of large Nutanix clusters, managed by Prism Central instance.
In this article, we will look at how to connect the VBR Server to the Prism Central Instance and perform backup and recovery tasks.
Briefly about requirements.
From the Nutanix side:
1. Nutanix AOS versions 6.5.x – 6.7.x and Prism Central version pc.2022.6 (or later). But, in this article, I used AOS 6.8 (CE 2.1) and Prism Central 2024 – it works;
2. iSCSI Data Service must be configured in Nutanix AHV cluster settings;
3. UEFI boot must be supported in the Nutanix AHV environment.
From the Veeam side:
1. VBR 12.2 or later;
2. Nutanix AHV plugin 12.6.0.631.
In this article, I won’t discuss deeply how Veeam works with Nutanix because it was discussed in the following articles:
Veeam Backup & Replication Instant Recovery to Nutanix AHV
Using Workers in Veeam Backup for Nutanix AHV
Let’s begin with the configuration. In my case, VBR 12.2 and the latest AHV plugin are installed. Also, I have the latest Prism Central version and two AHV clusters connected to the PC.
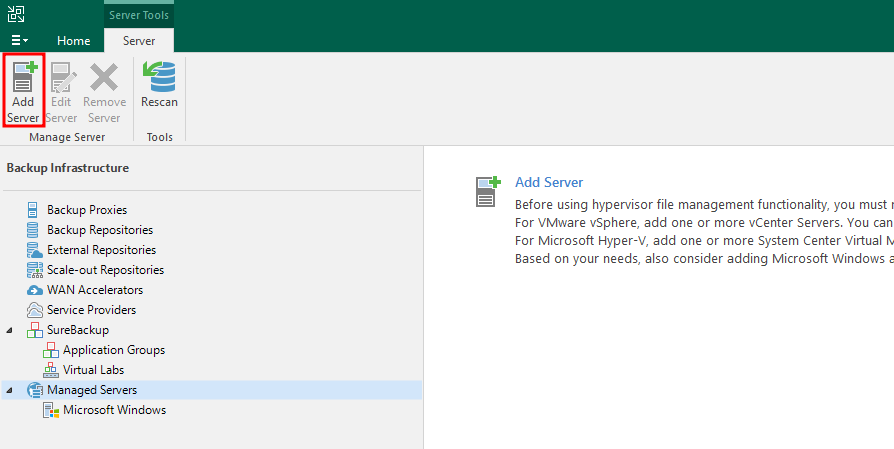
As usual, add a new Managed Server in the VBR console:
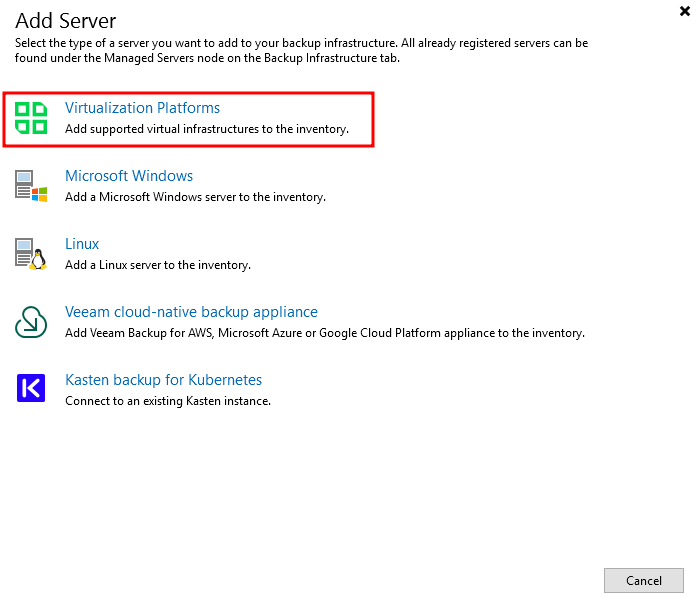
Select Virtualization Platforms:
And Nutanix AHV from the list:
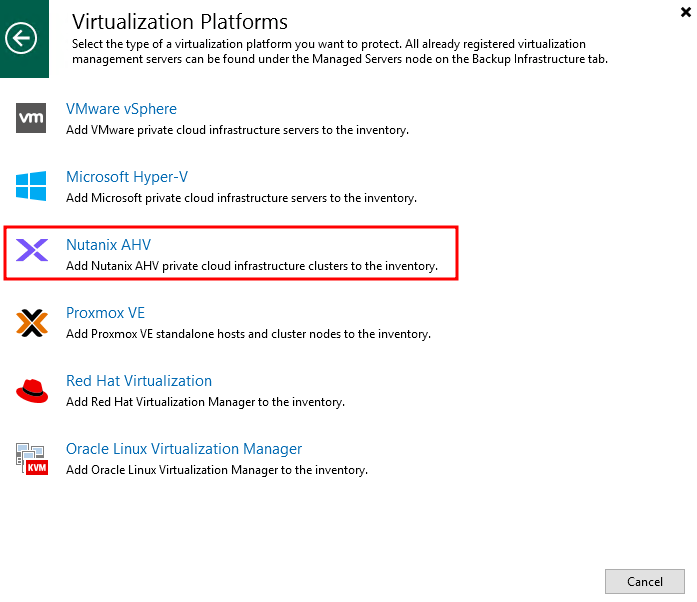
By the way, Proxmox VE support is also added to this version, and we will cover it in the next articles.
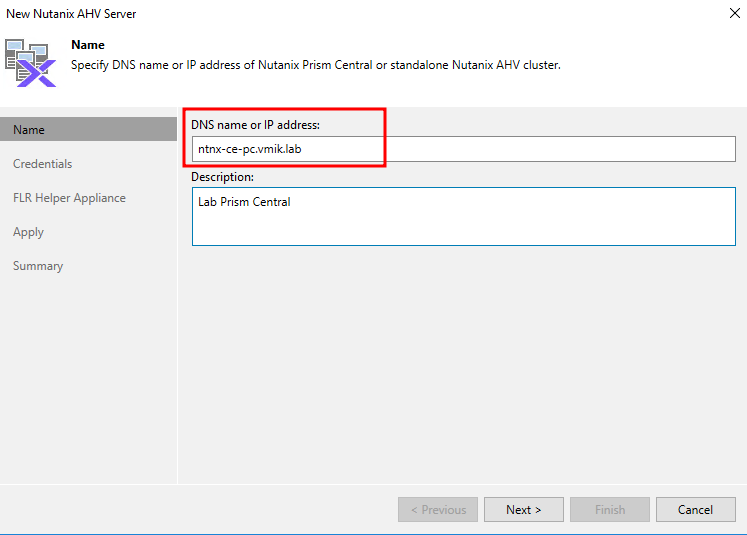
Next, instead of the Prism Element address (single cluster), provide the Prism Central address:
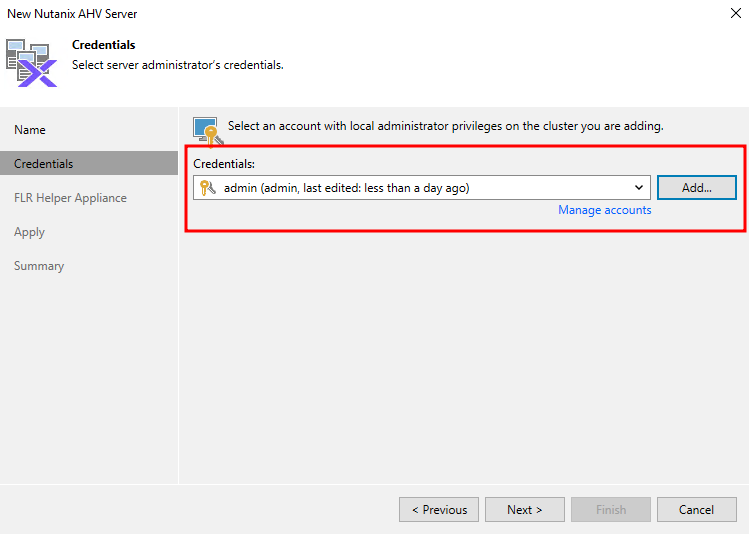
Provide Prism Central admin password:
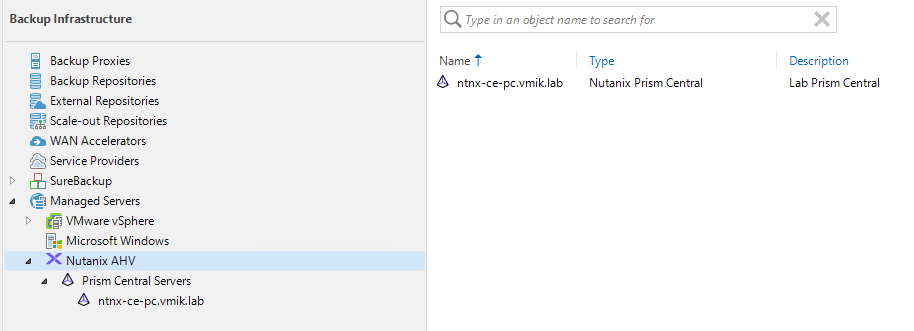
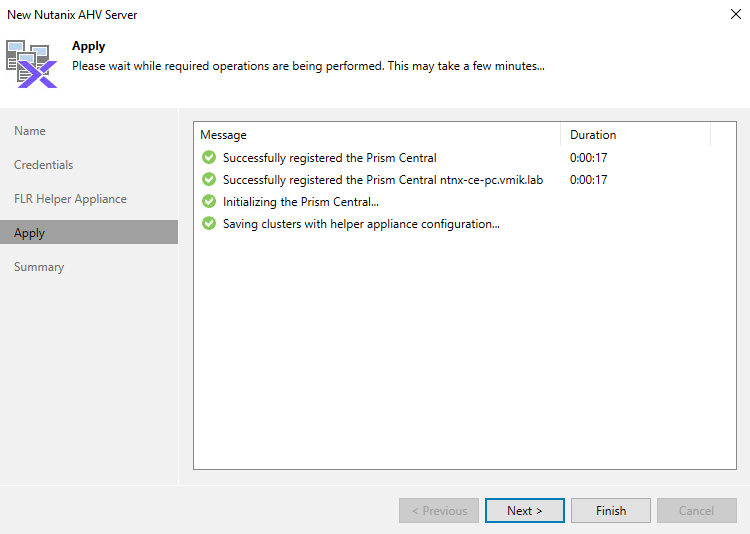
Moving forward, you may notice a new task: VBR is retrieving Nutanix AHV clusters, managed by Prism Central instance:

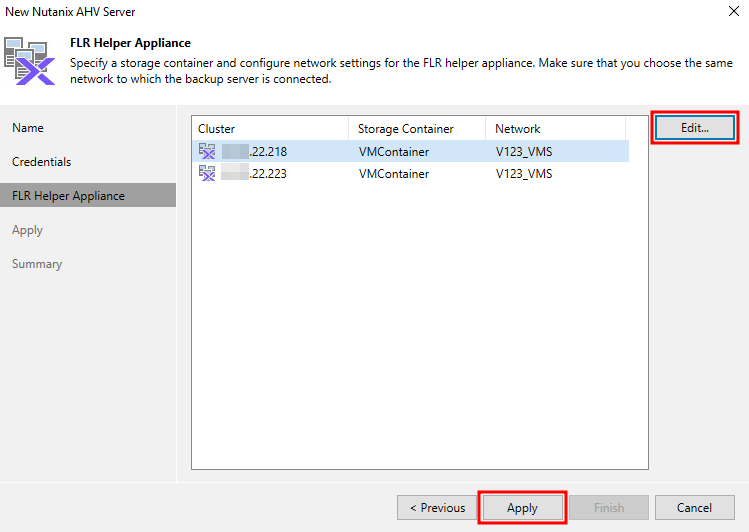
Next, all clusters managed by Prism Central will be loaded. We can set FLR Helper addresses/networks and so on by clicking edit, or just applying the default settings:
Check the status:
After connecting, it will be advised to configure at least one Nutanix AHV proxy:
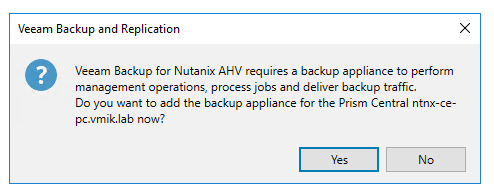
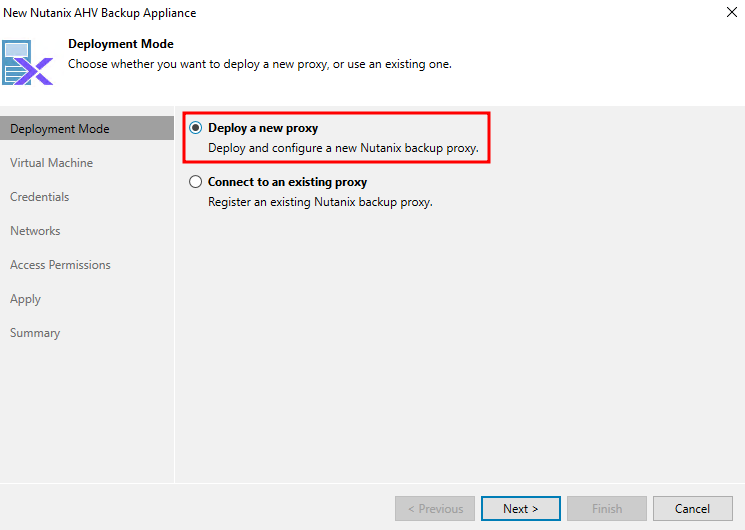
Say yes, and select to deploy a new proxy:
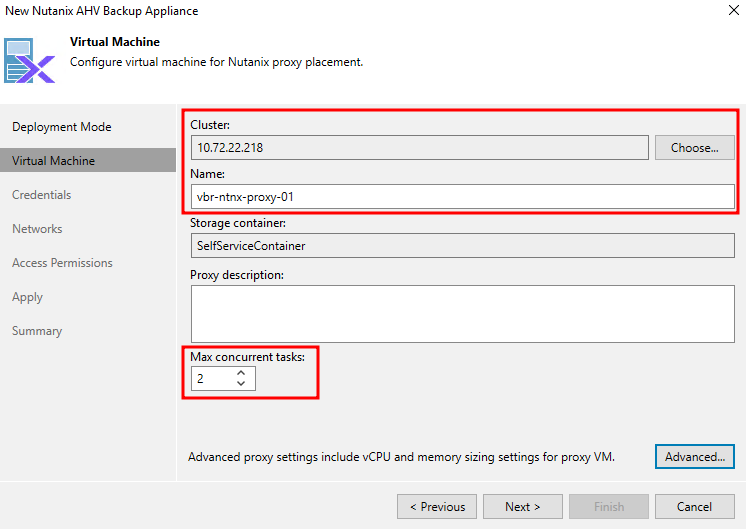
Select a Nutanix AHV cluster, Proxy VM’s name, and max concurrent tasks:
Next, provide an account which will be used to manage the Proxy instance:
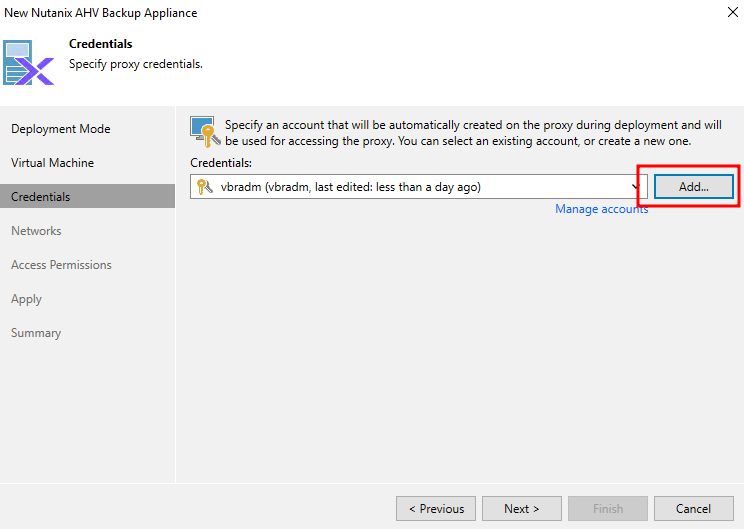
This account could be useful for troubleshooting, or managing virtual appliances using a web interface.
Set the proxy network configuration:
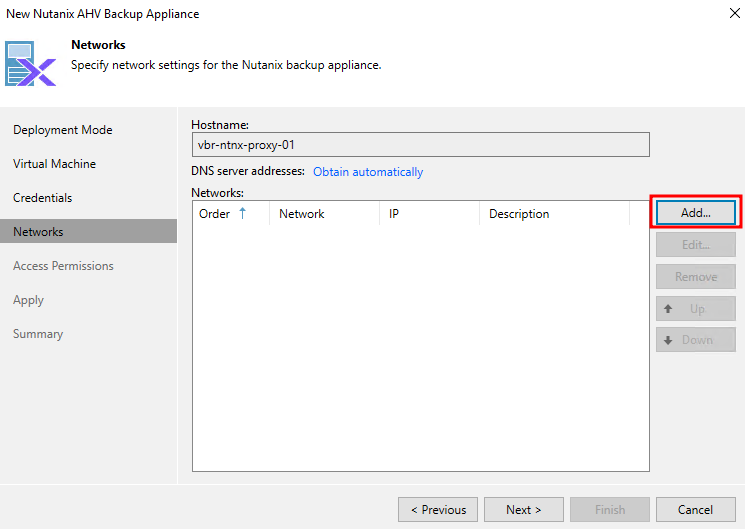
By clicking add we will open a new window:
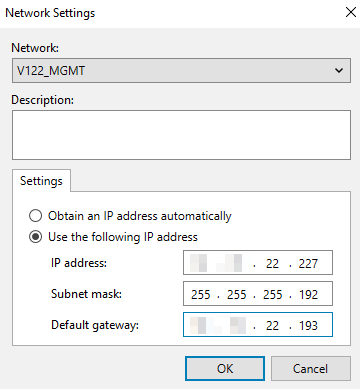
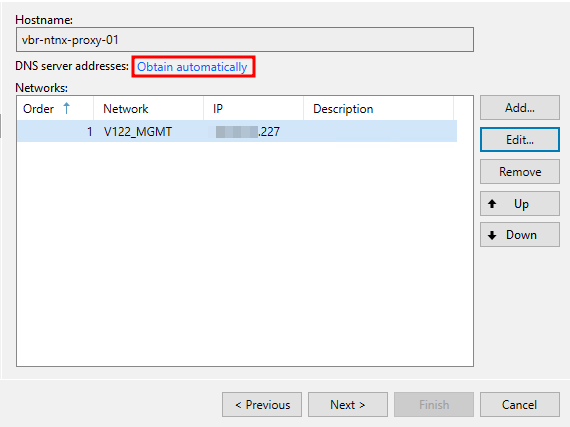
If you’re using static IP like me in this example, you must set a DNS server:
After configuring the network, we can limit repositories that can be used by the proxy:
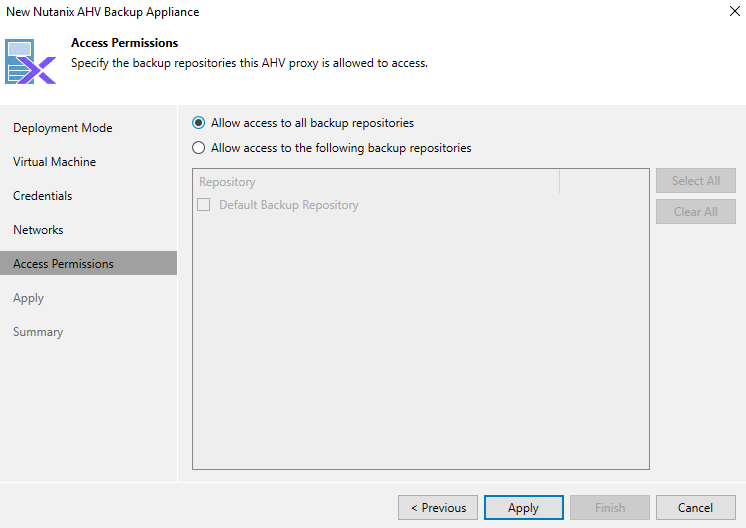
Apply the settings, and the Proxy VM will be deployed:
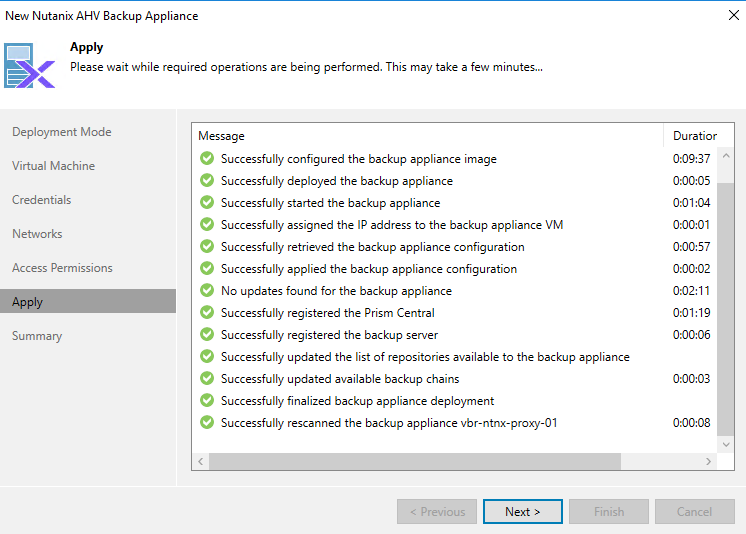
We will see a new VM in the Nutanix cluster:
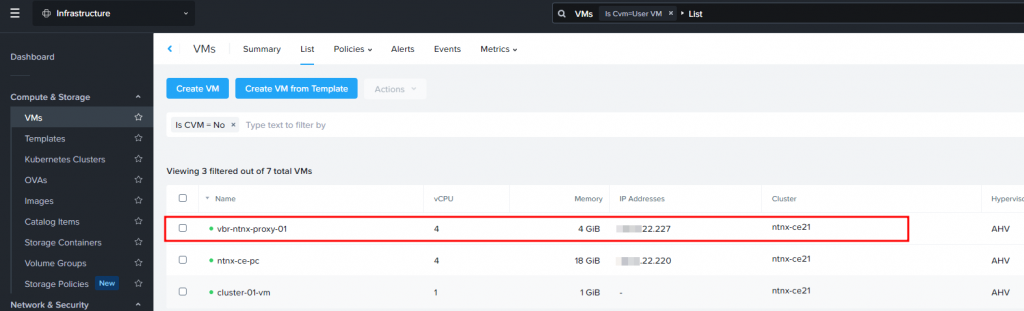
I recommend deploying a proxy server in each Nutanix cluster to maximize performance and minimize cross-cluster network traffic. One cluster – one Proxy.
It’s time to create a backup job. Select Backup – Virtual Machine – Nutanix AHV:

Set a backup job name and backup type:

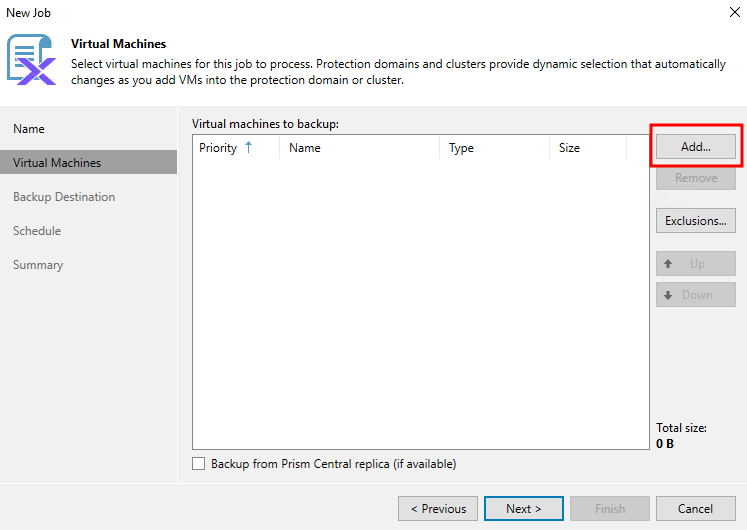
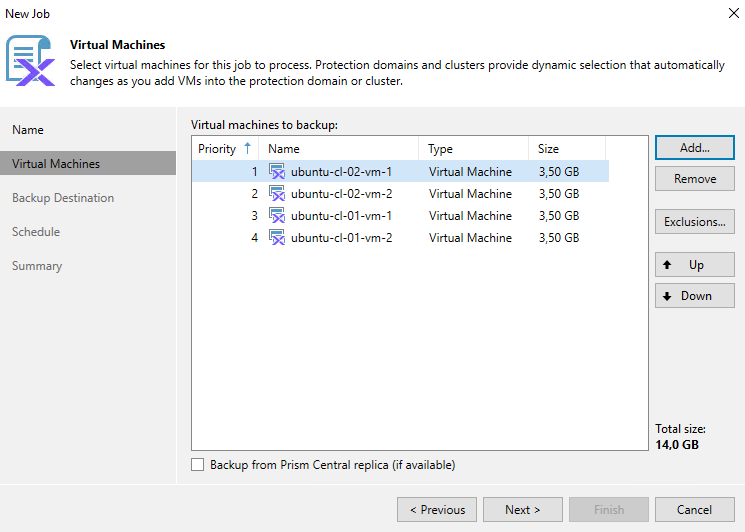
Next, click Add to select virtual machines:
In the new window, we will see the Prism Central instance and added clusters, including VMs. Select required VMs:
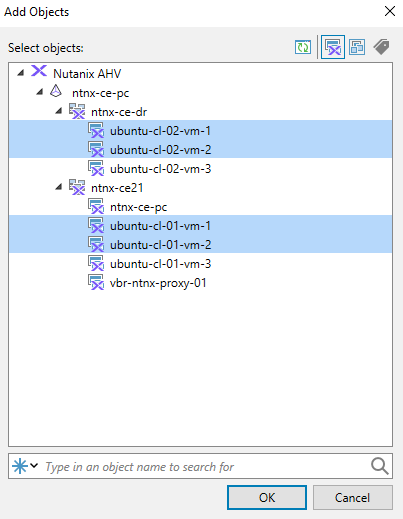
Clicking OK, add VMs to the backup job:
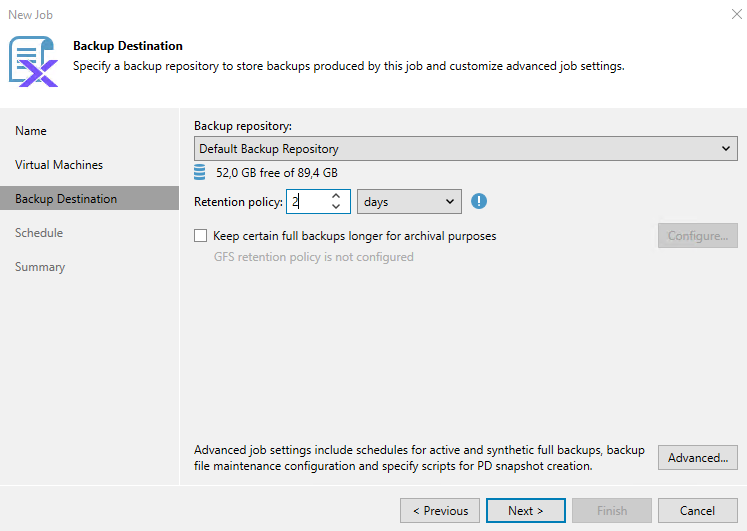
Next, select a backup repository:
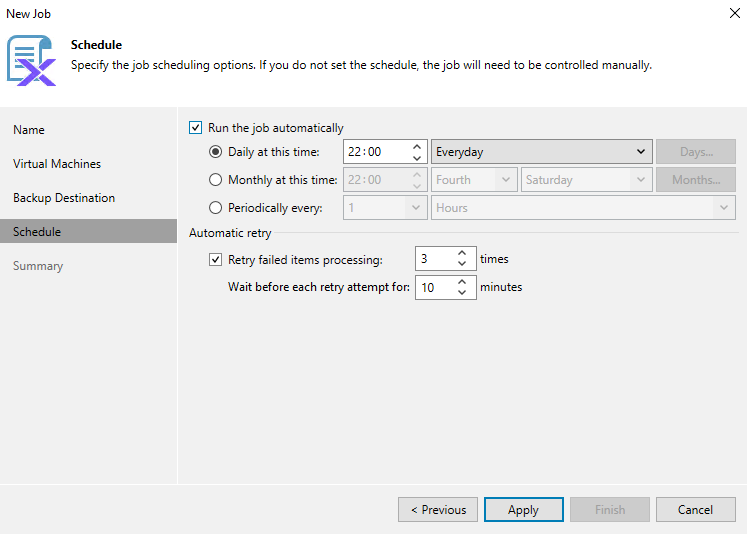
And specify a schedule:
The job is ready. After the backup, we can see a warning message:
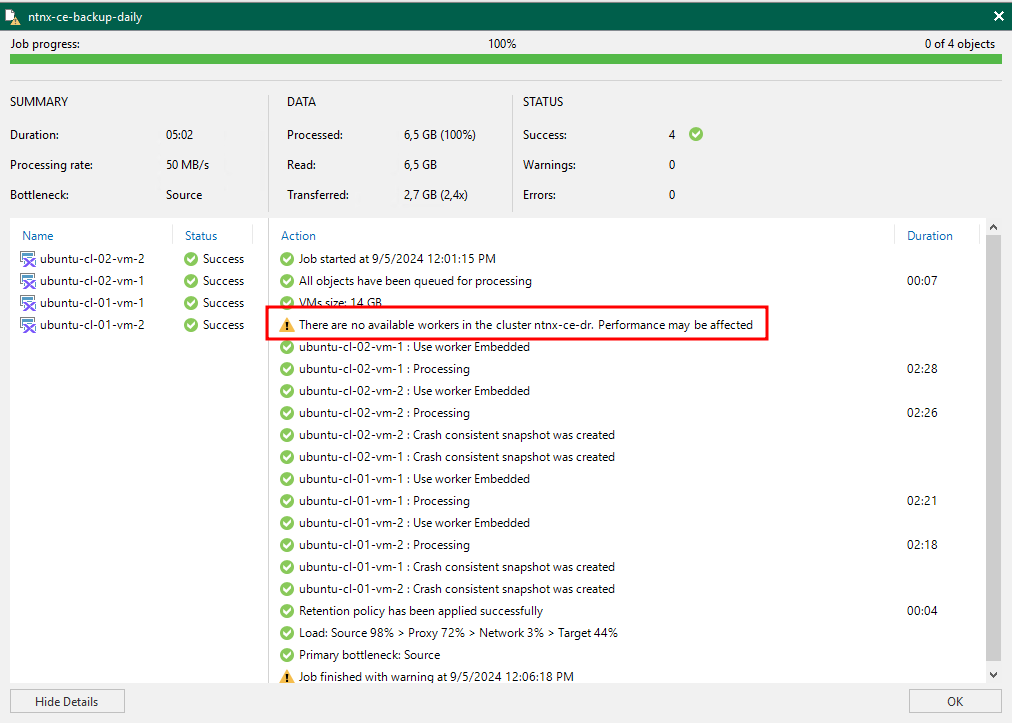
Because I didn’t deploy a proxy in the ntnx-ce-dr cluster, but VMs from that cluster are in the backup job, Veeam warns us, that performance may be degraded. As I recommended before, create a proxy server in each Nutanix AHV cluster.
After the backup, it’s time to restore. Nothing special here. Select a backup and choose “Restore entire VM to Nutanix AHV”:
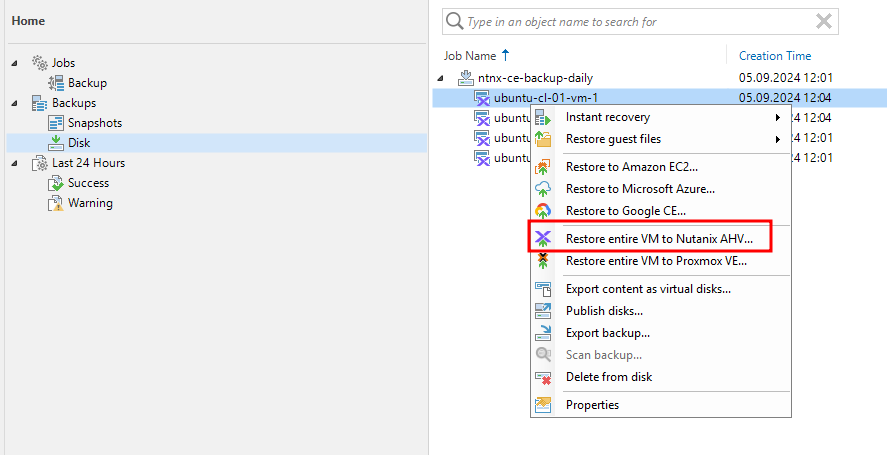
You can see, that it’s possible to restore a VM into the Proxmox VE cluster even without the instant recovery mechanism, which is used for restoring to other virtualization platforms.
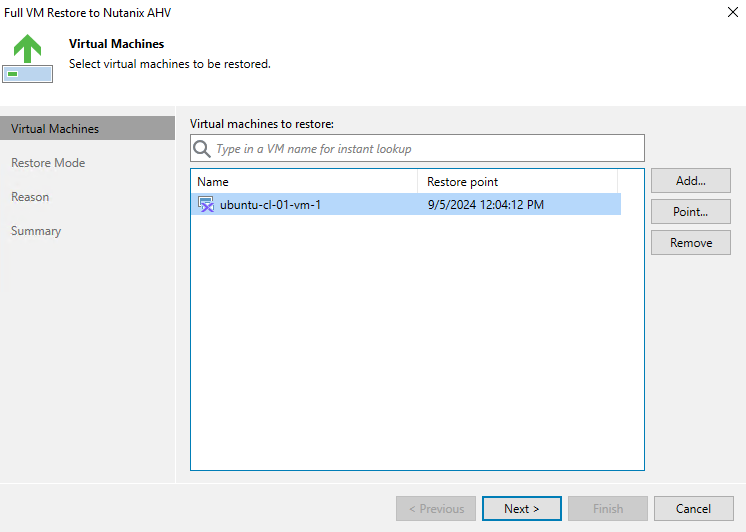
Select restore point:
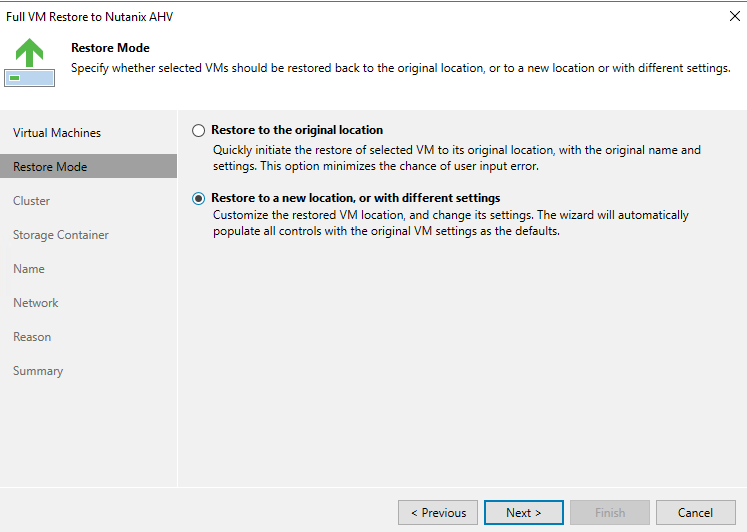
I prefer not to overwrite the VM but to restore with different settings:
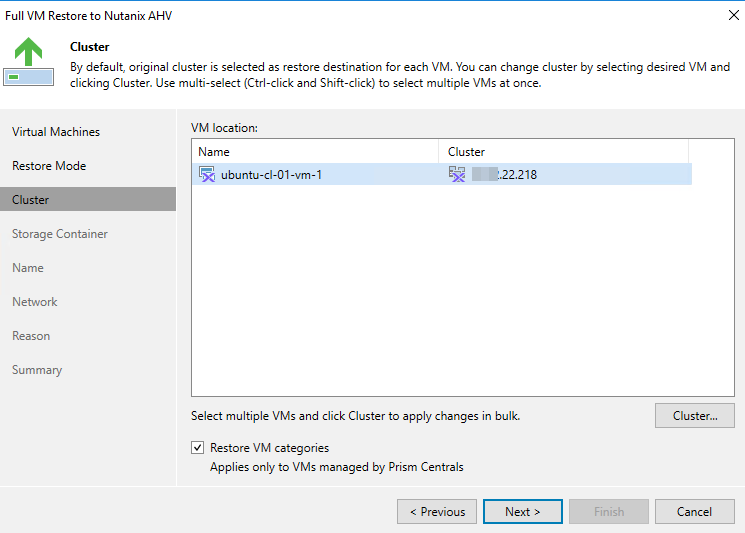
Choose the cluster. It is also possible to restore VM categories:
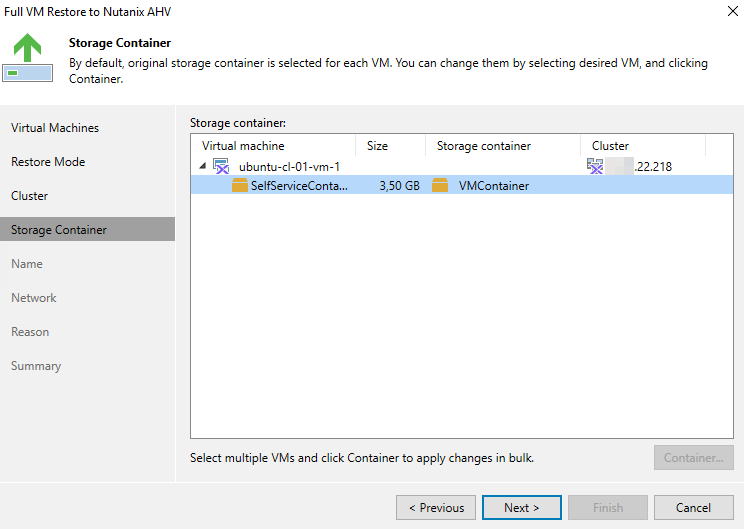
We can change the storage container:
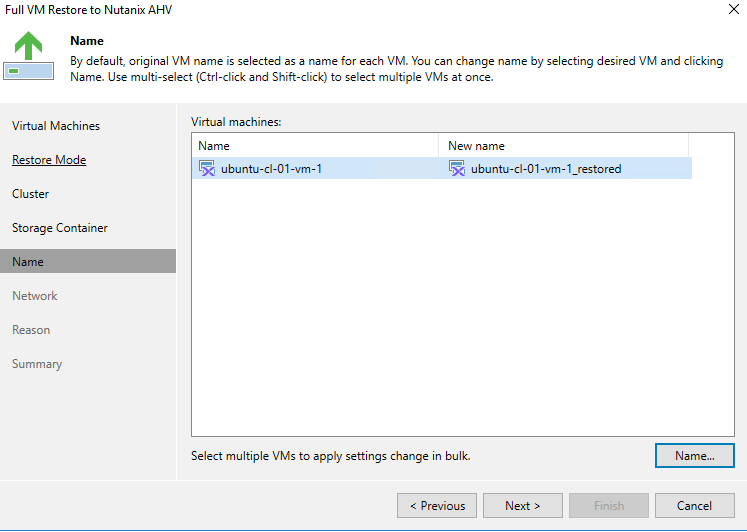
Next, set the name to the VM:
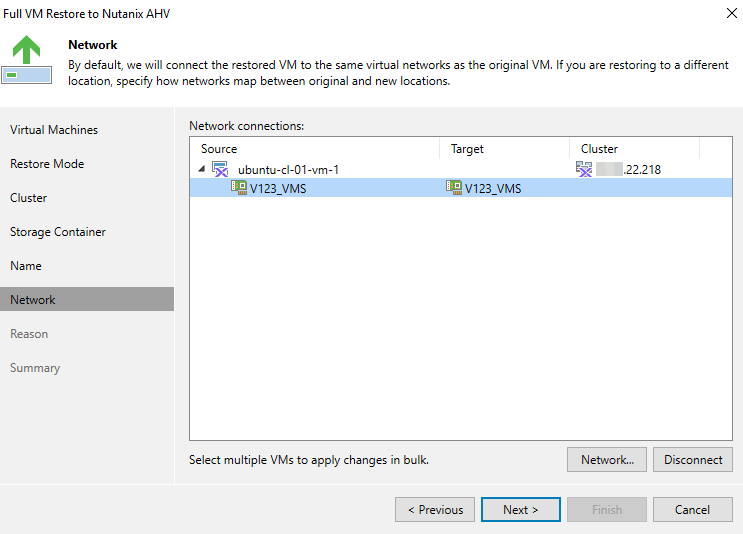
The Network section allows us to change the network or even disconnect the interface:
The last is to review the settings and click Finish to begin a restoration process:
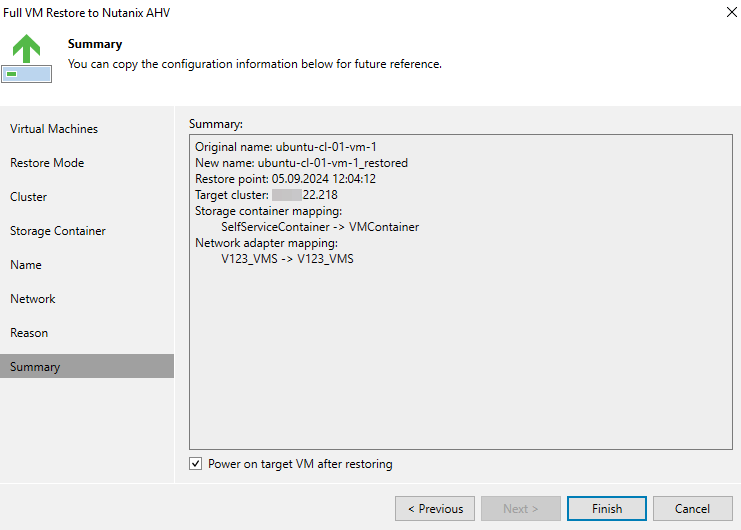
The VM will be restored.
In conclusion:
As you can see, it’s so simple to integrate Veeam with Nutanix Prism Central, and it brings real simplicity when your infrastructure contains more than one cluster.
Don’t forget about proxy servers, and consider deploying a proxy in each cluster.
In the next post, we will talk about Veeam 12.2 and Prism Central categories integration, which was a long-awaited feature as well.
![]()
An amazing article—clear, concise, and very comprehensive.
Any recommand account rights needed to create on prism central? Are there any chart like veeam VMware service account role, for prism central?
Hello, according to the doc, the required privilege level is Prism Admin or higher. I’ve never seen any custom PC RBAC examples on this.