The purpose of this article is to demonstrate the process of managing Nutanix backups using Veeam 13.1 via the Web UI of the Veeam Software Appliance.
In this article, we will walk through the following steps:
- Adding Nutanix Prism Central to the Veeam Infrastructure;
- Configuring a Worker node;
- Creating and running a backup job;
- Restoring a VM from the backup.
Prior to configuring Veeam Backup & Replication, we need to perform a few tasks in the Nutanix environment:
- Configuring the iSCSI Data Services IP for each Nutanix cluster you want to back up;
- Creating a network that you will use for your Veeam Worker VMs;
- Configuring a dedicated account to connect Veeam to the Nutanix environment (using the default admin account is not recommended).
Now, let’s configure Veeam.
The first step is to add a Nutanix cluster (or a Prism Central managing multiple clusters) to Veeam Managed Servers.
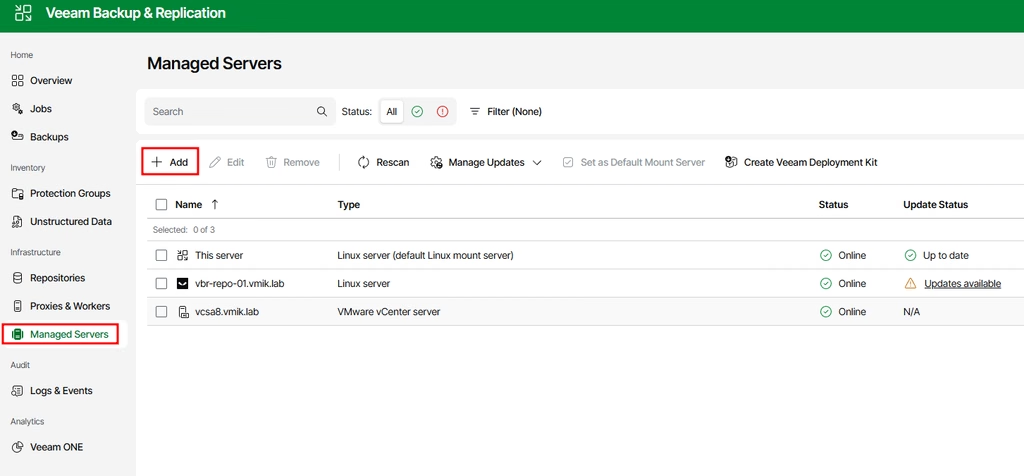
Open the “Managed Servers” category and click Add to create a new managed entry:
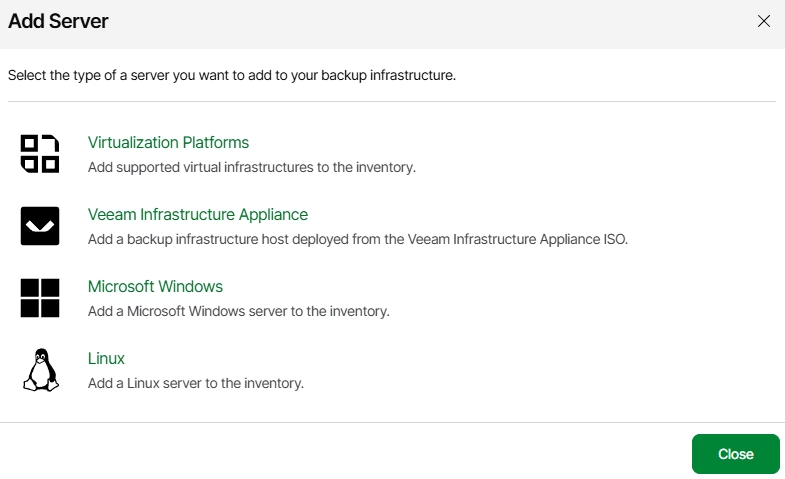
From the options, select “Virtualization Platforms”:
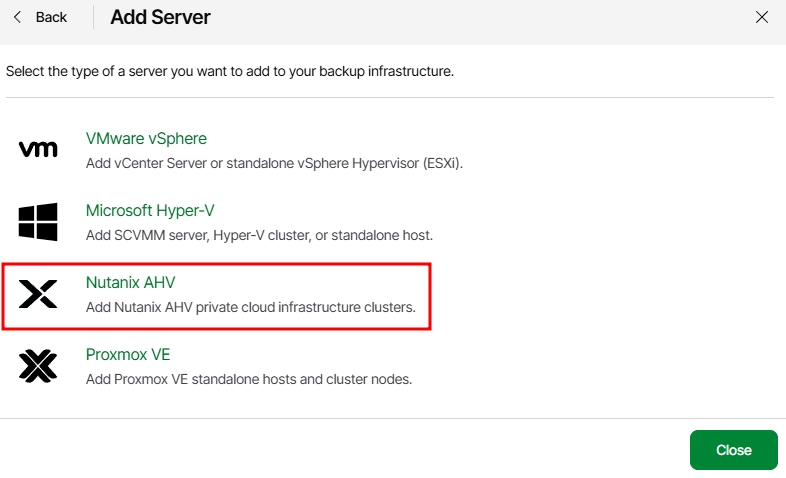
As you can see, using the Web UI, we can add VMware, Hyper-V, Nutanix, or Proxmox virtualization platforms. Select “Nutanix AHV”:
In the next window, provide the Prism Central or Prism Element address:
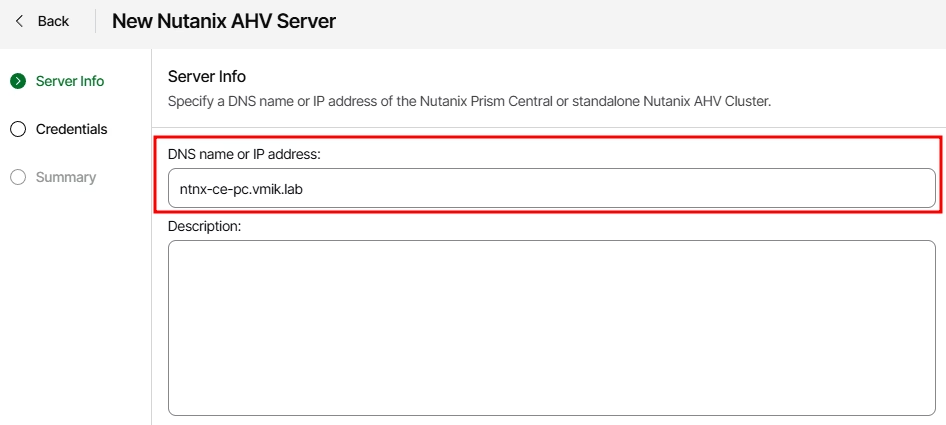
If you add a Prism Element instance, your scope will be limited to a single cluster. If you manage your Nutanix infrastructure with Prism Central, adding Prism Central to the Veeam infrastructure will allow you to manage multiple clusters from a single pane of glass.
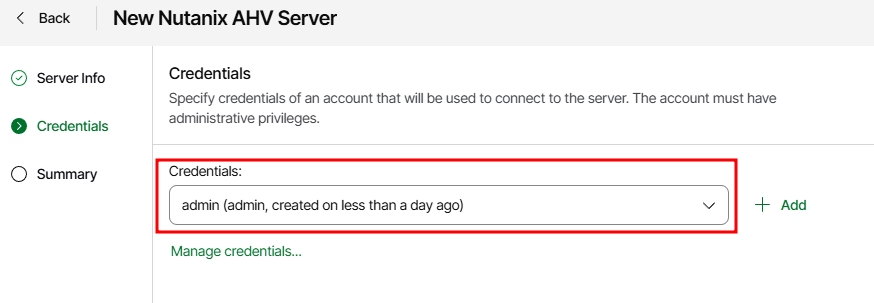
Proceed to the next step and enter valid credentials. In this example, I use the default admin account, but you should not do this in production. Create a dedicated account instead of using the default one:
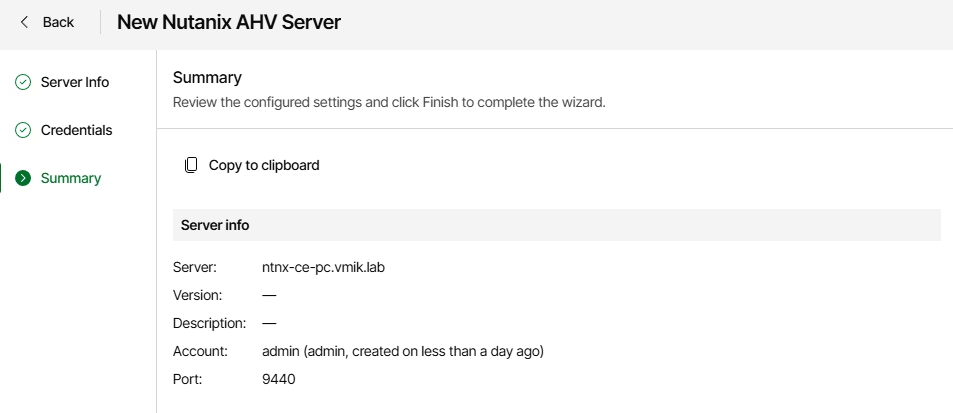
Review the settings:
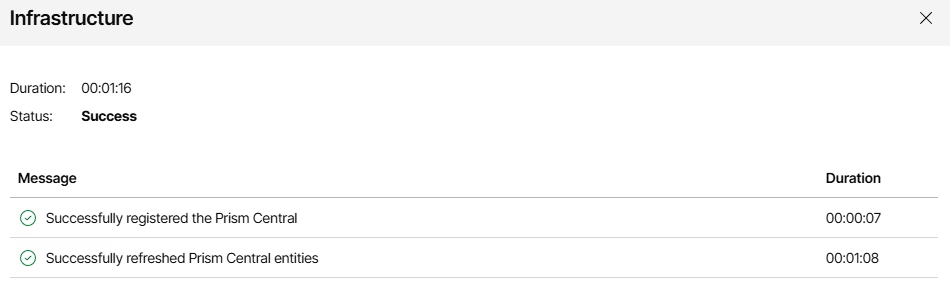
Complete the wizard. The progress window will appear:
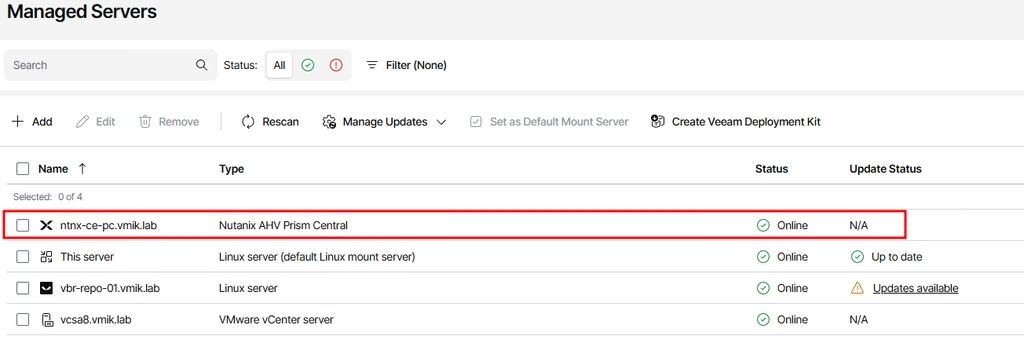
After a short time, the Nutanix Prism Central instance will be added to the “Managed Servers” section:
The next step is to create a Nutanix AHV Worker node. Consider a Worker as similar to a proxy used in VMware or Hyper-V environments.
If you are managing multiple clusters, it is best to deploy a Worker node in each cluster.
The Worker node is a VM that usually remains powered off. During a backup or restore procedure, Veeam powers this VM on and shuts it down after the job is finished.
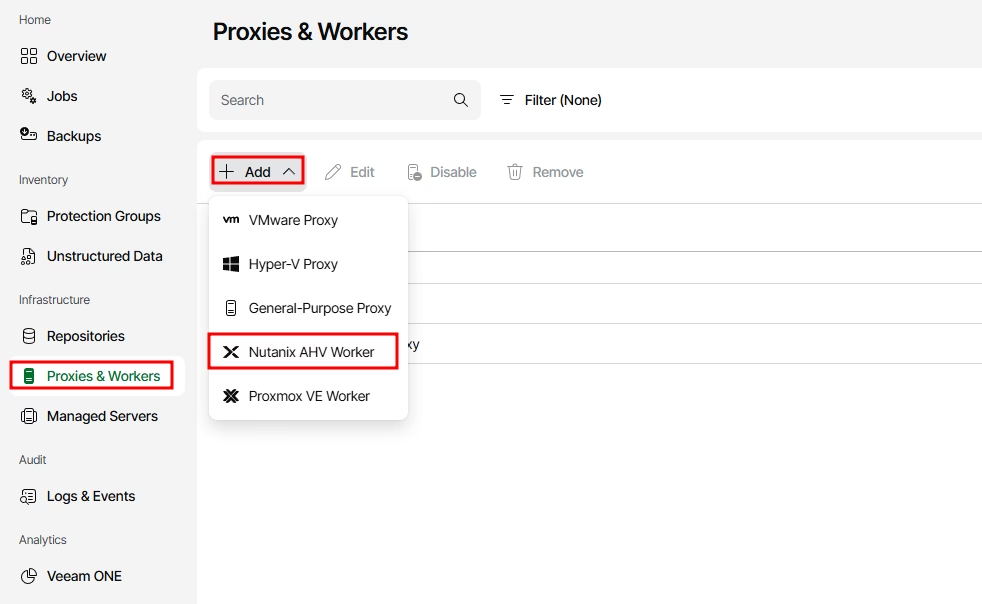
To add a Worker, go to the “Proxies & Workers” section, click Add, and then select Nutanix AHV Worker:
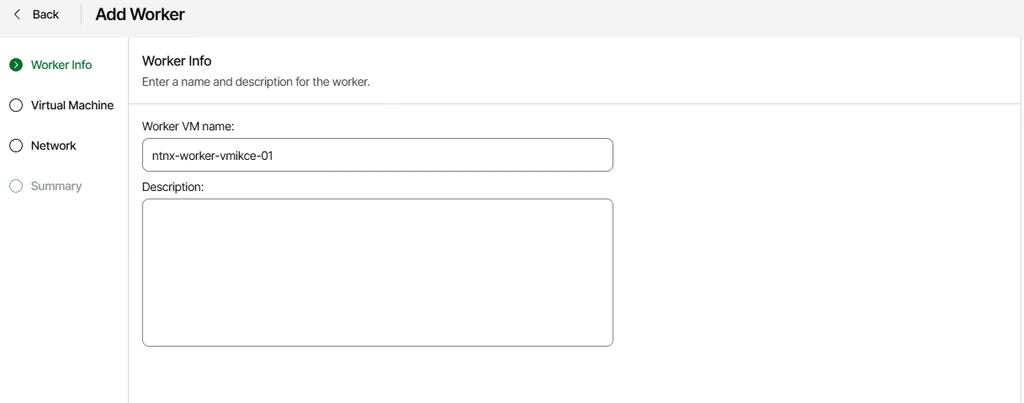
Provide a Worker node name:
Select a cluster and maximum concurrent tasks:
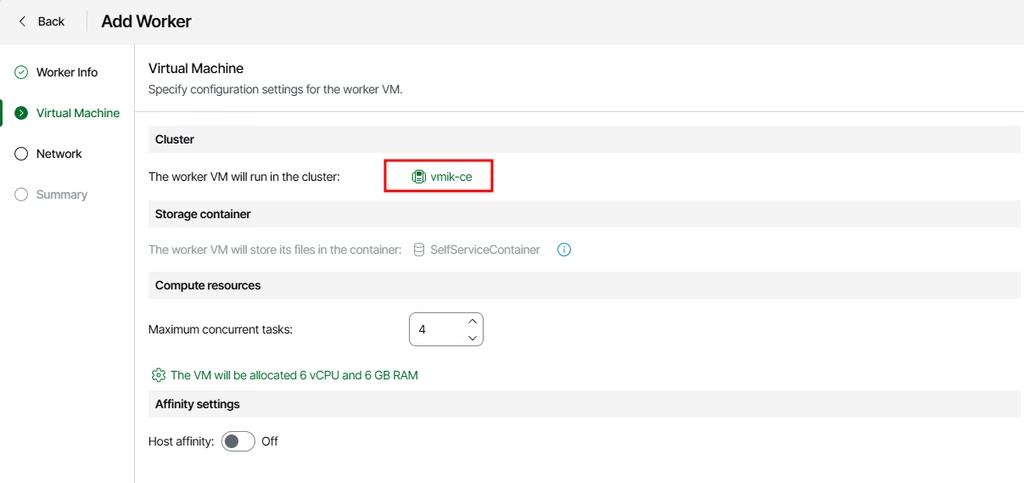
In addition, we can pin a VM to a specific node using the host affinity feature.
Next, specify the VM network settings, or leave them as default if you are using DHCP or Nutanix IPAM:
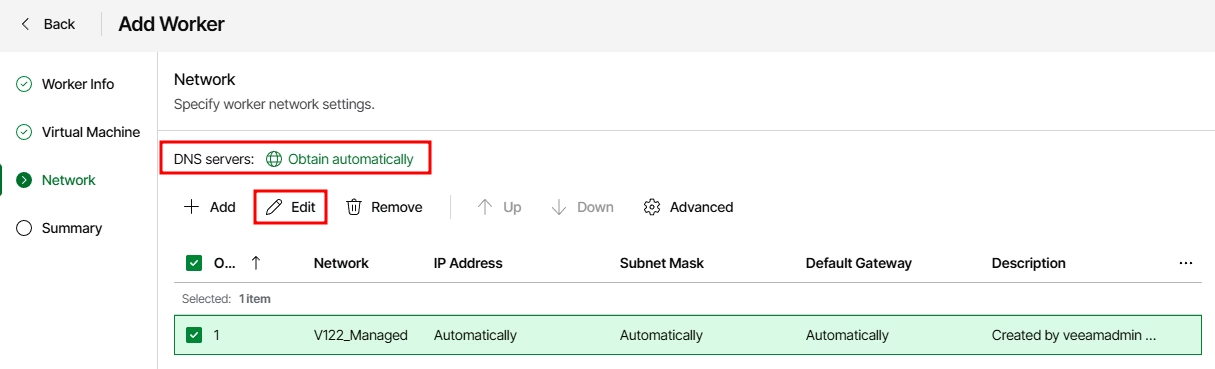
In my case, I specified a DNS server and a static IP address:
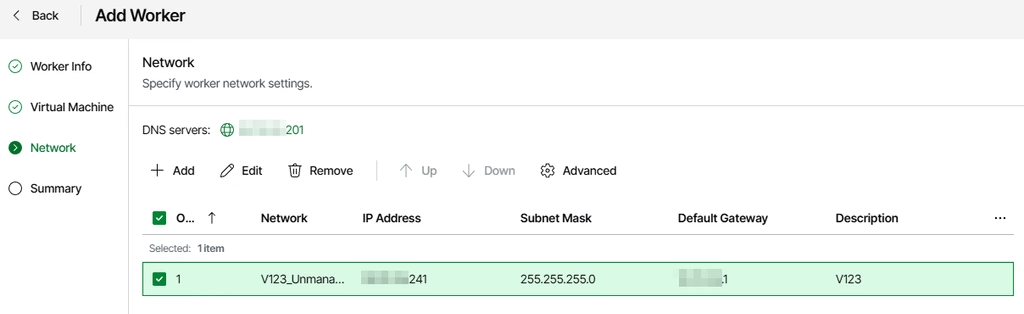
Review the summary, and click finish. Mark or unmark the “test” checkbox:
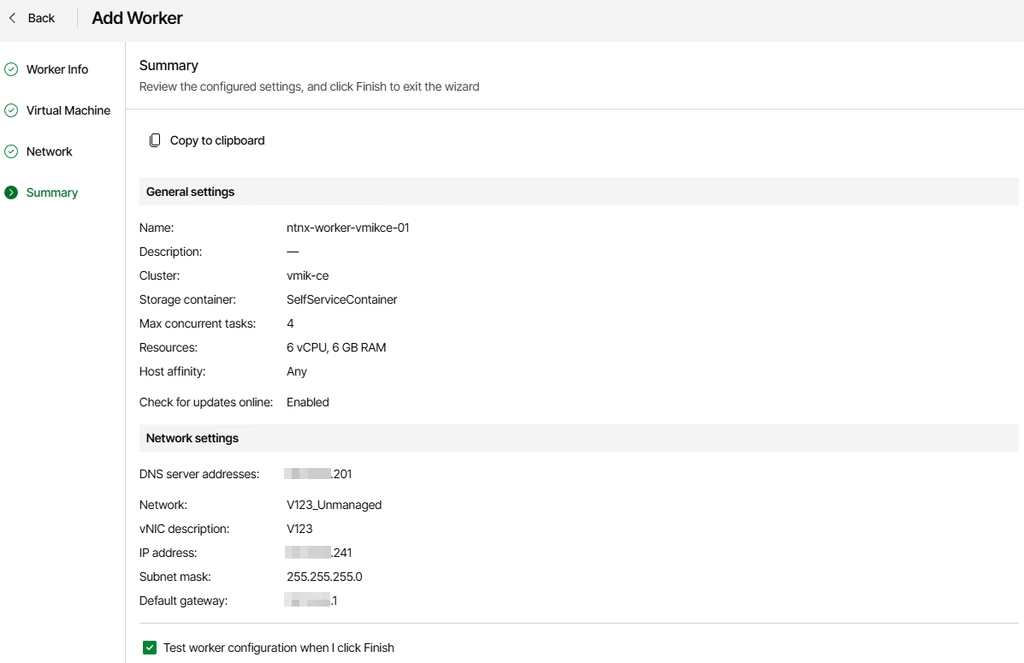
From the Nutanix Prism interface, you can monitor the Worker creation process:
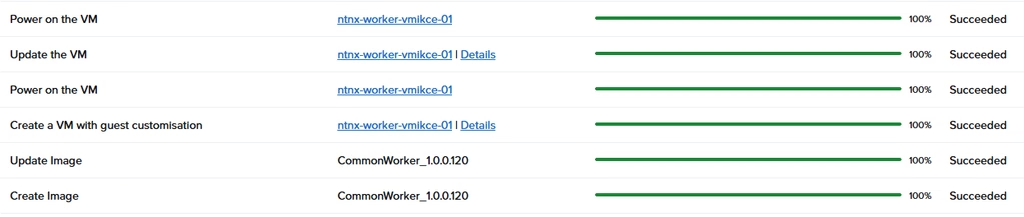
In addition, we can view the test results in the Veeam console:
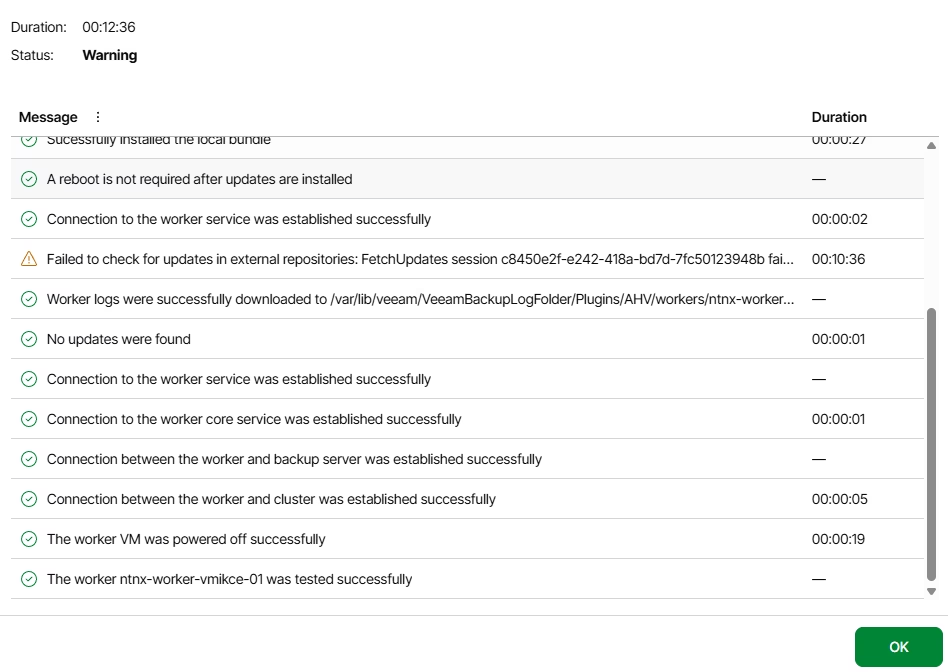
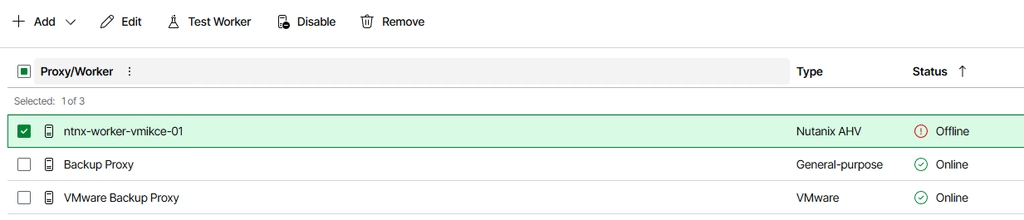
After that, you will see the new Worker node. Do not worry about the offline status. It will change its status during testing, backup, or restore operations when the VM is powered on:
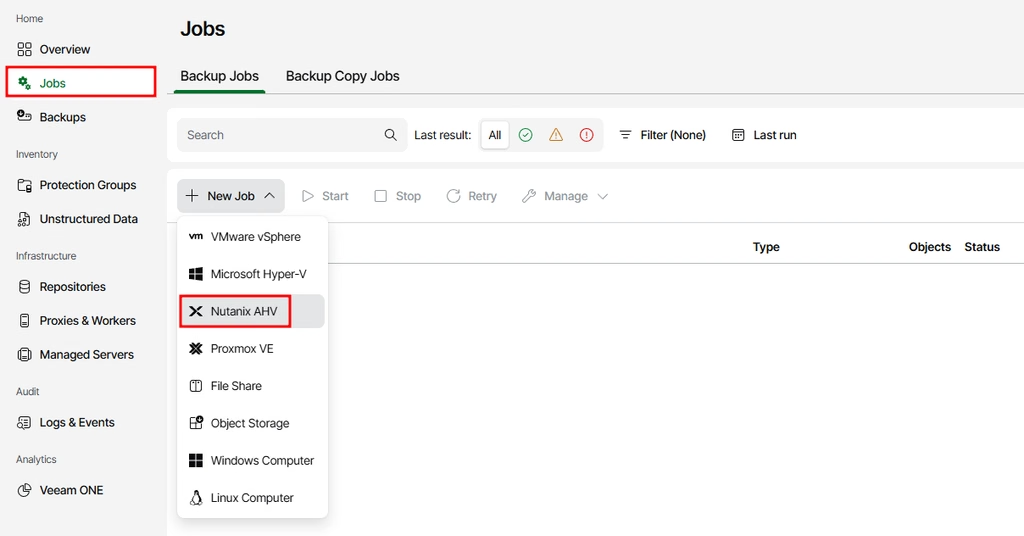
After adding a Worker node, we can create a backup job. Go to the “Jobs” section and add a new Nutanix AHV backup job:
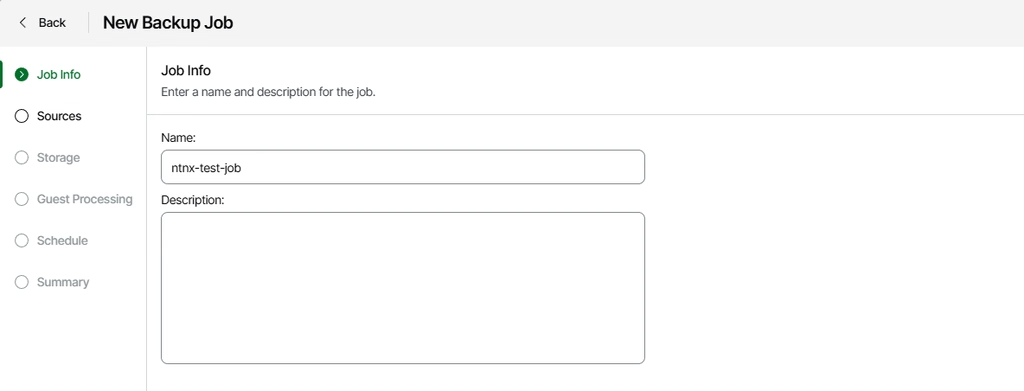
As usual, provide a job name:
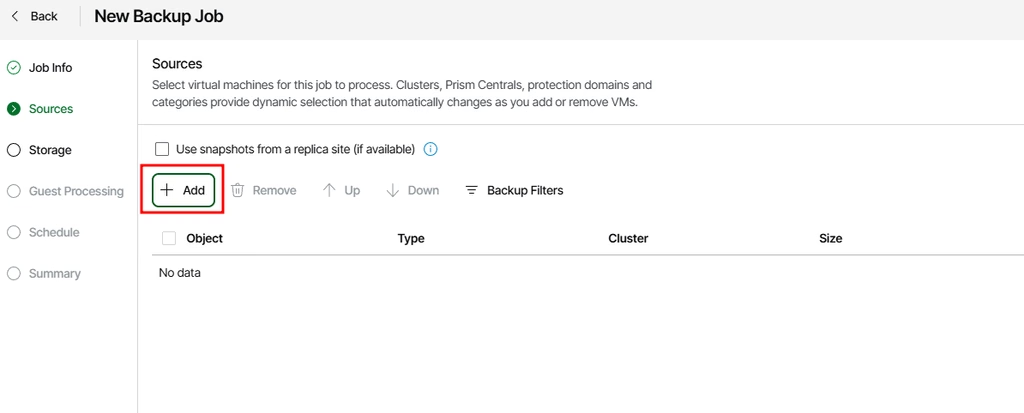
Next, click “Add” to select VMs:
If you have added a Prism Central instance, it will display all the clusters connected to that instance and the VMs running in those clusters. It is also possible to back up VMs based on specified categories:
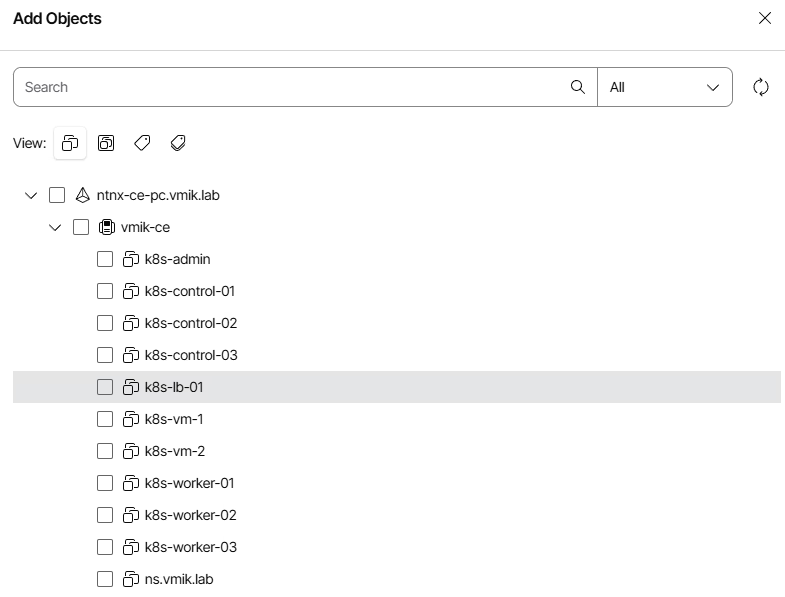
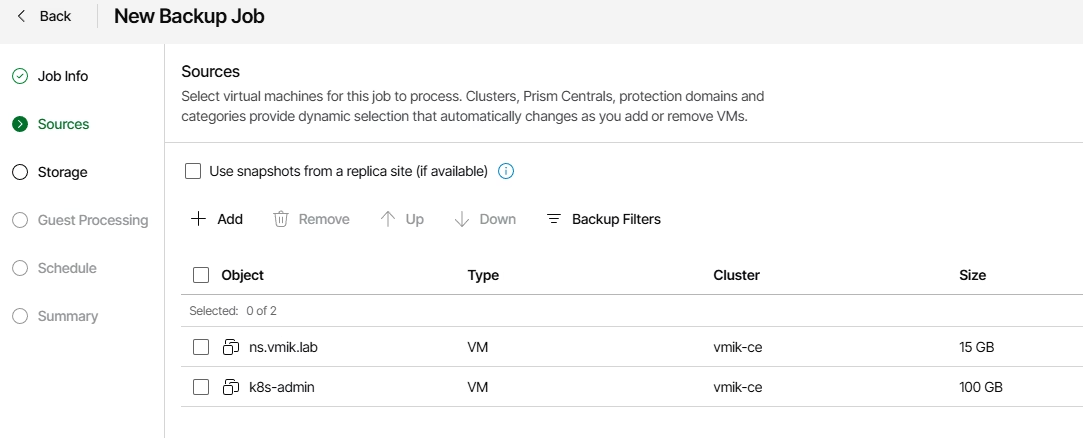
In this example I have added two VMs:
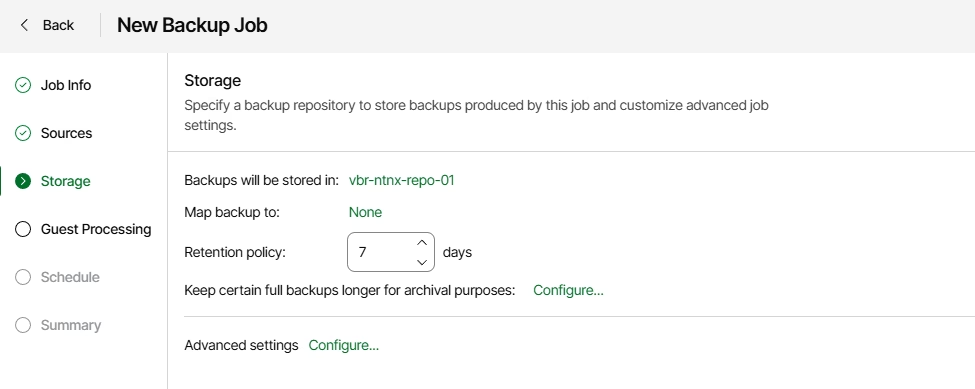
In the next window, we can set up retention policies and advanced settings (for example, Nutanix Guest Tools quiescence):
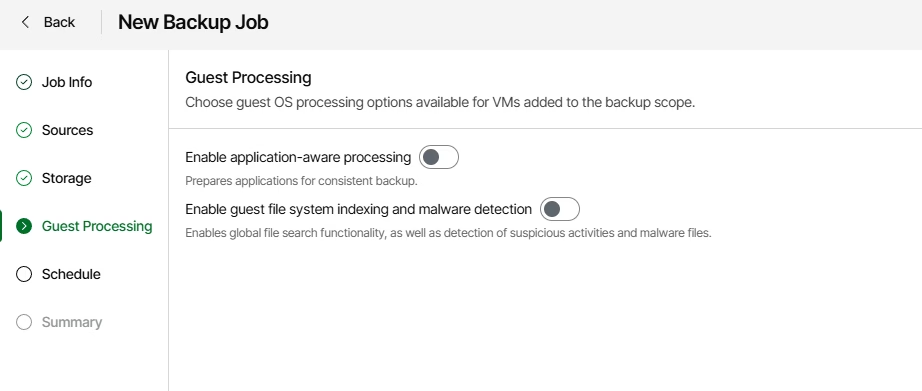
If required, it’s possible to enable application-aware processing:
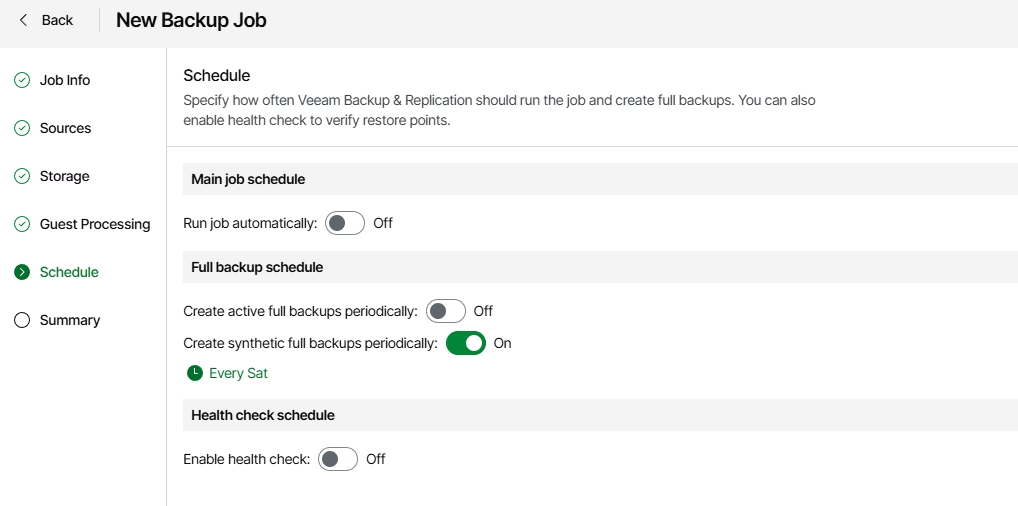
The last step is to create a backup schedule:
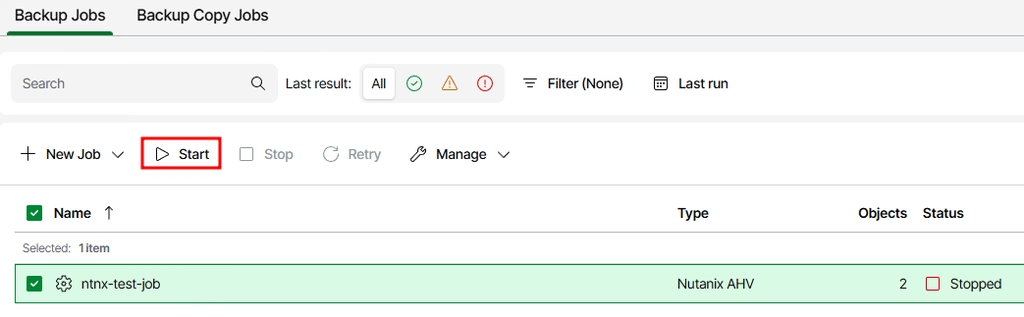
After creating the backup job, we can run it from the Web UI:
Take a look at the modern backup status window!:
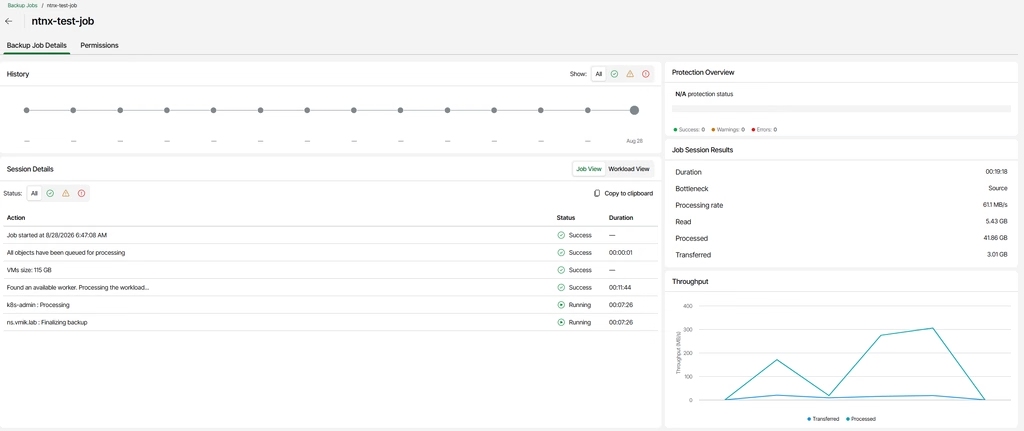
If you click “Workload View”, you can see the backup status for each object in the job.
Looking at the screenshot above, you may ask why the “Found an available worker. Processing the workload” task takes so long – why does it wait about ten minutes before starting a backup?
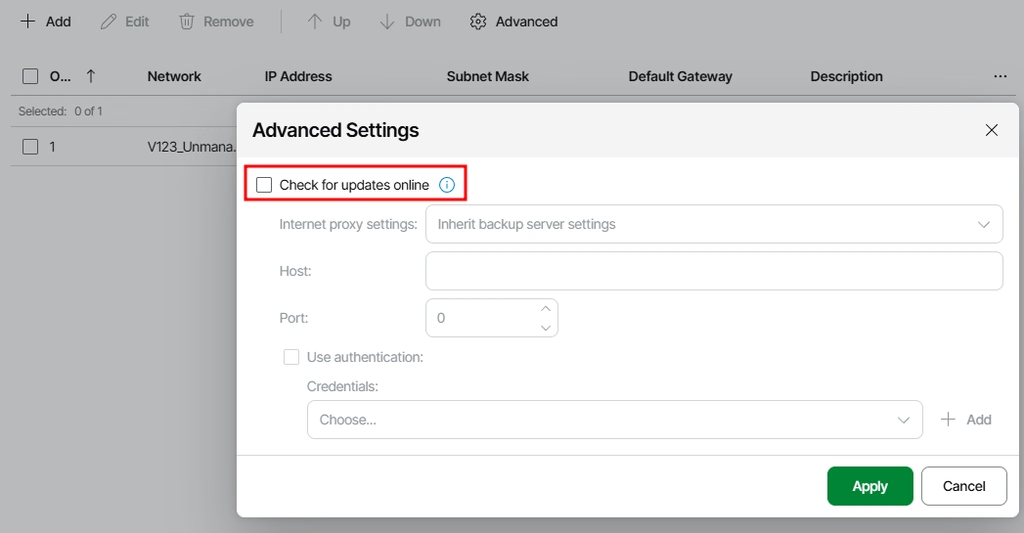
The answer is simple: when the Worker node is powered on, the first thing it does is check for updates from the Internet. If your Worker node has no Internet connection, it will get stuck for about ten minutes.
You can disable this in the Worker advanced settings:
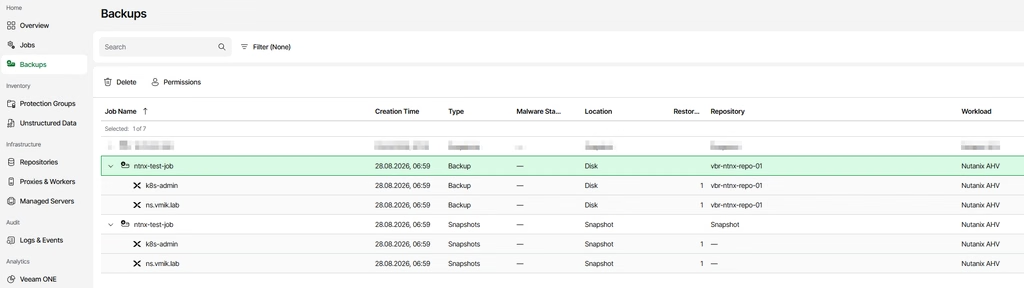
Once we have created a backup, it’s time to perform a restore. Open the “Backups” section. You will now see the new Nutanix backup:
Select a VM, and click “Entire Restore” – “Nutanix AHV”:
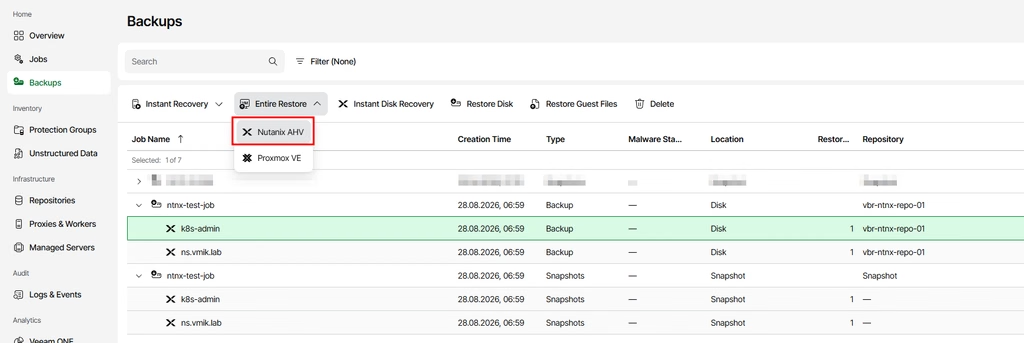
By the way, it is also possible to use Instant Recovery to Nutanix, Proxmox VE, or even to VMware vSphere.
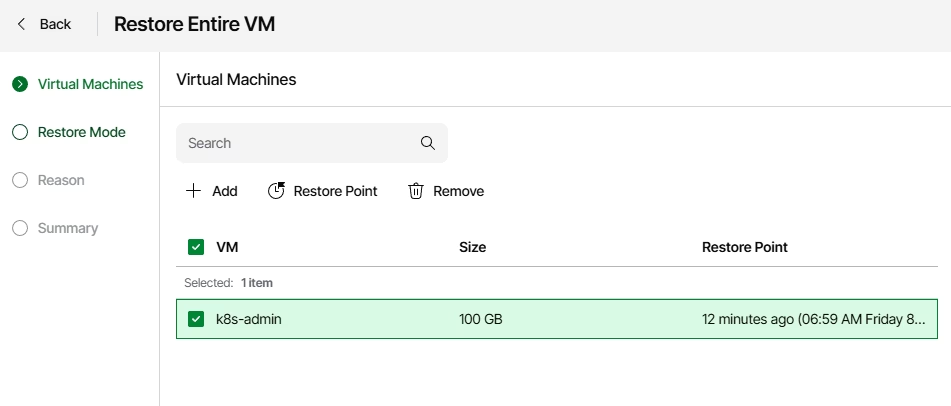
Select a restore point:
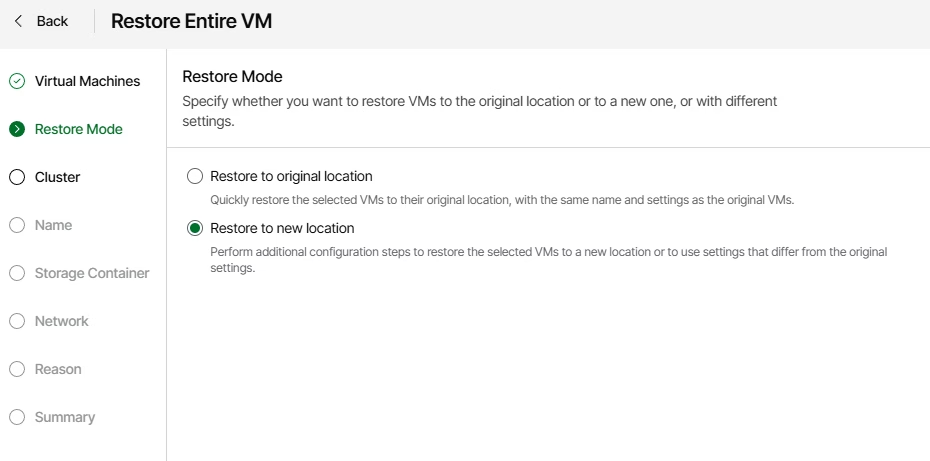
Now, let’s walk through the “Restore to a new location” option:
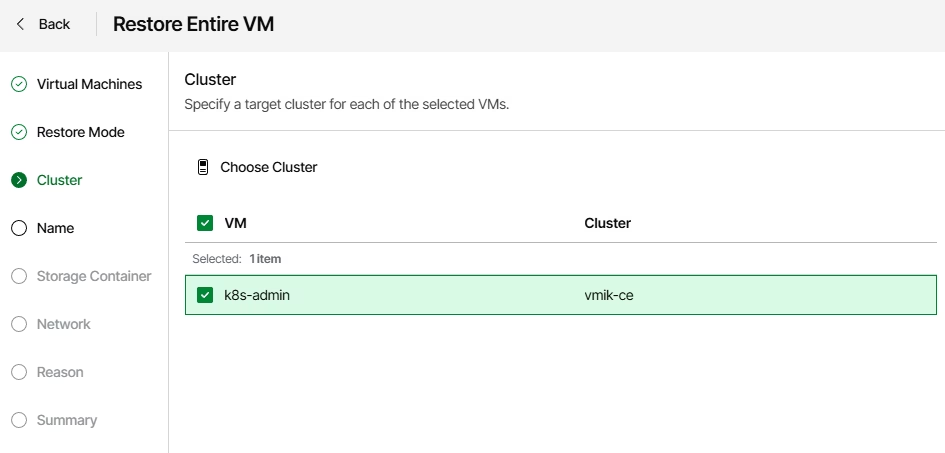
Select a cluster if you want to change it:
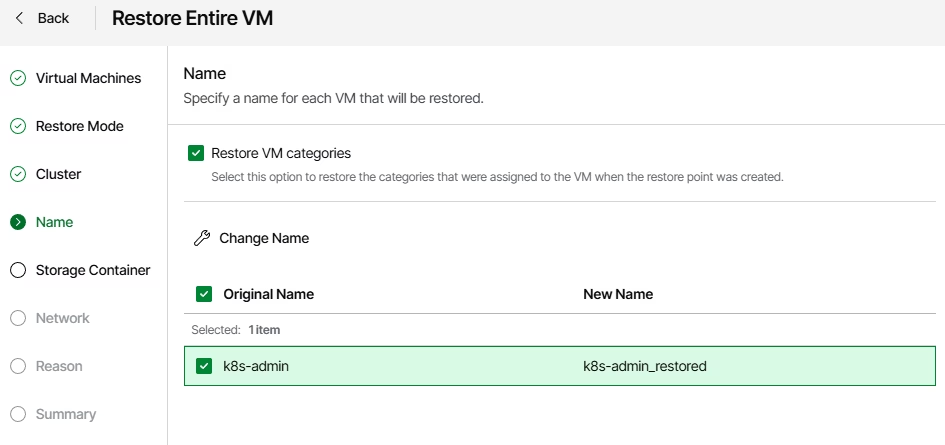
Next, we can change the VM name and restore its categories if needed:
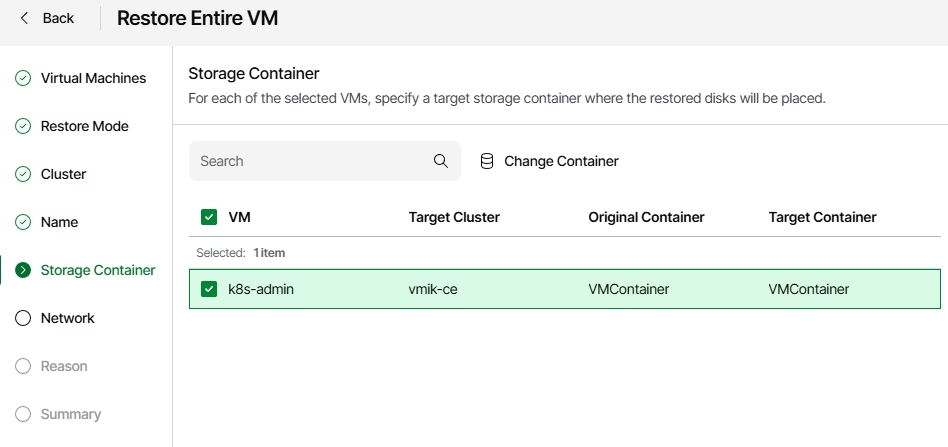
Select a storage container for the restored VM:
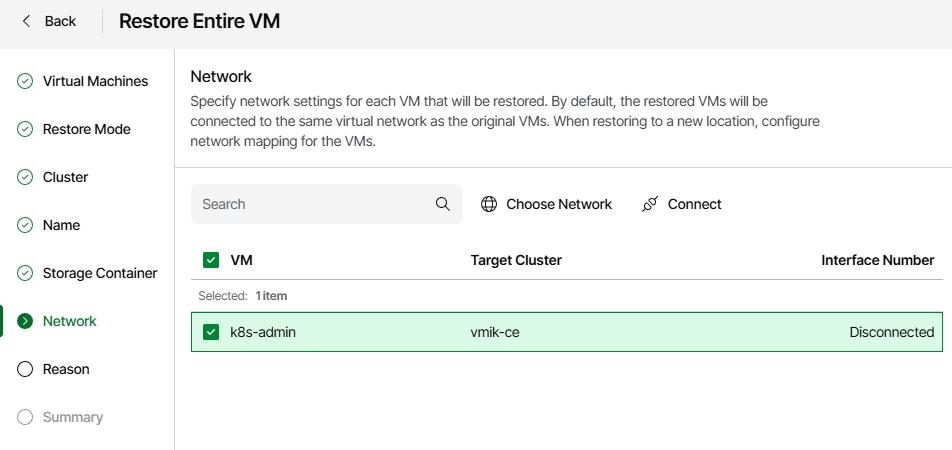
Select the network interface settings:
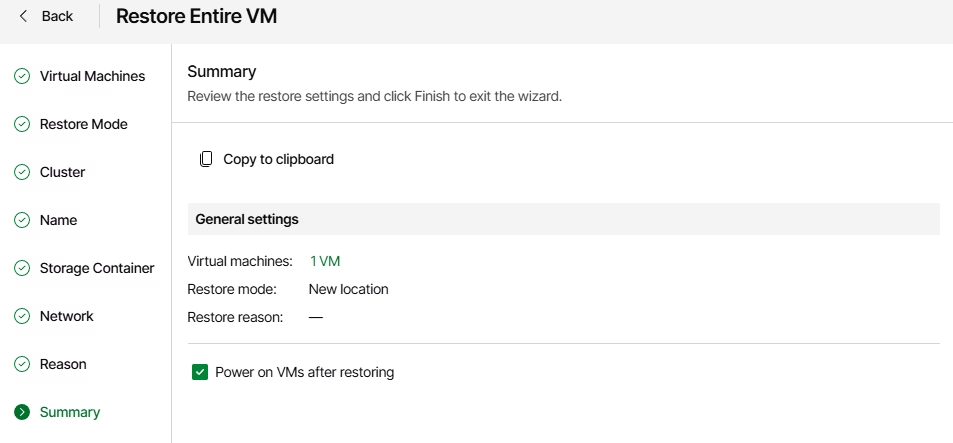
Review the summary and start the restore process:
Go to the “Logs & Events” section, select the restore task, and monitor the progress:
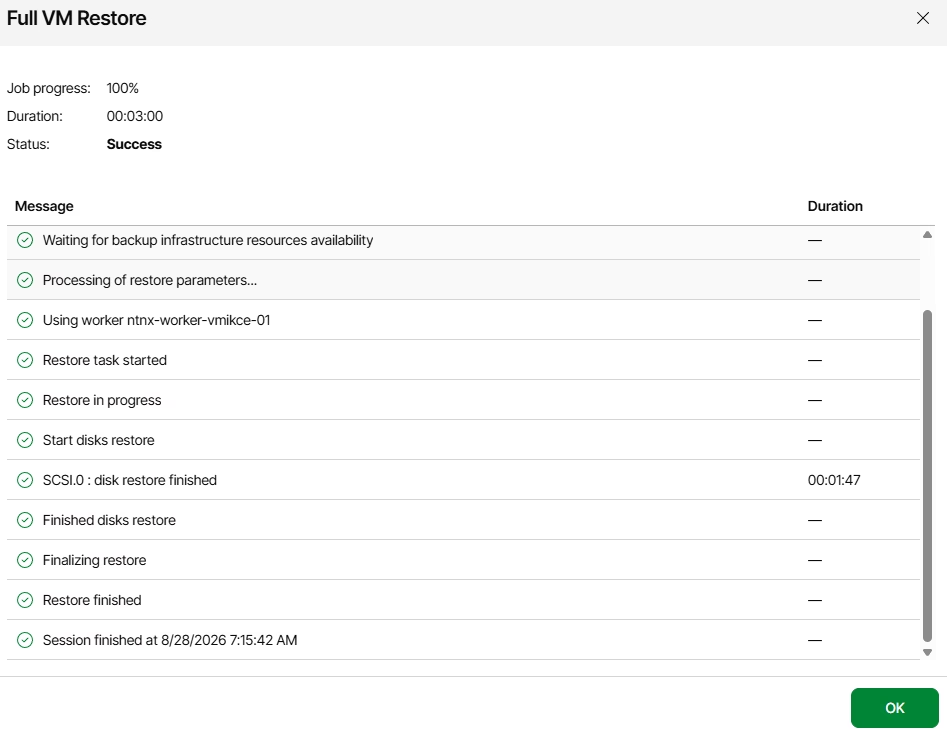
As expected, the VM has been restored:

That’s all! This is how you can connect a Nutanix environment to Veeam infrastructure and back up or restore VMs.
