Nutanix Community Edition 2.0 is compatible with the commercial version of Prism Central (PC), and we can use the 1-click Internet Method to deploy the PC, which significantly simplifies the deployment procedure.
For those who don’t know, Prism Central provides the ability to manage multiple Nutanix clusters from a single pane of glass, as well as additional features for managing, monitoring, reporting, and access control that are not available from the Prism Element interface. Also, Prism Central is required for deploying services like Nutanix Kubernetes Engine, Objects, Flow, and so on.
The purpose of this article is to provide a walkthrough on using 1-Click PC deployment.
Let’s start with the prerequisites.
The main prerequisite for using this method is an internet connection from the Nutanix Cluster to download Prism Central files.
Also, we need to consider IP addresses, computing, and storage resources in the cluster. Those resources depend on the size and number of PC VMs. More about it later.
Time to deploy.
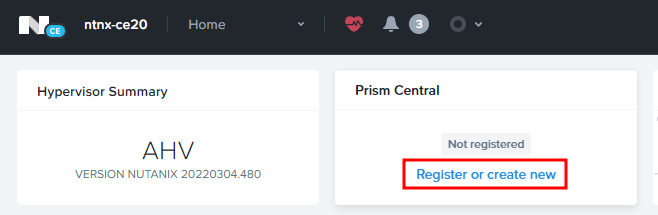
Connect to the Nutanix Cluster. If the cluster is not connected to Prism Central, we will see an option – Register or create new:
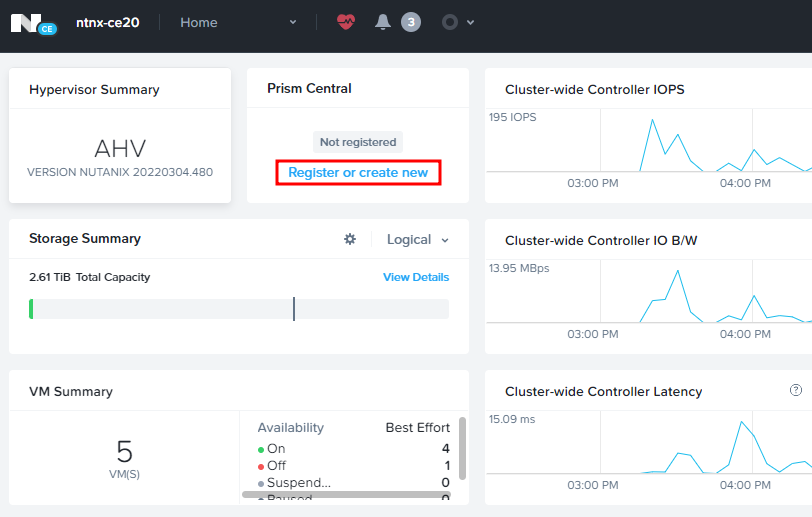
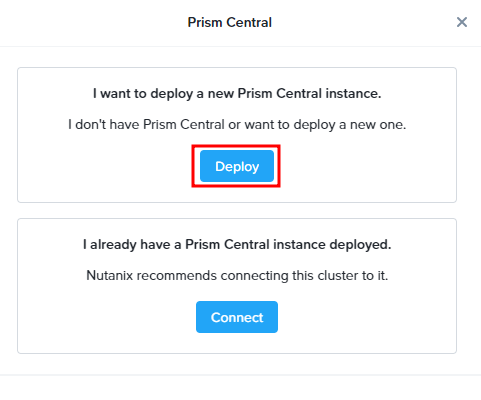
From there we can deploy a new PC instance, or connect to the existing one. Click on Deploy to begin the deployment procedure:
First, we will see the available PC versions. If you don’t see any versions here, check the internet connection. Select the required version and click next:

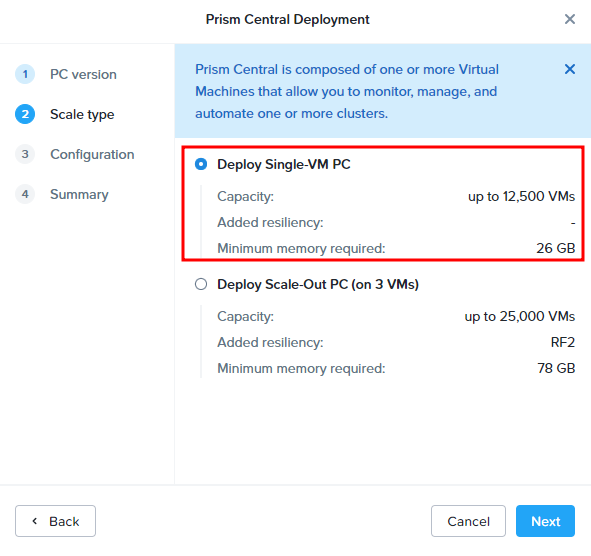
Next, we need to decide on the scale type. It depends on the size of the infrastructure and availability requirements. I will go with a single-VM PC, which will deploy one VM:
Next, we can choose the PC VM size, which depends on the size of the infrastructure and the number of the VMS:

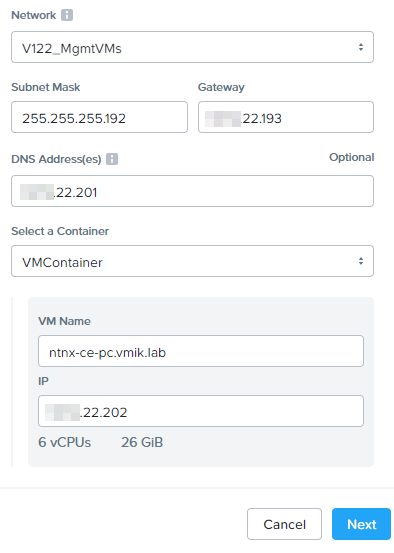
Below, we need to set network settings, set the VM name, and select a storage container:
Click next and review the settings:
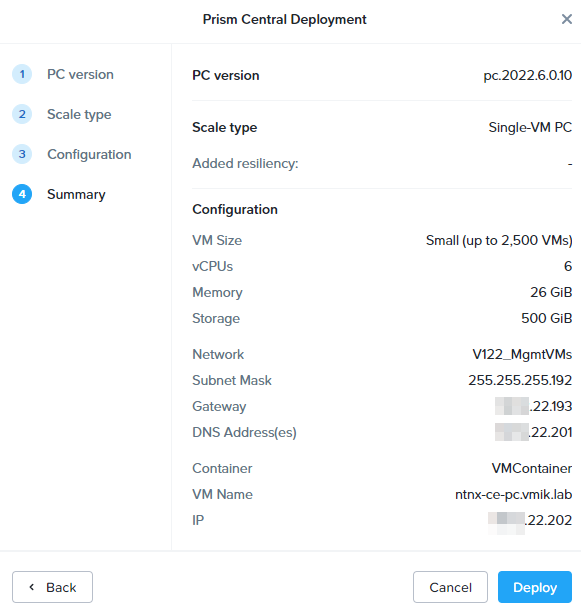
By clicking Deploy we will begin the deployment procedure:
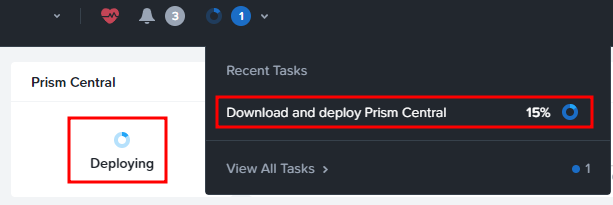
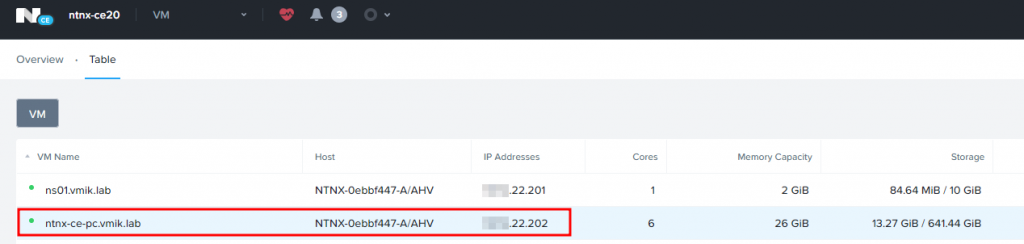
After downloading, you may see a VM running in the cluster:
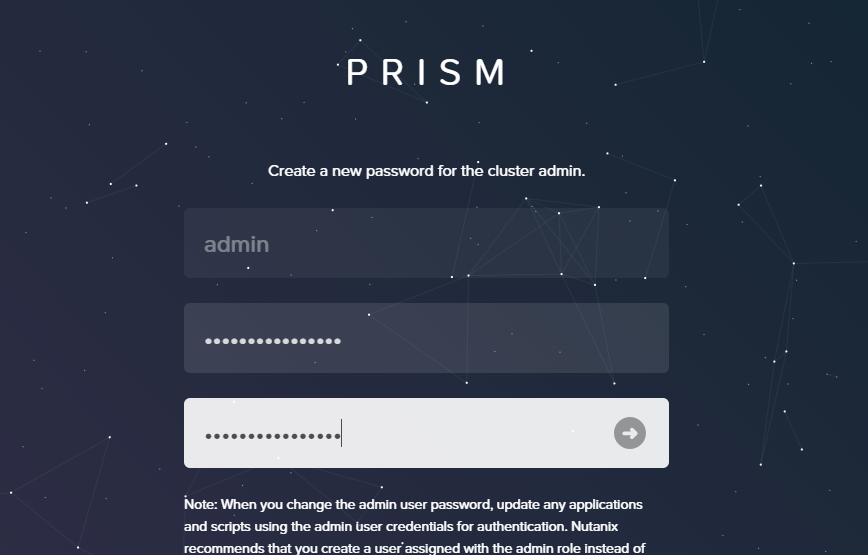
After deploying, we can connect to the Prism Central web interface by using the address https://pc_ip:9440.
First, we need to log in using the admin user and password Nutanix/4u. After that we need to change the password:
If you’re facing issues while logging in, you can reset admin password using this instruction. But in this case, you need to connect to Prism Central, not Prism Element.
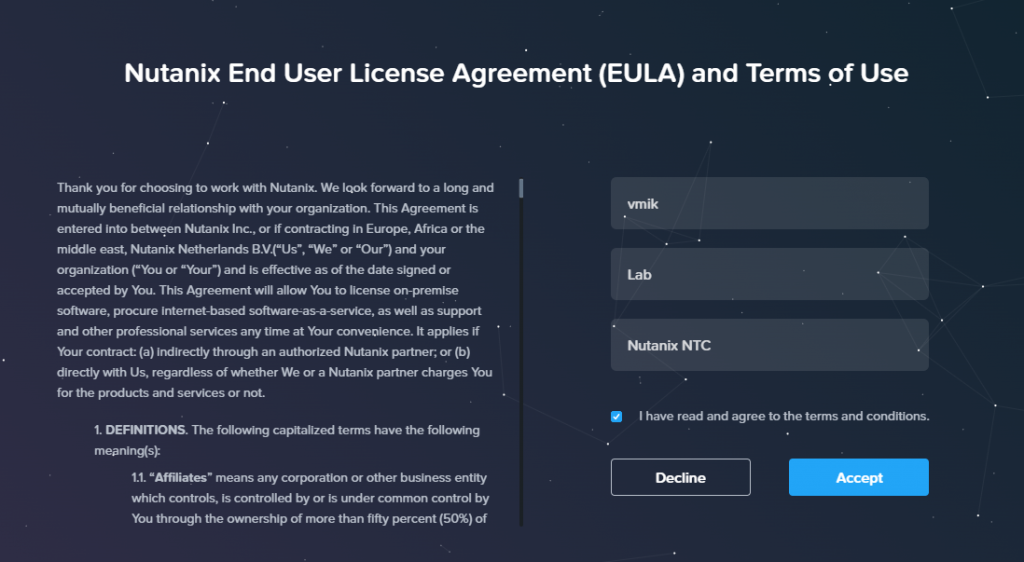
Login with the new password. Read and accept EULA:
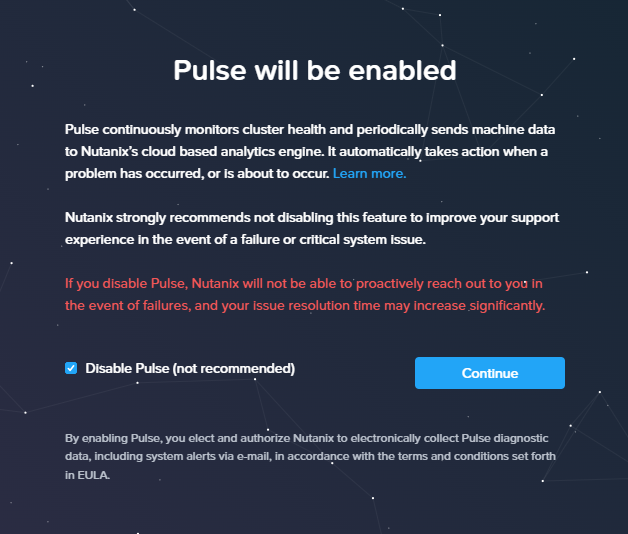
Enable, or disable Nutanix Pulse:
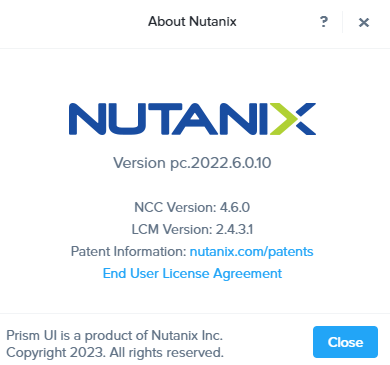
Congratulations. Prism Central instance is up and running:

The version will be the same as we chose before deployment:
Now we can connect our Nutanix cluster to the newly deployed Prism Central.
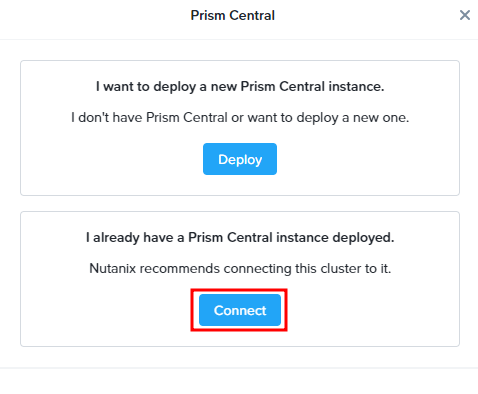
Return to the Prism Element interface. Click again on Register or Create New:
Now we will need to select the Connect button:
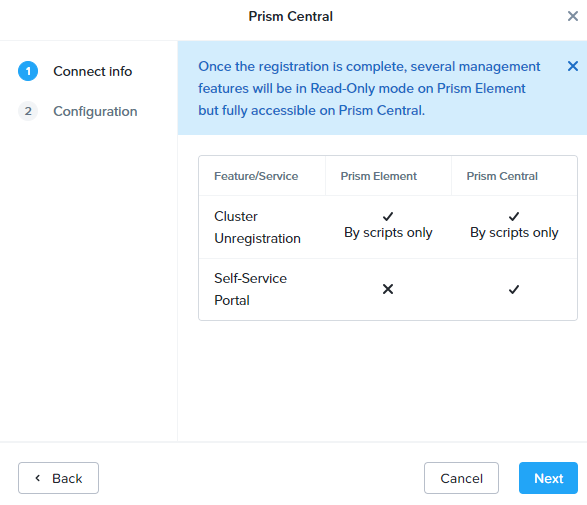
Check the info and click next:
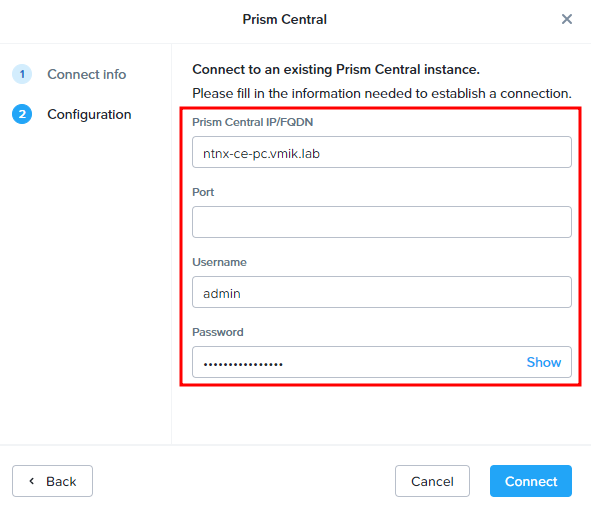
On the next page, provide the Prism Central IP or DNS name, login, and password:
Click connect. After connecting we can see, that our Nutanix Cluster is connected to Prism Central:
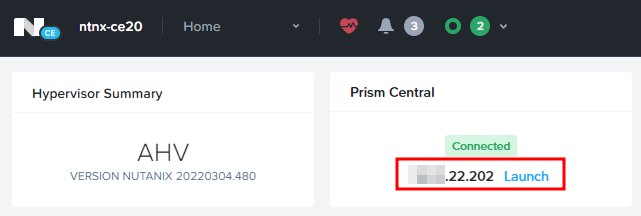
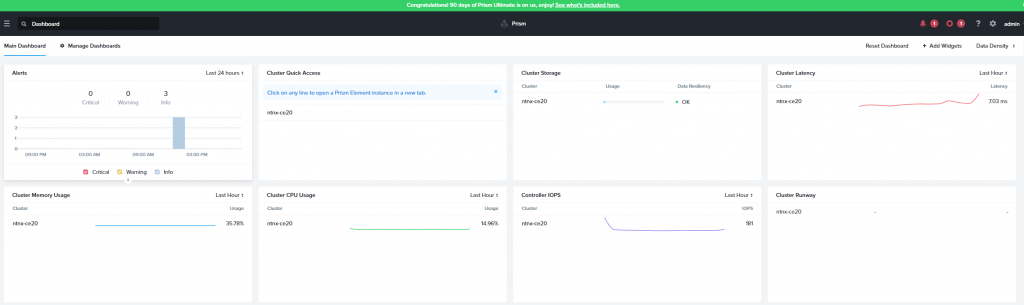
By clicking Launch, we can open the Prism Central web interface. In Prism Central we will see the connected cluster and the basic cluster info and graphs:
That’s all on how to deploy a Prism Central instance and how to connect a Nutanix cluster to Prism Central.
As you can see, using the 1-Click Internet method, the procedure is pretty simple.
![]()