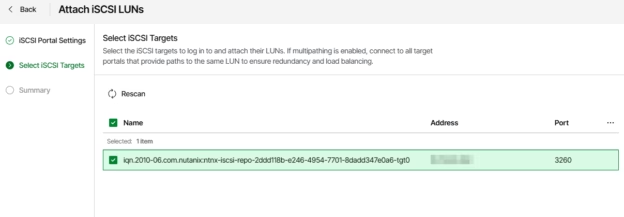
Release 13.1 of Veeam Data Platform brings many new features, greatly increased manageability of the product. In this post, I want to cover Veeam Infrastructure Appliance in a single-disk configuration with iSCSI-attached storage.
If you do not know what the Veeam Infrastructure Appliance is, you can read this post. If you are an active VIA user, you know that before version 13.1, we could only use locally attached disks for a hardened repository, but this changed in the latest release. Now we can connect remote storage, like FC or iSCSI based LUNs, to store backups.
Next, we will go through the configuration steps to connect an iSCSI-based LUN to a VIA hardened repository.
In this article, I will not cover the entire process, as it looks the same as it did in V13. However, I will include a few screenshots showing the steps needed to configure VIA with remote storage.
If you’re new to VIA, read this article first.
You have already heard about iSCSI or FC-attached LUNs, but you may ask what a single-disk configuration is. You may know that previously, each VIA appliance required two local disks: one disk for the OS and system packages and a second for storing backups. If you use remote storage for storing backups, it is reasonable to use only one local disk for the OS and system packages.
And that’s what single-disk option is. We can use this option when VIA is used as a proxy server, or when it has the Hardened Repository role with remote storage. The minimal size of the disk is 120GB.
The procedure of installation and configuration is the same as it was in V13, but, before installing, you can see new options:
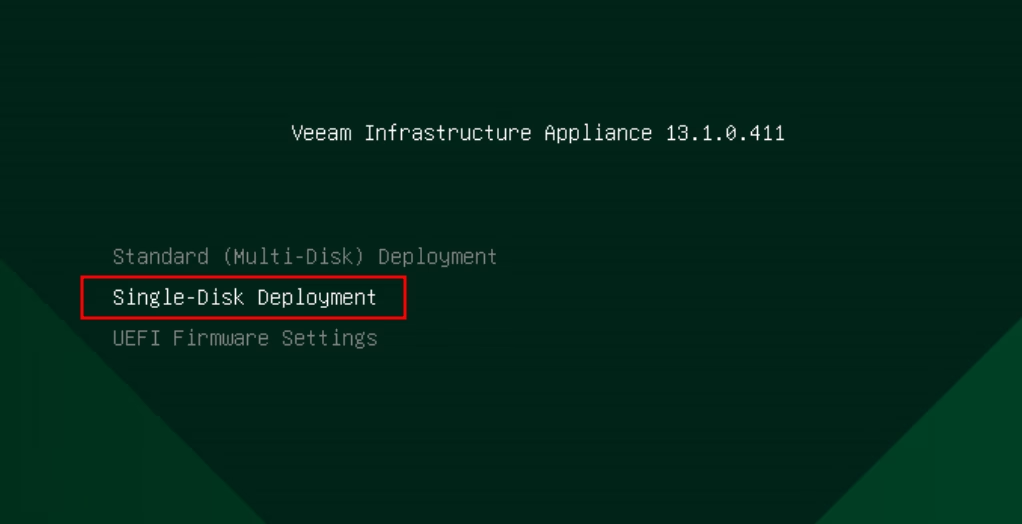
Now, you can choose between a Standard Multi-Disk Deployment and a Single-Disk Deployment. Select a Single-Disk Deployment.
Next, during configuration, select “Hardened Repository”:
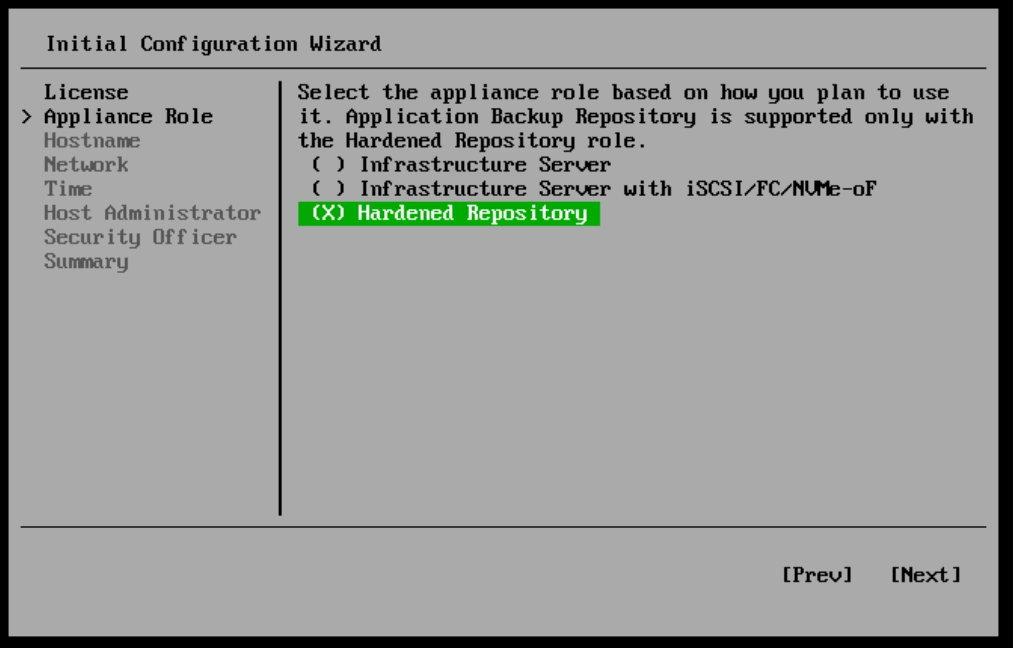
All other steps are the same, and I won’t cover them.
After installing the appliance, we will perform further configuration from the Veeam Host Management Console.
Each VIA instance has a web-management interface called Veeam Host Management Console. It is located on port 10443. In my case, it is: https://vbr-repo-01.vmik.lab:10443/
After connecting to the management console, the first thing we need to do is allow this host to mount remote FC and iSCSI devices for the next 8 hours.
To do that, we need to select “Backup Infrastructure” from the menu and submit a corresponding request:
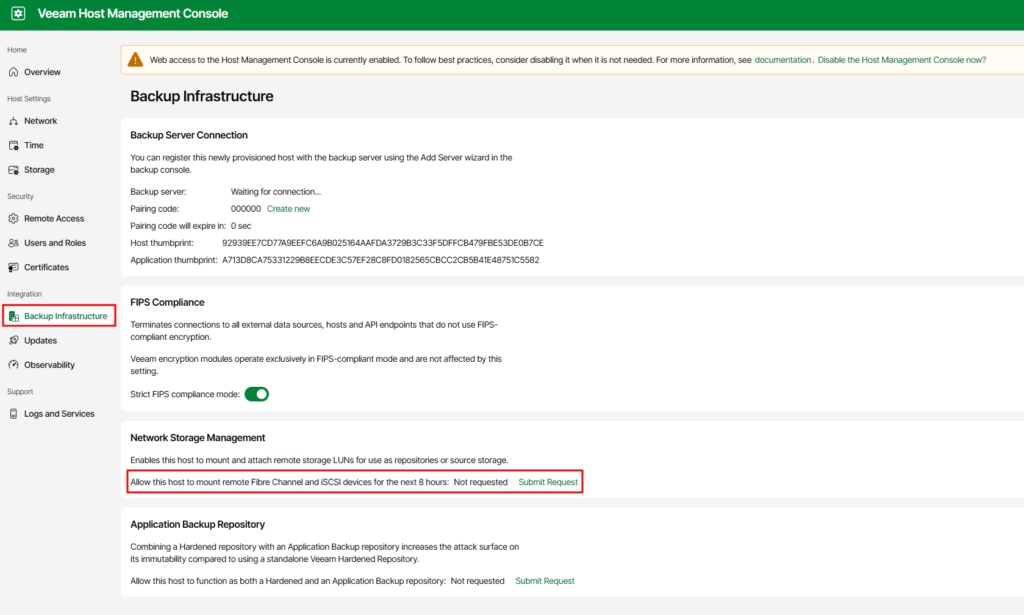
After that, we can configure a remote storage. This can be done from the “Storage” section.
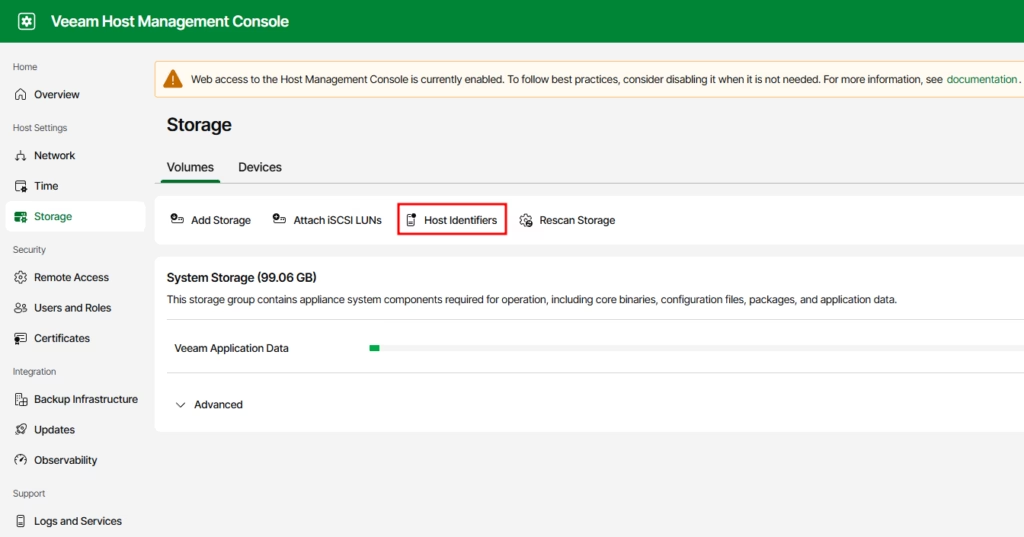
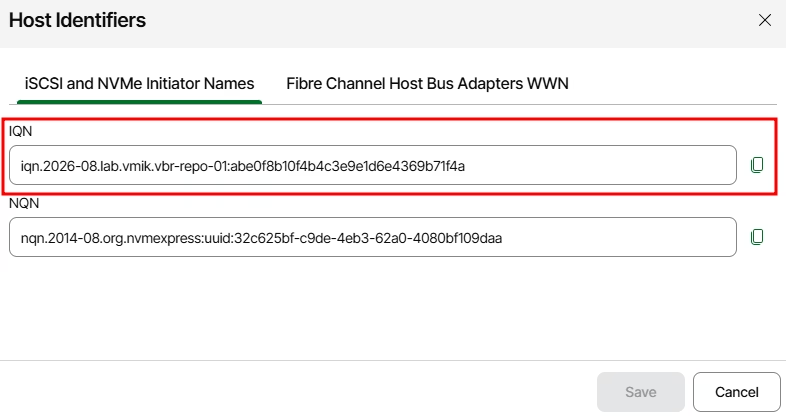
First, let us check and copy VIA IQN. We can see IQN, NQN or WWN using “Host Identifiers”:
It is also possible to change IQN if needed:
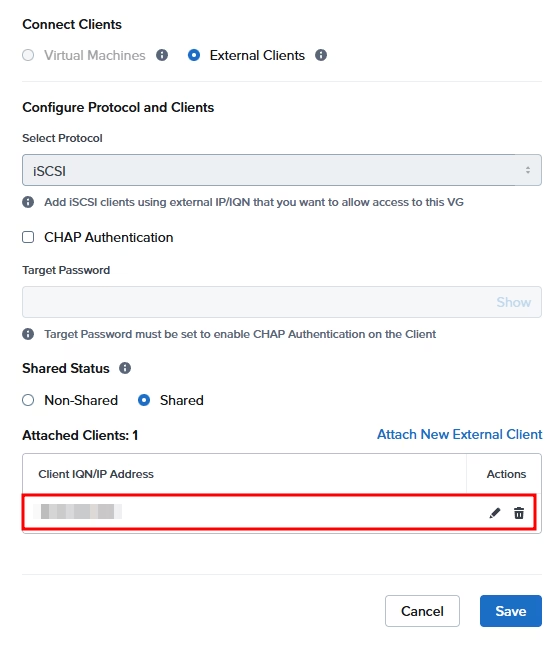
I added this IQN to the Nutanix Volumes clients section to allow VIA connect the Nutanix iSCSI LUNs. You should configure your storage accordingly:
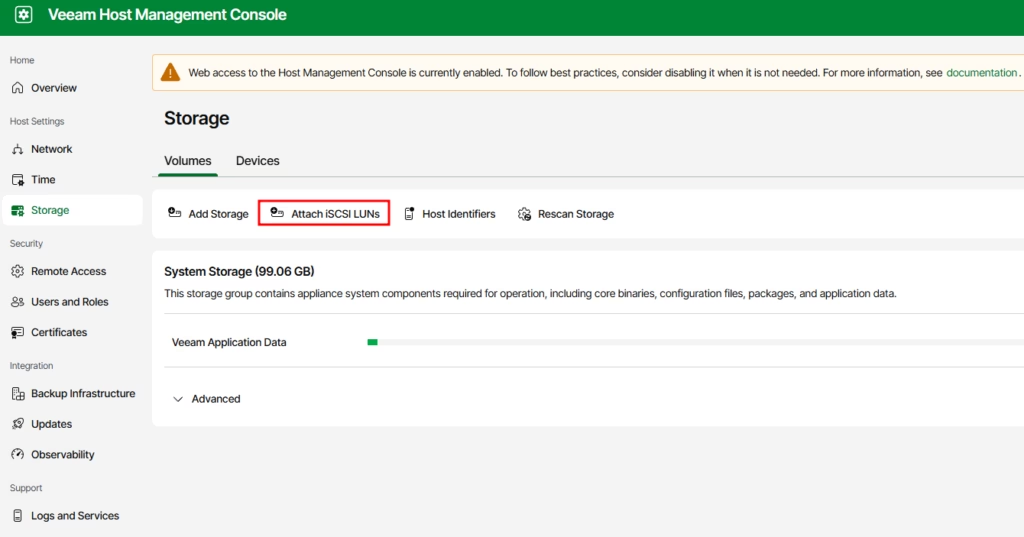
When remote storage is prepared, it’s time to add a LUN to the VIA instance. Click “Attach iSCSI LUNs”:
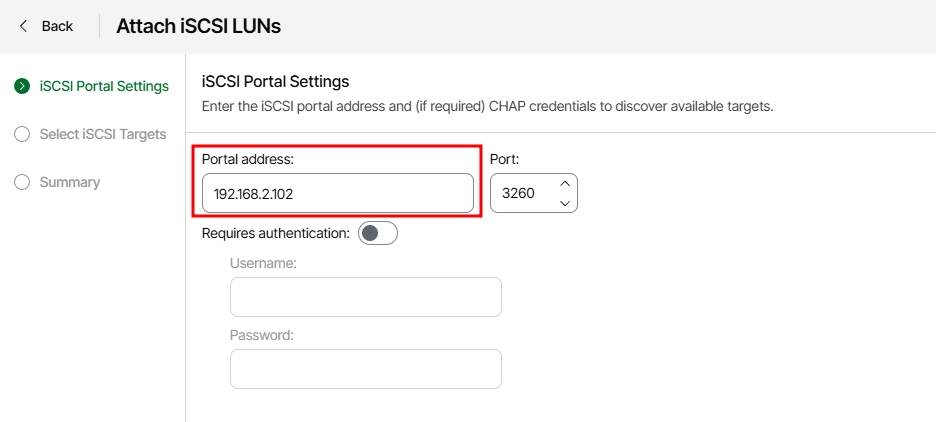
For iSCSI, provide portal address. In case of Nutanix this is Data Service IP:
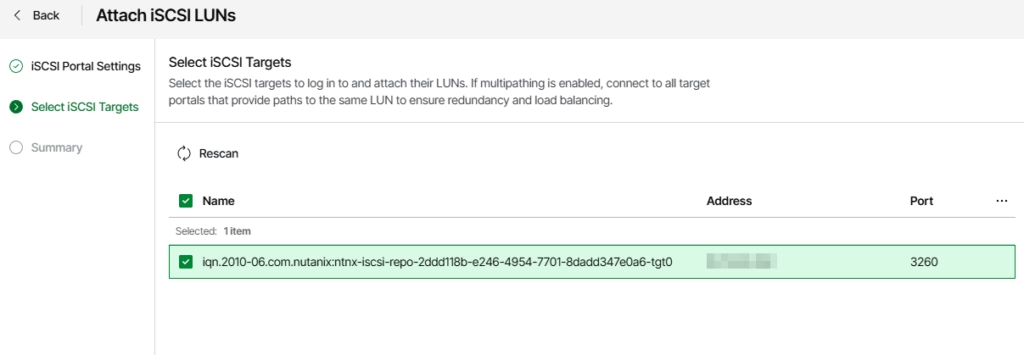
Proceeding further, we will see all accessible LUNs. Select a LUN you want to attach to the VIA:
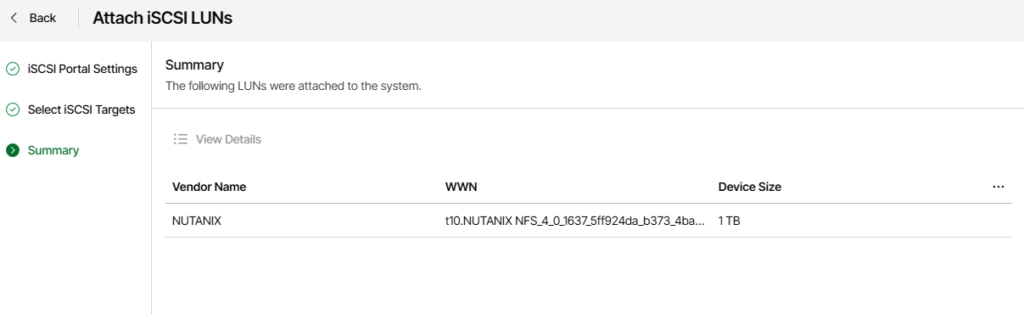
Review the Summary and finish:
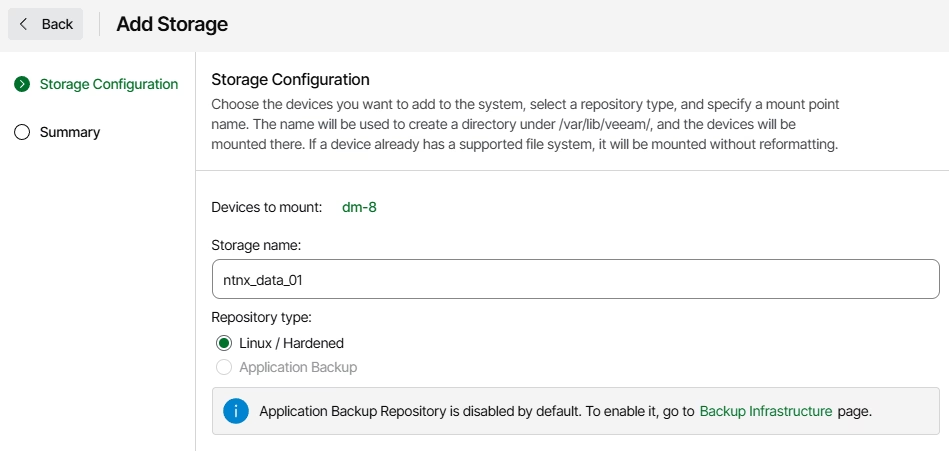
After that, a new window will appear, allowing us to configure storage on the newly added LUN. Provide the storage name (name how LUN will be mounted in the OS):
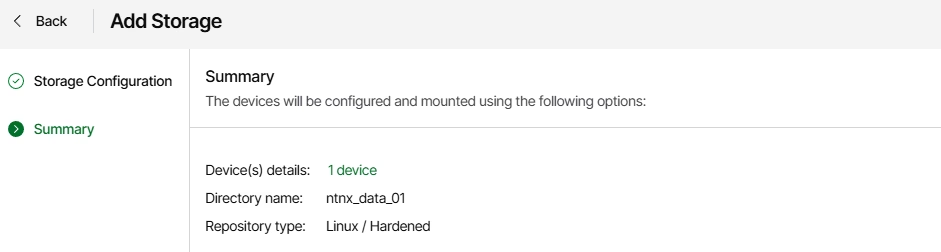
Review the Summary:
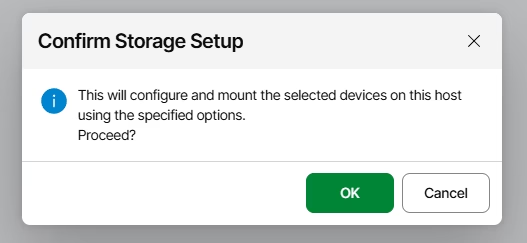
And confirm storage setup:
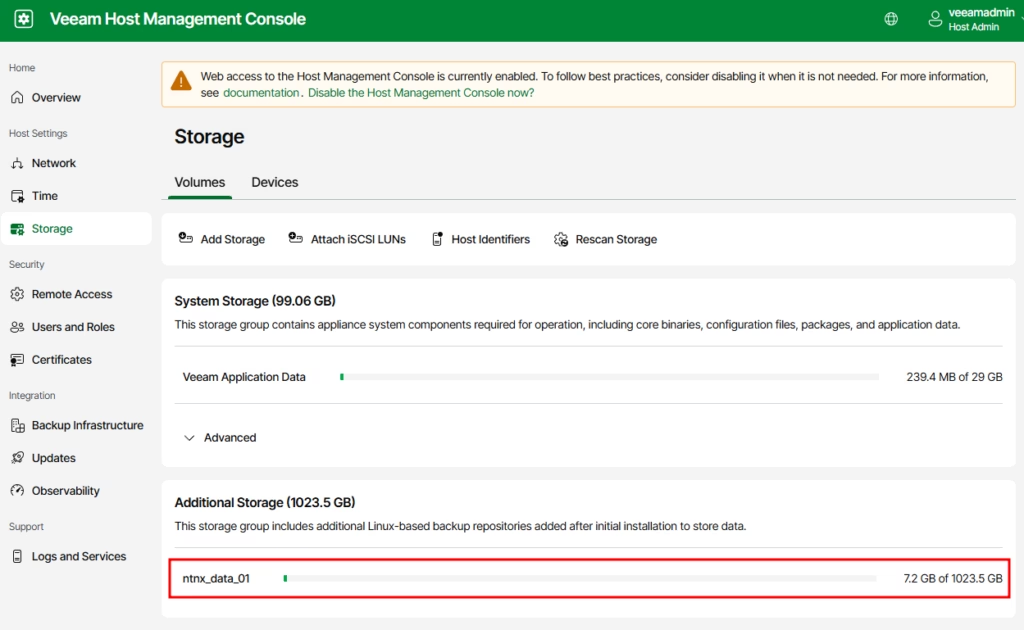
After that, you will see a new storage:
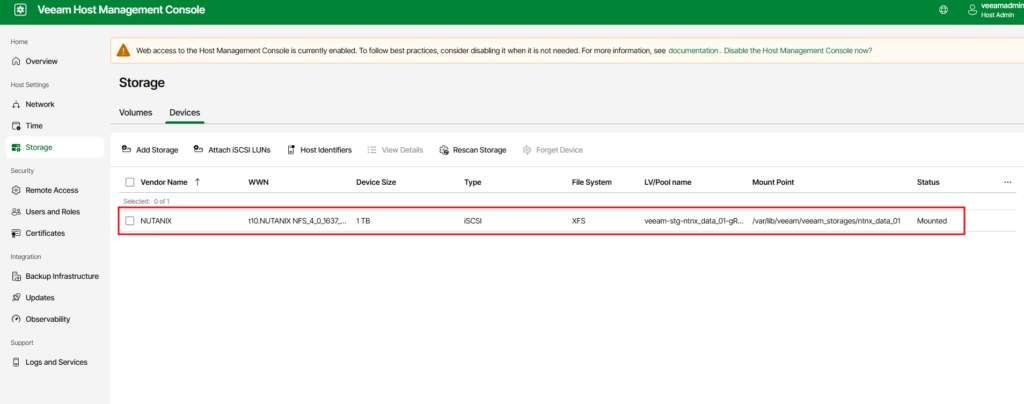
Clicking on “Devices” you can see a detailed info:
At this point, we’ve configured our VIA instance and added an iSCSI LUN as storage. The only thing left is to create a repository.
First, we need to add our VIA instance to Managed Servers, but I won’t cover that process here – you can find it in my previous article.
I perform all the next steps from the Veeam Software Appliance (not Veeam Infrastructure Appliance) web-console, but you can use Windows-client if you want to.
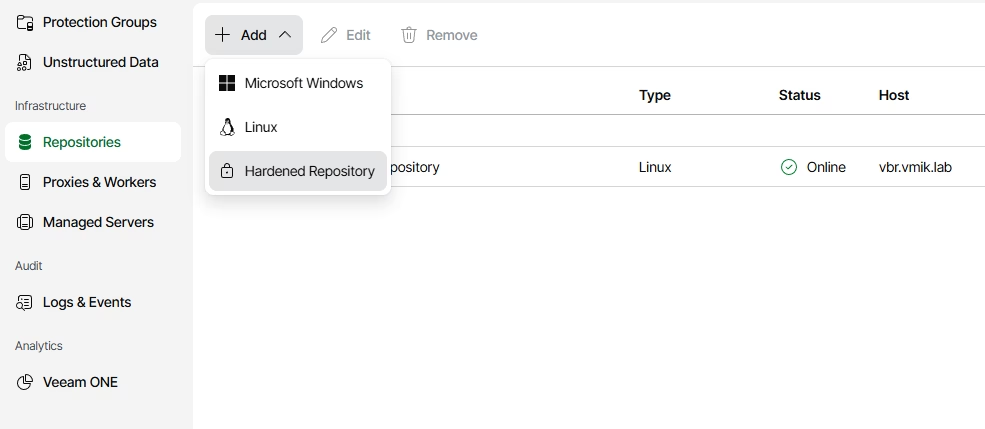
Let’s add a “Hardened Repository”:
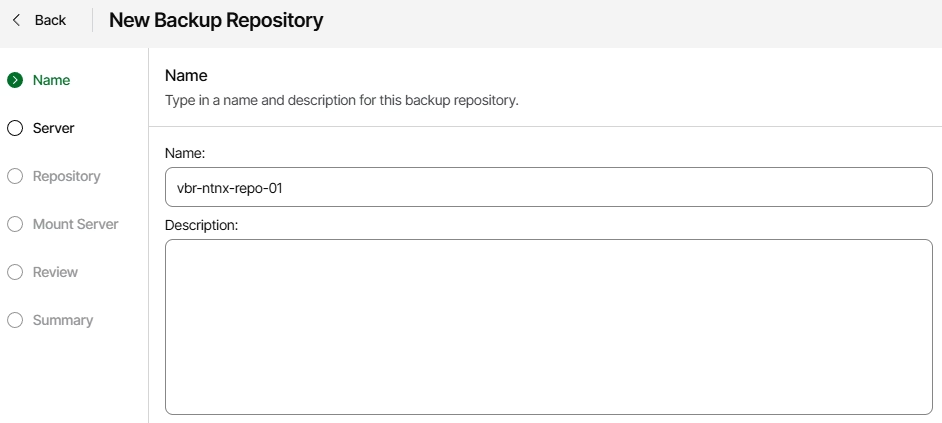
Provide a name:
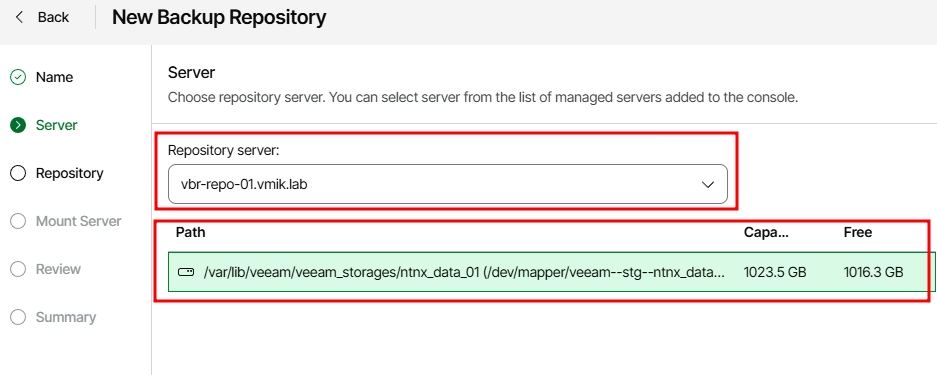
Select a repository server – this should be our deployed VIA instance, and choose the path to be used as the repository:
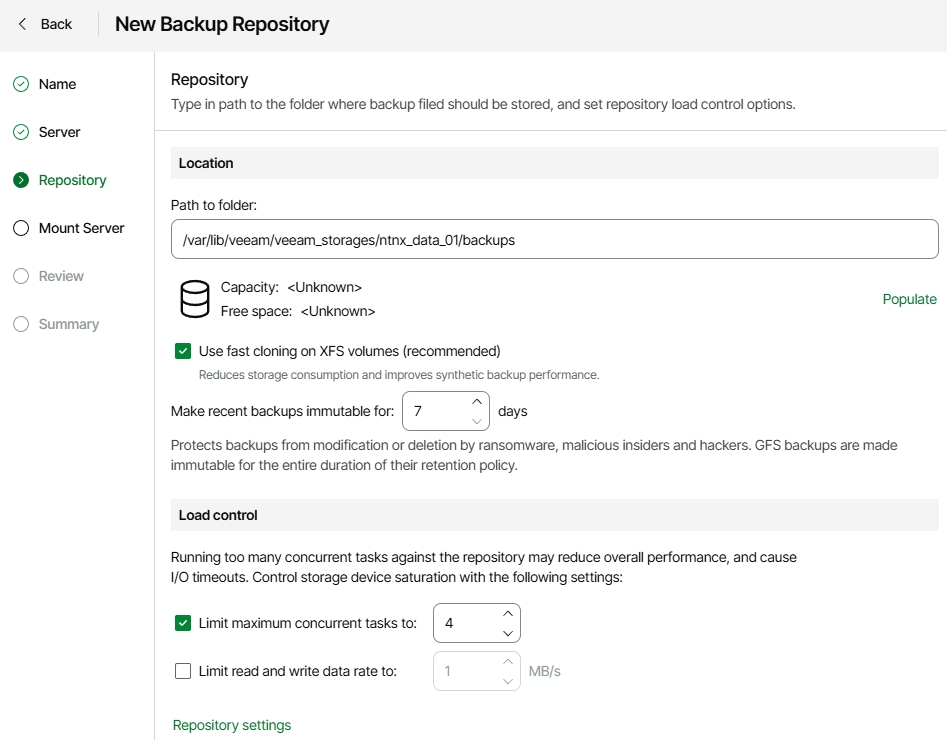
Next, configure repository settings:
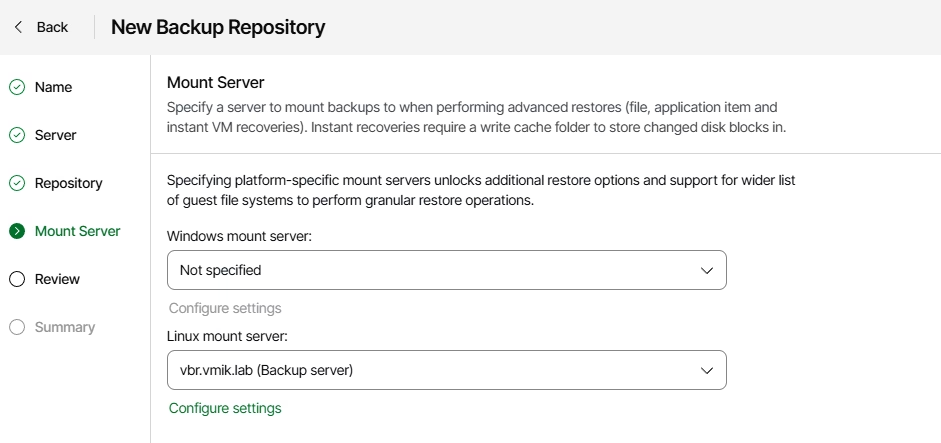
And a mount server (we can’t use hardened repository as a mount server):
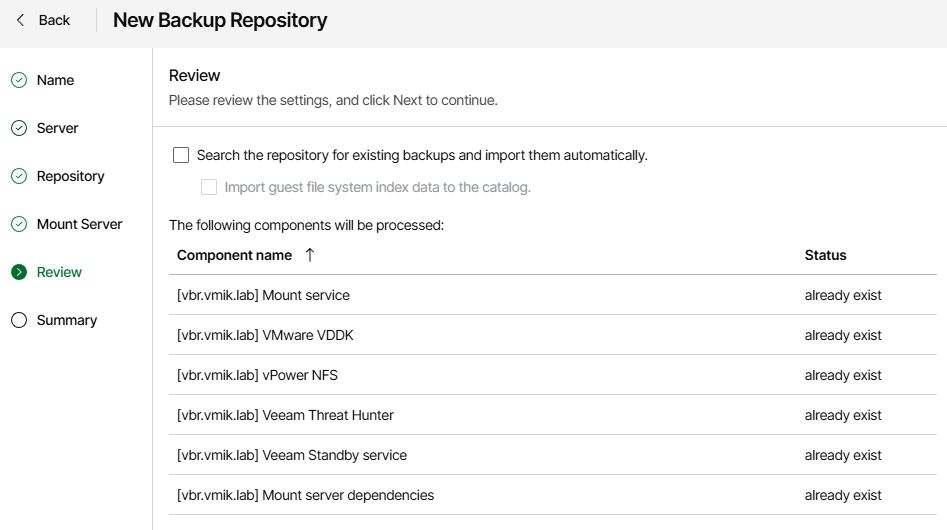
Review the settings and finish:
A new repository will be added to the infrastructure:
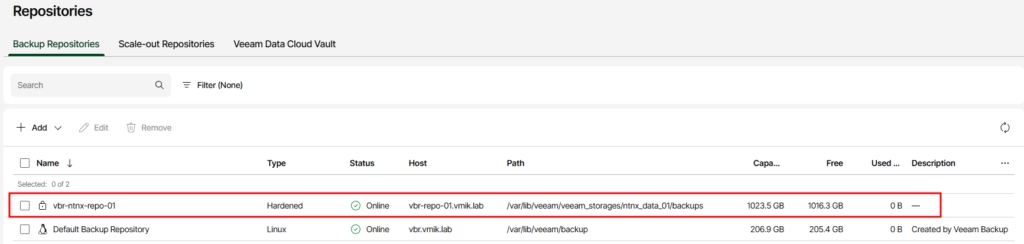
And that’s it. We have successfully added an iSCSI LUN to the Veeam Infrastructure Appliance instance, and configured it as a Hardened Repository.
